
To properly wrap your hands with a self adhesive bandage for boxing, you must focus on three core areas: securing your wrist in a neutral position, anchoring your thumb, and padding your knuckles. Unlike traditional cotton wraps, a self adhesive bandage clings to itself without adhesive or fasteners, providing highly customizable compression and a low-profile fit under your gloves. However, because these bandages can tighten as you move, mastering tension control is critical to preventing restricted blood flow while ensuring maximum joint stability during training.
Understanding Self Adhesive Bandages for Boxing Support
A self adhesive bandage is a cohesive elastic wrap engineered to stick to itself rather than your skin, hair, or clothing. In boxing and combat sports, this material has gained popularity as an alternative or supportive under-wrap for traditional hand wraps. The primary benefit lies in its ability to deliver targeted, uniform compression and exceptional joint stability. Because it requires no clips, hooks, or hook-and-loop fasteners, it maintains a streamlined profile that fits easily inside standard boxing gloves.
However, it is vital to understand the safety boundaries of this material. While a self adhesive bandage excels at stabilizing the wrist and binding the metacarpal bones to prevent splaying, it does not provide the thick, impact-absorbing cushioning of dedicated gel pads or heavy-duty cotton wraps. It is designed to work in tandem with, not as a replacement for, properly fitted boxing gloves. Before choosing this wrapping method, verify that your gloves have sufficient internal volume to accommodate the wrap without squeezing your hand into an unnatural shape, which can lead to premature fatigue or strain.
Products mentioned in this guide
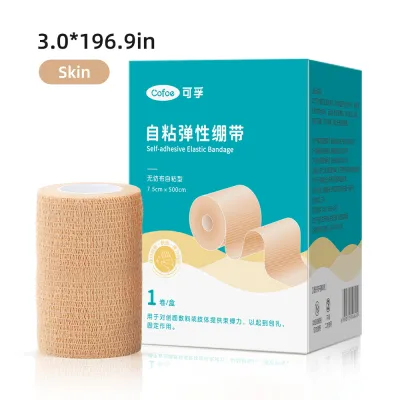
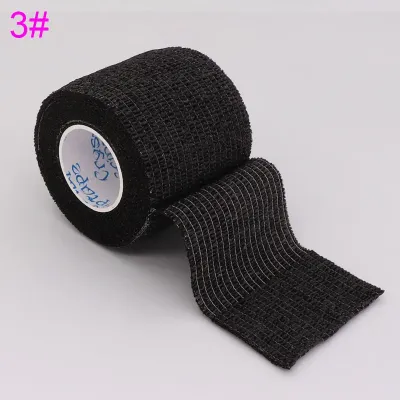
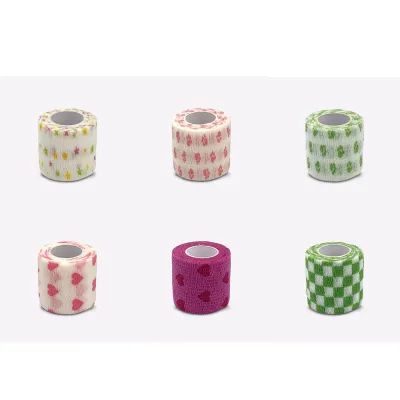
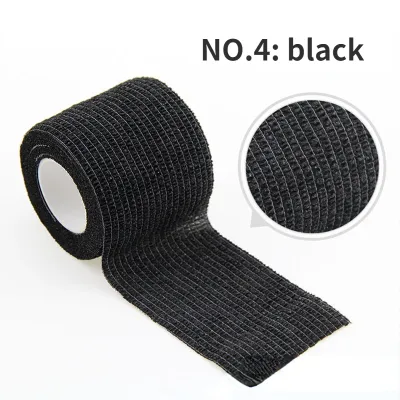
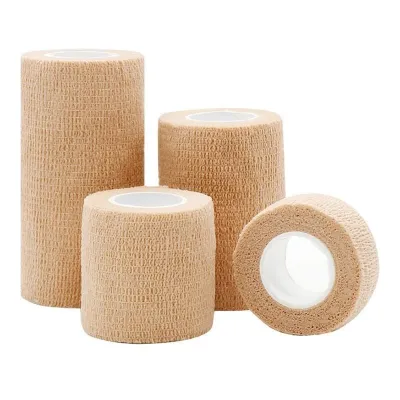
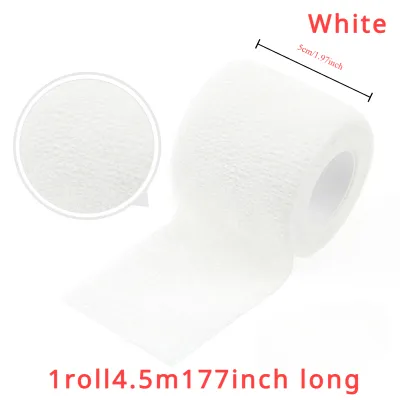
Prices are valid at publication and may change. Please refer to the product page for the latest price.
What You Need Before You Start Wrapping
Preparing your hands and gathering the correct materials beforehand ensures a smooth, secure application that will not unravel mid-workout.

- Materials: You will need a high-quality self adhesive bandage, ideally with a width of 5 cm to 7.5 cm (2 to 3 inches) to provide adequate coverage without excessive bulk. Keep a pair of clean medical scissors handy for precise cuts, as tearing the bandage by hand can fray the edges and compromise its self-clinging properties. You may also want a small roll of rigid athletic tape to secure the final anchor point.
- Hand Preparation: Wash and thoroughly dry your hands before wrapping. Avoid applying any hand creams, muscle rubs, or moisturizing lotions prior to wrapping, as these substances can degrade the cohesive coating of the bandage and cause it to slip during training.
- Posture: Keep your hand in a neutral, relaxed posture. Spread your fingers slightly—about half of their maximum span. This natural spacing ensures that when you wrap your hand, the bandage accommodates the natural expansion of your muscles and bones when you clench your fist, preventing the wrap from becoming painfully tight during impact.
Step-by-Step Guide to Wrapping Your Hands
Wrapping your hands is a systematic process of building a protective structure around your joints. Follow these steps carefully to balance mobility and protection.
Anchoring and Securing the Wrist
The wrist is highly vulnerable to hyperextension and hyper-flexion when delivering punches. To build a solid foundation, begin by placing the end of the self adhesive bandage flat against the inside of your wrist, just below the base of your palm. Hold the end in place with your opposite thumb and wrap the bandage around your wrist.
As you wrap, overlap each preceding layer by approximately half the width of the bandage. This overlapping technique creates a consistent, interlocking sleeve of support. Apply light, even tension—enough to feel the bandage conform to your skin, but not so tight that you feel immediate pressure. Complete three to four full rotations around the wrist, ensuring the wrap extends slightly up the forearm to stabilize the joint. The wrist must remain in a straight, neutral alignment throughout this step.
Protecting the Thumb and Knuckles
Once the wrist is anchored, you must secure the thumb and pad the knuckles, which absorb the brunt of every impact.
- The Thumb Loop: From the inside of your wrist, bring the bandage diagonally across the back of your hand to the base of your thumb. Wrap the bandage completely around the thumb joint once, pulling it gently to ensure the joint is stabilized against lateral movement. Bring the bandage back down diagonally across your palm to the opposite side of your wrist to complete an anchor loop.
- Knuckle Coverage: Run the bandage diagonally up the back of your hand to the outer edge of your pinky knuckle. Wrap the bandage horizontally across your knuckles three to four times. Ensure that the wrap covers the prominent metacarpophalangeal joints (the main punching knuckles) completely. The wrap should sit just below your finger joints, allowing you to bend your fingers into a fist without restriction.
- The Figure-Eight Pattern: To lock the knuckles and wrist together, transition into a figure-eight pattern. Bring the bandage diagonally down from the knuckles across the back of your hand to the wrist, wrap around the wrist once, and then bring it back up diagonally to the knuckles. This cross-crossing structure binds the hand's bones together, distributing the force of impact evenly across the entire hand structure rather than concentrating it on individual knuckles.
Locking the Wrap and Finishing
After completing the figure-eight patterns, bring the remaining bandage back down to your wrist to finalize the wrap.
Cut the bandage cleanly with your medical scissors. Press the cut end firmly against the underlying layer of the wrap. Because a self adhesive bandage relies on cohesive friction, smoothing it down with your palm for a few seconds helps activate the bond.
If you are planning a high-intensity sparring session or heavy bag workout where sweat buildup is significant, apply a small strip of rigid athletic tape over the final seam. This provides an extra layer of security, ensuring the wrap does not peel back or unravel inside your boxing glove. Check that there are no thick, bulky folds or hard edges, as these can rub against your skin under pressure and cause painful blisters.
How to Check Tension, Fit, and Safety
Because self adhesive bandages naturally contract slightly when wrapped, conducting immediate safety checks is essential before you put on your gloves or strike any targets.
- Circulation Check: Perform a simple capillary refill test. Press firmly on one of your fingernails until it turns white, then release it. The natural pink color should return within two seconds. If it takes longer, or if your fingertips feel cold, the wrap is restricting your arterial blood flow.
- Mobility Test: Open your hand completely, extending your fingers wide, and then clench your hand into a tight fist. When your hand is open, the wrap should feel comfortable and slightly relaxed. When you make a fist, the wrap should tighten up, providing a solid, rigid wall of support across your knuckles and wrist. If your hand feels cramped or you cannot close your fist fully, the wrap is too restrictive.
- Stop Conditions: If you experience numbness, a "pins and needles" tingling sensation, throbbing, or visible pale or blue discoloration in your fingers at any point during your workout, stop immediately. Remove the bandage entirely. Do not attempt to adjust it while it is on; unwrap the hand, allow circulation to return fully, and rewrap with significantly less tension. Equipment cannot replace proper training, and pushing through circulation loss can lead to serious nerve injury.
Common Wrapping Mistakes and When to Replace Your Bandage
Avoiding common pitfalls will prolong the life of your wraps and protect your hands from avoidable injuries.
- Tension Errors: The most frequent mistake is pulling the self adhesive bandage too tight during application. Unlike traditional cotton, cohesive material has a high elastic memory and will continue to exert compression over time. Conversely, wrapping too loosely fails to provide the necessary structural support, leaving your wrist prone to bending and your knuckles vulnerable to friction injuries.
- Coverage Gaps: Neglecting the base of the thumb or leaving open gaps between the wrist and the knuckles can lead to painful skin abrasions inside the glove. Ensure every transition is smooth and slightly overlapped.
- Material Degradation: Self adhesive bandages are not designed to last indefinitely. Over time, exposure to sweat, dirt, and repeated stretching breaks down the cohesive coating and reduces the fabric's elasticity. You should replace your bandage immediately if it no longer clings to itself, feels brittle or stiff, has lost its stretch, or retains a strong odor despite airing out. For active boxers, keeping a fresh roll in your gym bag is essential for maintaining consistent joint protection.
Frequently Asked Questions (FAQ)
Can I reuse a self-adhesive bandage for multiple boxing sessions?
In a sports setting, it is generally recommended to treat self adhesive bandages as semi-disposable. While you can carefully unroll and reuse a high-quality cohesive wrap once or twice for light training, it will rapidly lose its elastic tension and self-clinging properties with each use. Furthermore, boxing is a high-intensity sport that generates significant sweat. The porous material of the bandage absorbs moisture and oils from your skin, creating a breeding ground for bacteria and unpleasant odors. For optimal hygiene, skin health, and reliable joint support—especially in warm or humid training environments like Singapore—it is best to replace the bandage regularly rather than relying on worn-out wraps.
Community discussion
Share your experience or ask a question. Comments are reviewed before publication.