
Installing a wall-mounted pull-up bar in a Housing & Development Board (HDB) flat is a great way to build a home gym, but it requires careful structural evaluation. Yes, you can install a wall-mounted pull-up bar in an HDB flat, but only if you mount it directly onto a solid, load-bearing reinforced concrete wall. Attempting to mount this equipment on non-structural partition walls, drywalls, or hollow core blocks can lead to severe structural damage and serious personal injury. Because a pull-up bar must withstand dynamic physical forces far exceeding your static body weight, verifying your wall type and using the correct heavy-duty hardware is non-negotiable.
How to Identify if Your HDB Wall Can Support Dynamic Loads
To ensure a safe installation, you must first understand the difference between structural and non-structural walls inside your HDB flat. Structural walls are made of high-strength reinforced concrete or precast concrete panels designed to carry the building’s load. These walls are incredibly dense and provide the solid foundation required to hold heavy fitness equipment. Non-structural walls are designed simply to divide rooms. In modern HDB flats, these partition walls are often constructed from lightweight concrete blocks, gypsum boards, or drywall systems, which lack the density and structural integrity to support concentrated dynamic loads.
When you perform a pull-up, the forces applied to the wall are dynamic rather than static. Static load refers to your stationary body weight when hanging still. Dynamic load accounts for the kinetic energy generated by your movement, such as pulling upward, dropping down, or swinging. This movement multiplies the force exerted on the wall anchors. The physical stress is split into two main vectors: shear stress, which pulls downward parallel to the wall, and pull-out stress, which pulls the top anchors outward away from the wall. A partition wall might support a static frame, but the sudden, repetitive spikes of dynamic tension from a workout will quickly cause wall anchors to slip, enlarge the drill holes, or tear out sections of the wall entirely.
Products mentioned in this guide
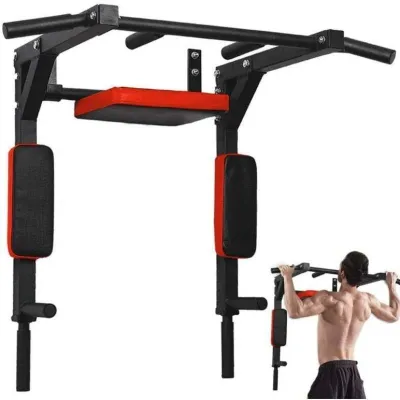
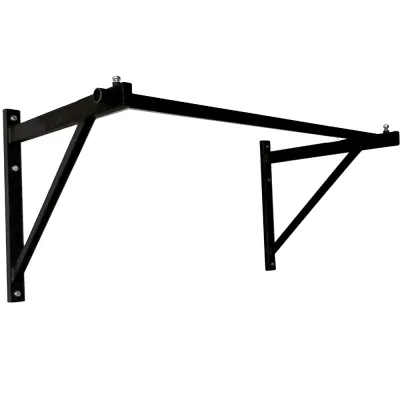
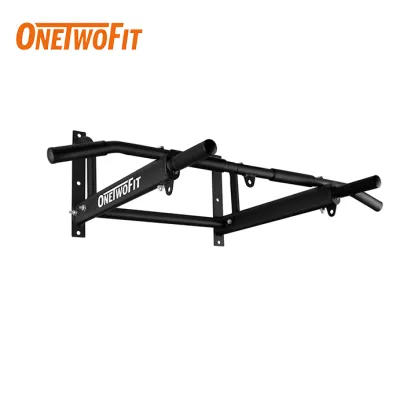
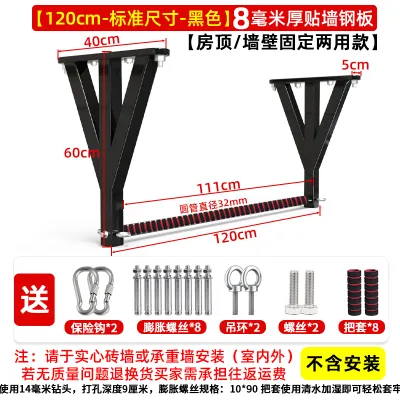
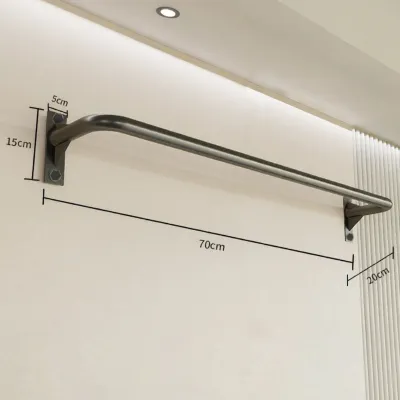
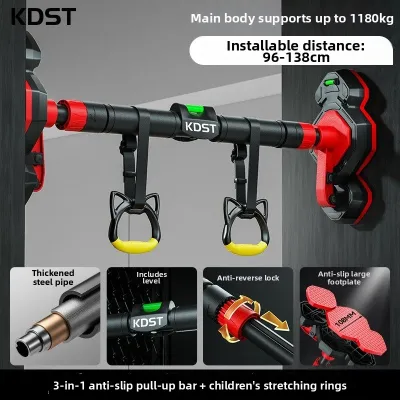
![🇸🇬 [READY STOCK] No Drill Pull Up Bar Easy Install Total Upper Body Workout](https://img.lazcdn.com/g/p/e78ced9e624a1071457309ad97dd1eac.jpg_400x400q80.jpg_.webp)
Prices are valid at publication and may change. Please refer to the product page for the latest price.
To identify your wall type, start by consulting your HDB floor plan. Structural walls are represented by thick, dark black lines or cross-hatched sections. Non-structural partition walls are depicted as thin, double-lined hollow paths. You can also perform a physical “knock test” on the wall. Gently tap the wall with your knuckles; a solid concrete wall will produce a dull, solid thud with no resonance. A partition wall or drywall will produce a hollow, echoing sound. Additionally, structural walls in HDB flats are typically at least 100mm to 150mm thick, whereas drywall partitions are usually much thinner.
Establish a strict safety boundary: wall-mounted pull-up bars must never be installed on drywalls, lightweight partition walls, or false walls. No matter how advanced the drywall toggle bolts claim to be, the underlying material itself cannot withstand the concentrated pull-out forces of dynamic exercise.
Selecting a Wall-Mounted Pull-Up Bar for HDB Spaces
Choosing the right fitness equipment involves matching the bar’s specifications to your body weight, workout style, and HDB layout. Always check the manufacturer’s rated weight capacity. Keep in mind that a static weight limit does not equal a dynamic limit. If you weigh 80kg and perform explosive movements or weighted pull-ups, the instantaneous force can easily exceed 150kg. Opt for a pull-up bar with a rated capacity that is at least two to three times your body weight to provide a safe buffer.

The design of the mounting plates is another critical factor. Look for pull-up bars featuring wide, thick steel mounting plates with multiple bolt holes (ideally four to six holes per bracket). Wide mounting plates distribute the dynamic forces across a larger surface area of the concrete wall, which minimizes the localized stress on individual anchors and prevents concrete fatigue around the drill sites.
Spatial planning is essential to prevent injury and ensure a comfortable workout within the compact footprint of an HDB flat. Measure your ceiling height before purchasing. You need a minimum of 30 to 40 centimeters of clearance between the top bar and your ceiling to prevent your head from colliding with the ceiling at the peak of your pull-up. Additionally, check the projection distance—the space between the bar and the wall. There should be enough clearance (typically 40 to 50 centimeters) to prevent your knees, feet, or chest from scraping against the wall during your repetitions. Finally, ensure the installation zone is completely clear of high-traffic walkways, opening doors, and ceiling fans to avoid catastrophic collisions.
Tools, Hardware, and Pre-Installation Safety Checks
Installing heavy-duty fitness gear into high-density concrete requires specialized tools and industrial-grade hardware. Standard household hand drills are insufficient for HDB concrete; you will need a rotary hammer drill. Rotary hammers use a pneumatic mechanism to pulverize the concrete as they spin, allowing you to drill clean, precise holes without overheating the motor. You will also need carbide-tipped masonry drill bits that precisely match the diameter specified by your anchor manufacturer, a high-quality spirit level, a measuring tape, a pencil, safety goggles, a dust mask, and a torque wrench or socket set to tighten the bolts.
Never use standard plastic wall plugs or drywall toggle bolts for a wall-mounted pull-up bar. These plastic plugs are designed for static, lightweight household items and will instantly shear or pull out under dynamic body weight. Instead, you must use heavy-duty metal expansion anchors, such as sleeve anchors or wedge anchors, specifically rated for solid concrete. When tightened, these metal sleeves expand outward inside the drilled hole, biting into the surrounding concrete to create an incredibly strong friction-based bond.
Before drilling into any HDB wall, you must perform rigorous safety checks to avoid hitting hidden hazards. Use a high-quality multi-detector to scan the entire installation area. This device detects hidden electrical conduits, metal water pipes, and structural steel rebar running inside the concrete. Hitting a live electrical wire can cause fatal shocks, while drilling into a water pipe can result in costly flooding. If your detector signals an obstruction, or if you are unsure of the internal routing of utilities, consult your HDB utility layout plans or hire a qualified, licensed contractor to perform the installation.
Installing the Pull-Up Bar on Solid Concrete Walls
Before beginning the installation, check the pull-up bar manufacturer’s manual and your HDB flat’s structural guidelines. If the instructions conflict, the wall material is unidentified, or the installation scenario is not covered, stop immediately and consult the manufacturer or a qualified professional engineer. Do not attempt to force an installation on a wall that does not meet these criteria.
Start with marking and leveling. Hold one of the mounting brackets against the solid concrete wall at your desired height. Place a spirit level on top of the bracket to ensure it is perfectly horizontal. Use a pencil to mark the exact center of each mounting hole. Repeat this process for the second bracket, ensuring the distance between the two brackets matches the pull-up bar’s dimensions perfectly. Double-check your marks with the spirit level across both brackets before drilling.
To drill the holes, equip your rotary hammer drill with the correct carbide-tipped masonry bit. Hold the drill perfectly perpendicular to the wall. Apply steady, firm pressure, letting the hammer action of the tool do the work. Drill to the exact depth recommended by the anchor manufacturer—typically 5mm to 10mm deeper than the length of the anchor to accommodate any residual dust. Avoid tilting or wobbling the drill, as this will create an oval-shaped hole, which severely reduces the holding capacity of the expansion anchors.
Hole preparation is a critical step that is often overlooked. Once the holes are drilled, thoroughly clean out all concrete dust and debris. Use a hand pump, blow bulb, or a vacuum cleaner equipped with a narrow crevice tool to clear the holes. Any leftover concrete dust acts as a dry lubricant, preventing the metal expansion sleeve from gripping the concrete walls effectively, which can cause the anchor to slip under load.
To mount and tighten the equipment, align the pull-up bar brackets over the clean holes. Insert the metal expansion anchors through the bracket holes and tap them gently into the wall with a hammer until the bolt heads or nuts are flush against the mounting plates. Using a torque wrench or socket set, tighten the nuts evenly in a diagonal pattern. Tighten them to the exact torque specification provided by the anchor manufacturer. Over-tightening can strip the concrete or snap the steel bolt, while under-tightening will prevent the sleeve from expanding fully, leaving the bar unstable.
Always watch for safety stop conditions during this process. If your drill bit hits impenetrable structural rebar, if the concrete crumbles excessively, or if the wall shows signs of spalling (flaking or cracking), stop drilling immediately. Do not attempt to force the installation by drilling adjacent holes too close to a compromised spot, as this weakens the concrete structure. Consult a professional structural contractor to assess the wall’s integrity.
Load Testing and Long-Term Maintenance
Once the installation is complete, you must verify its safety using a progressive load-testing protocol before attempting any high-intensity workouts. Do not immediately jump onto the bar. Begin with a partial hang: keep your feet firmly on the floor and slowly transfer a portion of your body weight to the bar. Listen closely for any cracking, creaking, or metallic popping sounds. If the bar holds, transition to a full static dead hang with your feet completely off the floor for 15 to 30 seconds. Observe the mounting plates for any visible movement or shifting. Finally, perform a few slow, controlled pull-ups. Only introduce dynamic movements, such as faster repetitions, once you are entirely confident in the bar’s stability.
Regularly inspect the installation site for visual and auditory warning signs of structural failure. Check for hairline cracks radiating outward from the drill holes, gaps forming between the metal mounting plates and the concrete wall, or any fine concrete dust settling beneath the brackets. These are clear indicators that the anchors are slipping or the concrete is failing.
Establish a strict maintenance schedule. Check and retighten the anchor bolts every two to three months using your torque wrench. The continuous vibration, pulling, and pushing forces of regular workouts can gradually back the nuts off over time.
If you observe any structural degradation, loose anchors, or widening gaps, immediately cease using the equipment. Decommission the pull-up bar by removing it from the wall to prevent a catastrophic failure during a workout.
Frequently Asked Questions (FAQ)
Do I need HDB approval to install a wall-mounted pull-up bar?
Minor DIY drilling for household fixtures, including wall-mounted pull-up bars, generally does not require a formal renovation permit from the HDB. However, this exemption only applies if the installation does not involve hacking, structurally altering, or damaging load-bearing columns, beams, or structural walls. You remain fully responsible for ensuring that the drilling does not damage hidden electrical wiring or water pipes, and that the installation is safe. If you live in a rented flat, always seek written permission from your landlord or the managing agent before drilling.
Can I install a pull-up bar inside my HDB Household Shelter?
No, you must never drill into or mount a pull-up bar on the walls, ceiling, or door frame of an HDB Household Shelter (commonly known as the bomb shelter). These shelters are constructed with specially engineered, high-strength reinforced concrete and steel gas-tight doors designed to provide blast protection during emergencies. Drilling into these surfaces violates HDB regulations, as it compromises the airtight seal, structural integrity, and protective shielding of the shelter. For household shelter rooms, opt for freestanding pull-up stations or door-frame-mounted bars that do not require drilling.
Community discussion
Share your experience or ask a question. Comments are reviewed before publication.