
A leaking water bottle can quickly turn a routine commute, a gym session, or an outdoor hike into a frustrating, wet mess. If your Owala bottle is dripping, the silicone seal inside the lid is often the primary suspect, but it is not the only possible cause of the issue. Fortunately, you do not need to discard your favorite hydration companion immediately. By systematically diagnosing the source of the leak, inspecting the condition of the silicone components, and performing basic maintenance, you can easily restore your bottle’s leak-proof performance. This guide walks you through the exact steps to identify where water is escaping, clean and realign the seal, and decide when it is time to source a replacement.
Identifying the Exact Source of the Leak
Before disassembling your bottle or purchasing replacement parts, you must pinpoint exactly where the water is escaping. A systematic diagnostic approach saves time and prevents you from fixing components that are already functioning perfectly. Start by thoroughly drying the entire exterior of the bottle, including the lid, threads, and base, using a clean microfiber cloth. This step is crucial, especially in humid climates where external condensation can easily be mistaken for an active leak.
Once the bottle is completely dry, fill it to about three-quarters capacity with room-temperature water. Avoid using ice-cold water for this test, as the resulting condensation on the outer surface can obscure your observations. Secure the lid firmly, ensuring it is screwed on straight. Hold the bottle over a sink and perform a basic tilt test. Slowly tip the bottle horizontally, then turn it completely upside down, holding it in each position for ten to fifteen seconds.
Products mentioned in this guide
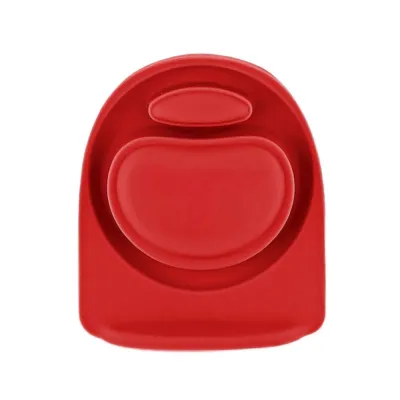
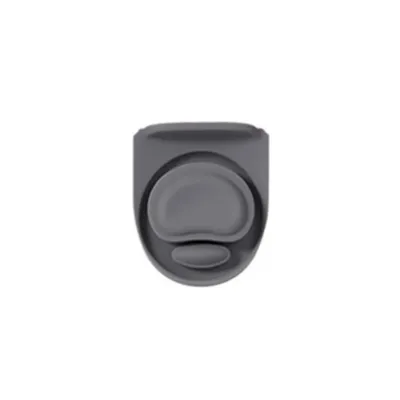
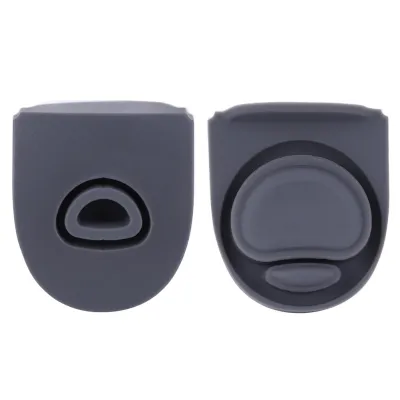
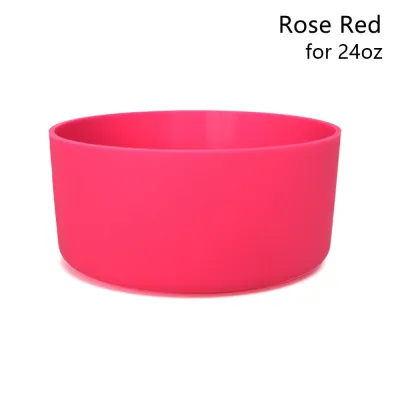
Prices are valid at publication and may change. Please refer to the product page for the latest price.
Carefully observe where the moisture begins to bead up or drip. If water escapes from the seam where the plastic lid meets the metal collar of the bottle, the issue likely points to the main circular silicone gasket or a cross-threaded cap. If drips emerge from the push-button hinge or the spout area, the culprit is more likely the spout stopper seal or a latching mechanism that is not fully engaged. Finally, inspect the metal body and plastic lid for physical damage. A hard drop onto a concrete pavement or tiled floor can cause hairline cracks in the lid housing or minor dents along the bottle’s rim, both of which can prevent even a perfectly good silicone seal from doing its job.
How to Inspect and Clean the Silicone Seal
If your diagnostic test points to the lid area, the next step is to remove, inspect, and clean the silicone seal components. Owala lids typically feature two key silicone parts: a larger circular gasket deep inside the cap threads and a smaller stopper seal designed to plug the drinking spout. Removing these parts requires care, as using sharp metal objects like knives, scissors, or metal tweezers can easily puncture, slice, or permanently stretch the soft silicone material. Instead, use a blunt tool such as a plastic toothpick, the rounded edge of a spoon handle, or a dedicated silicone gasket removal tool to gently pry the seals out of their grooves.

Once you have removed the silicone components, hold them up to a bright light source to conduct a thorough physical inspection. Look closely for micro-tears, frayed edges, or areas where the silicone appears thinned or warped. In warm and humid environments, mold and mildew can quickly establish themselves in the dark, damp crevices of a water bottle lid. Inspect the seals for black or grey spots that do not rub off easily, as well as any trapped food particles, lint, or dried beverage residue lodged in the seal’s grooves.
To clean the seals effectively without degrading the material, prepare a small bowl of warm water mixed with a few drops of mild dish soap. Avoid using harsh chemical cleaners, chlorine bleach, or highly concentrated vinegar solutions, as these substances can break down the silicone polymer structure over time, causing it to lose its elasticity. Use a soft-bristled brush, such as a clean toothbrush, to gently scrub both the silicone seals and the plastic grooves in the lid where they sit. Pay close attention to the deep channels of the lid, as accumulated debris in these areas can prevent the seal from seating properly.
After cleaning, rinse all parts thoroughly with clean water and allow them to air-dry completely in a well-ventilated area. Reinstalling a wet seal can trap moisture, leading to rapid mold growth. To reinstall, press the silicone seal back into its designated groove, starting at one point and working your way around the perimeter. Ensure the seal lies completely flat, flush, and untwisted. Even a minor twist or a slightly raised edge will create a microscopic gap that water will inevitably find when the bottle is pressurized or tilted.
Fixing or Replacing a Damaged Silicone Seal
There are times when cleaning and realigning the silicone seal will not resolve the leak. Silicone is a durable elastomer, but it is not immune to wear and tear over months of daily use. Clear signs that your seal is beyond saving include visible tears, deep cuts, permanent stretching (where the seal appears too large for its groove), or severe mold infestation that has penetrated deep into the porous structure of the material. If the silicone feels sticky, brittle, or crumbles when flexed, it has reached the end of its functional lifespan and must be replaced.
When sourcing replacement parts, it is highly recommended to look for official manufacturer replacements or contact customer support. If your bottle is relatively new and the seal failed prematurely under normal use, you may be eligible for a replacement under the manufacturer’s warranty program. Spending a few dollars (typically around S$5 to S$10) on an official replacement pack is a cost-effective way to extend the life of your bottle without needing to buy an entirely new lid assembly.
While generic silicone O-rings and third-party seals are widely available on online marketplaces, using them carries significant risks. These generic alternatives are rarely manufactured to the exact tolerances required by proprietary lid designs. A discrepancy of even a fraction of a millimeter can result in persistent slow leaks or make the lid incredibly difficult to screw on and latch. Furthermore, unverified third-party silicone may not carry the necessary food-grade certifications, raising potential safety concerns regarding chemical leaching into your drinking water.
If you have installed a fresh, official replacement seal and the bottle continues to leak from the lid area, you must stop DIY repairs and inspect the lid housing itself. Over time, or after an accidental drop, the plastic threads on the lid can strip or warp. If the lid housing is compromised, no amount of new silicone will create a watertight seal, and your only viable option is to purchase a complete replacement lid assembly.
Other Common Reasons Your Bottle Might Be Leaking
If your silicone seal is in pristine condition but you are still experiencing damp gear, the leak may be caused by user error or other mechanical issues. One of the most common culprits is cross-threading. When you are in a hurry, it is easy to screw the lid on at a slight angle. This misaligns the plastic threads, preventing the lid from compressing the silicone gasket evenly against the bottle’s rim. To avoid this, place the lid on the bottle, turn it counter-clockwise until you feel or hear a distinct click (indicating the threads have aligned), and then screw it clockwise until snug.
Another area to check is the internal straw and spout mechanism. If the reusable straw is not pushed firmly and completely into its port on the underside of the lid, it can create an air gap or physically obstruct the lid from closing fully. Additionally, ensure that the spring-loaded push-button lid is fully latched. You should hear a clear, audible click when closing the lid; if debris is trapped in the latch mechanism, the lid may look closed but fail to maintain the pressure required to seal the spout stopper.
Overfilling the bottle is another frequent cause of unexpected leaks. Every water bottle has a maximum capacity, and filling the liquid level right up to the brim leaves no room for displacement. When you insert the straw and screw the lid down, the displaced water has nowhere to go but up and out, forcing its way past the seals. Always leave at least a two-centimeter gap between the liquid level and the bottom of the lid threads.
Finally, consider the effects of temperature and pressure. Insulated stainless steel bottles are excellent at maintaining temperature, but filling them with ice-cold water and taking them into a warm, humid outdoor environment can cause pressure differentials. If you use your bottle for carbonated beverages or hot liquids, the rising pressure can easily bypass standard silicone seals. Always check the manufacturer’s guidelines regarding temperature limits; many insulated sport bottles are strictly rated for cold liquids only, as hot steam can build up dangerous pressure inside the sealed container.
Daily Maintenance to Prevent Future Leaks
Establishing a consistent daily maintenance routine is the most effective way to protect your silicone seals and prevent future leaks. In warm, humid climates, mold spores and bacteria thrive on residual moisture and organic matter from sports drinks or juices. To prevent this, make it a habit to rinse your bottle daily and perform a thorough, disassembled wash at least once a week.
When washing, always separate the silicone gasket and spout stopper from the plastic lid. Clean all parts using mild dish soap, warm water, and a soft sponge or bottle brush. After washing, do not immediately reassemble the bottle. Instead, lay all components out on a clean dish rack or towel in a well-ventilated area, allowing them to air-dry completely. Storing a damp bottle with the lid tightly closed creates a humid microclimate that accelerates mold growth and degrades the silicone material.
To protect the structural integrity of both the plastic lid and the silicone seals, pay close attention to heat exposure. While some components may be labeled as dishwasher-safe, the high-temperature wash and dry cycles of domestic dishwashers can warp plastic threads and cause silicone to lose its elasticity prematurely. Hand washing is highly recommended to maximize the lifespan of these parts. Additionally, never place any part of the bottle or lid in the microwave or freezer, as extreme temperatures will permanently damage the seals and vacuum insulation.
Frequently Asked Questions (FAQ)
Can I use a generic silicone O-ring from a hardware store?
It is highly discouraged to use generic hardware store O-rings for your water bottle. These rings are typically designed for plumbing or industrial applications and may not be made from food-grade, BPA-free silicone. Furthermore, proprietary water bottle lids require highly specific dimensions and profiles to create a watertight seal. A generic ring that is slightly too thick or thin will either prevent the lid from closing or fail to stop leaks entirely. Always opt for official replacement parts to ensure safety and performance.
Is the bottle and its silicone seal dishwasher safe?
You should always check the specific care instructions on your bottle’s packaging or the manufacturer’s official website. While many modern plastic lids and silicone seals are technically rated as top-rack dishwasher safe, the intense heat and harsh detergents used in dishwashers can accelerate the degradation of silicone over time. Hand washing with warm, soapy water is the safest and most reliable method to preserve the elasticity of the seals and prevent warping.
Why does my bottle leak only when laid on its side?
When a bottle is laid horizontally, the liquid inside exerts direct, continuous pressure against the lid seam and spout seals. If the cap is slightly cross-threaded, the silicone gasket is misaligned, or the spout latch is not fully clicked shut, gravity and fluid pressure will force water through these tiny gaps. Additionally, temperature changes can cause air pressure to build up inside the bottle, pushing liquid past a seal that might otherwise hold when the bottle is kept upright.
Community discussion
Share your experience or ask a question. Comments are reviewed before publication.