
Choosing the right bicycle luggage depends entirely on your riding style, daily cargo needs, and bike geometry. For daily commuters carrying heavy locks and electronics, a frame bag offers stable, centralized storage that keeps weight low. Minimalist road cyclists and weekend riders seeking aerodynamic efficiency and light tool storage will find their match in a compact saddle bag. Meanwhile, long-distance tourers and bikepackers carrying bulky sleeping gear require the high-volume capacity of a handlebar roll. By identifying your primary riding environment—whether navigating urban traffic, cruising paved roads, or tackling multi-day trails—you can select a setup that preserves your bike’s handling and keeps your gear secure.
Frame Bags: Ideal for Commuting and Daily Essentials
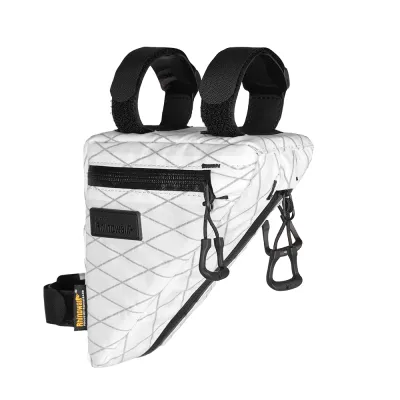
Frame bags sit directly within your bike’s main triangle, making them an excellent choice for daily commuting and utility riding. This central placement keeps heavy items close to your bike’s center of gravity, minimizing the impact on steering and balance. Typical cargo for a frame bag includes heavy U-locks, portable electronics, spare tubes, and daily commuting tools. Because these items are positioned between your knees, they remain highly accessible during quick stops without requiring you to dismount.
Before purchasing a frame bag, you must measure your bike frame’s inner triangle clearance. Use a flexible measuring tape to record the length of the top tube, seat tube, and down tube. Compare these dimensions against the manufacturer’s product specifications. You must also check for water bottle cage interference. If your frame is small or has tight angles, a full-frame bag may block access to your water bottles, requiring you to switch to a half-frame bag or use side-loading bottle cages.
Products mentioned in this guide
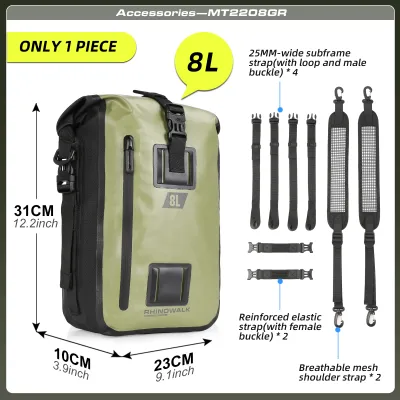
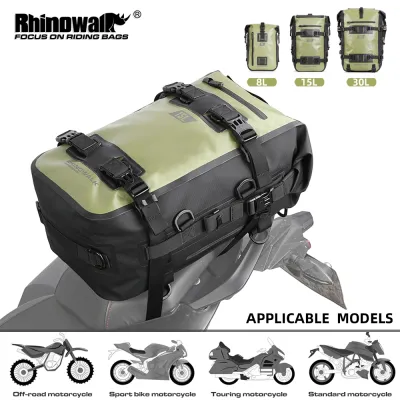
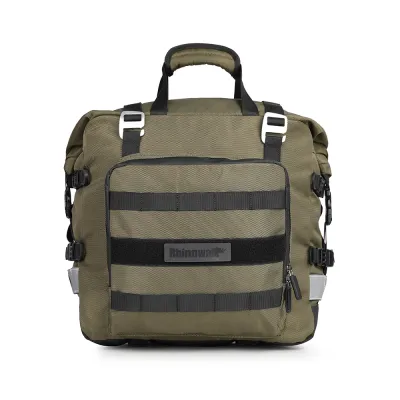
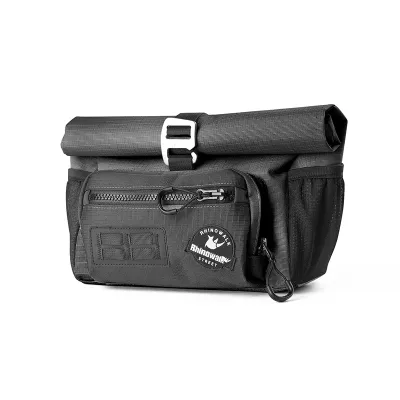
Prices are valid at publication and may change. Please refer to the product page for the latest price.
When evaluating options on an online marketplace or brand site, verify the manufacturer specifications on the product tags. Look closely at the weather-resistance ratings, zipper durability, and strap placement. High-quality zippers with protective flaps or water-resistant coatings are essential for protecting electronics during sudden downpours. Additionally, consider your frame material; carbon frames often require protective tape under the hook-and-loop straps to prevent paint wear and surface abrasion over long rides. Ensure the strap positions do not overlap with your frame’s external cable stops, which could pinch your brake or derailleur cables and compromise shifting performance.
Saddle Bags: Ideal for Minimalist and Weekend Rides
Saddle bags mount directly beneath your seat rails and wrap around the seat post, offering a streamlined, aerodynamic profile that is ideal for minimalist weekend rides and fast road cycling. Because they are tucked neatly behind the rider, they create minimal wind resistance, allowing you to maintain speed on open roads. However, because the weight is positioned high and far back on the bike, proper installation is critical to prevent the bag from swaying side-to-side when you pedal out of the saddle.

To ensure compatibility, check your seat post and saddle rail configuration before buying. Some carbon fiber seat posts or dropper posts have specific clamping limits or require specialized adapters to prevent surface damage. You must also measure the clearance between the bottom of your saddle and the top of your rear tire when the suspension is fully compressed (on mountain bikes) to avoid tire rub.
Preventing bag sway requires utilizing the manufacturer-recommended mounting points and strap configurations. Look for models with rigid internal structures or reinforced mounting brackets that lock onto the saddle rails. When packing, place the heaviest items, such as multi-tools and spare tubes, closest to the seat post. This keeps the center of mass tight against the bike. Always check the product’s labeled dimensions to ensure your puncture repair kit, tire levers, and CO2 inflators fit securely without overstuffing the zippers, which can lead to seam failure during a ride.
Handlebar Rolls: Ideal for Bikepacking and Touring
Handlebar rolls are the foundation of modern bikepacking and long-distance touring, designed specifically to carry bulky, lightweight gear such as sleeping bags, tents, and spare clothing. By mounting directly to your handlebars, they utilize the open space at the front of your bike. However, loading too much weight on the handlebars can slow down your steering response, so this setup requires careful packing and a realistic assessment of your handling skills.
Before mounting a handlebar roll, check your bike’s front clearance. Measure the distance from the handlebar down to the top of the front tire to ensure the bag will not rub against the wheel over bumps. You must also inspect your brake hose and gear cable routing. A tightly strapped handlebar roll can pinch cables, leading to poor braking performance or ghost shifting. Using spacers or specialized brackets can help create a safe gap for your cables.
When choosing a handlebar bag, compare harness systems against integrated roll designs. Harness systems feature a permanent mount on the handlebars into which you slide a separate dry bag. This is highly convenient if you frequently need to remove your gear at camp while leaving the mounting hardware attached. Integrated rolls are simpler and lighter but require you to unstrap the entire unit from the bike to access your gear. Always review the product manual for strict load capacity limits and secure attachment methods to prevent the bag from slipping down and damaging your front fork or tire.
Step-by-Step Checklist: Finalizing Your Bag Choice
To finalize your bag selection and ensure a safe, comfortable ride, follow this practical workflow before heading out on the road.
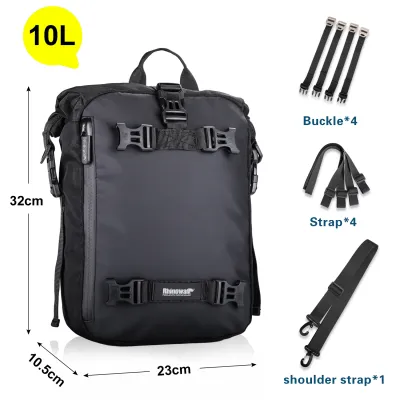
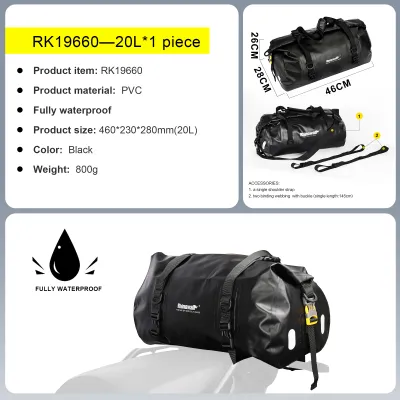
First, gather all the gear you plan to carry on a typical ride. Estimate the total cargo volume by placing the items in a cardboard box and measuring the space they occupy, then compare this against the specific bag’s stated capacity on the manufacturer’s specification sheet. Never exceed the recommended volume or weight limits, as overpacking can strain seams and compromise bike stability.
Second, conduct a physical dry-fit test. Mount the fully loaded bag onto your bicycle and perform a series of checks:
- Knee Clearance: Pedal the bike slowly to ensure your knees do not rub against the sides of a frame bag.
- Pedaling Interference: Check that your heels do not strike a saddle bag or its straps during your pedal stroke.
- Cable Rubbing: Turn the handlebars fully from side to side to verify that cables move freely and are not pinched or pulled taut.
- Tire Clearance: Ensure there is ample space between the bags and your tires, accounting for suspension travel.
Finally, review the care, cleaning, and maintenance instructions provided by the manufacturer. Wipe down the bags with mild soap and water after muddy rides, and avoid harsh chemical solvents that can degrade water-resistant coatings. Regularly inspect the mounting straps and buckles for wear to ensure long-term durability and safety on every journey.
Frequently Asked Questions (FAQ)
Can I combine different Rhinowalk bags on one bike?
Yes, combining different bag types is a common practice for multi-day touring. However, you must manage overall weight distribution carefully. Keep heavy items low and centered in a frame bag, medium-weight tools in a saddle bag, and light, bulky gear in a handlebar roll. Always check your bicycle manufacturer’s total recommended load limits to avoid overloading the frame. Additionally, verify that the straps from different bags do not overlap or interfere with your riding position, especially when transitioning to an aggressive, aerodynamic stance.
How do I verify if a specific bag fits my bike's geometry?
To verify fit, start by taking precise measurements of your bicycle. For a frame bag, measure the inner lengths of your frame triangle. For a saddle bag, measure the exposed seat post length and the distance from the saddle rails to the rear tire. For a handlebar roll, measure the width of your handlebars and the clearance above the front tire. Cross-reference these personal measurements with the brand’s official sizing charts and installation guides before purchasing to ensure a secure and interference-free fit.
Community discussion
Share your experience or ask a question. Comments are reviewed before publication.