
Finding the right bicycle phone mount (手机支架自行车) is not a one-size-fits-all decision. The compatibility of a mount depends heavily on your specific bicycle type, handlebar geometry, and riding conditions. If you ride a road bike, you require an aerodynamic, vibration-dampened setup that can handle high speeds. If you navigate the city on a folding bike, you need a compact mount that does not interfere with folding hinges. For shared bike commuters, a tool-free, highly adjustable strap or claw is the only practical choice. Matching the mounting mechanism to your frame geometry ensures your device remains secure and your ride stays safe.
Inspect Your Handlebar and Stem Clearances for a Bicycle Phone Mount
Before purchasing any bicycle phone mount, you must physically inspect and measure your bike’s front-end cockpit. Handlebar diameters vary widely across different bicycle styles. Standard road and hybrid handlebars typically measure 31.8mm at the center clamping area, while older models, folding bikes, or flat bars might measure 25.4mm or 22.2mm. Use a digital caliper or a simple paper strip wrap to measure the outer diameter of your handlebar precisely where you intend to place the mount.
Next, evaluate the available horizontal space on your handlebars. Many modern bicycles feature integrated accessories such as front lights, cycle computers, bells, or electronic shifting junctions that crowd the cockpit. You must ensure there is at least 15mm to 20mm of clear, unobstructed round tubing on either side of the stem to accommodate a standard clamp.
Products mentioned in this guide
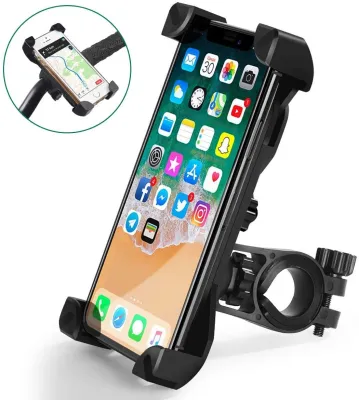
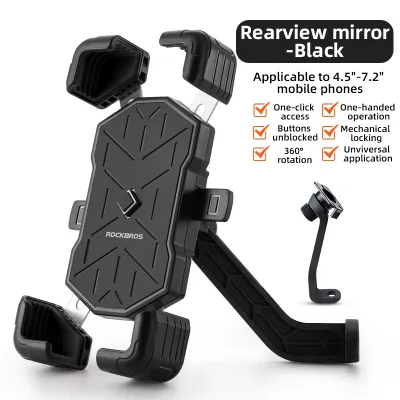
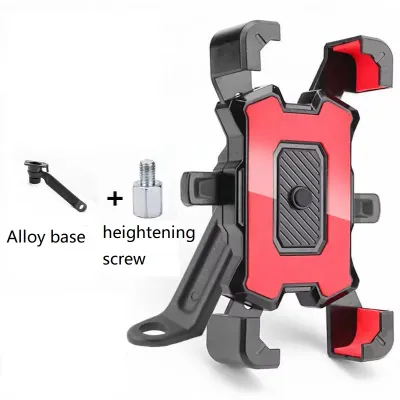
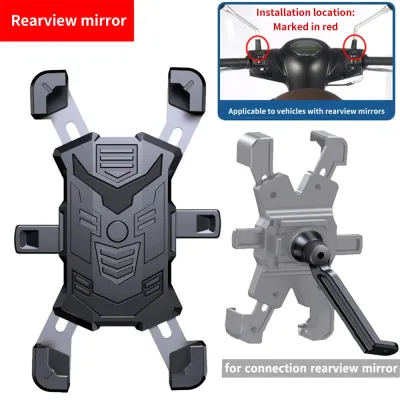
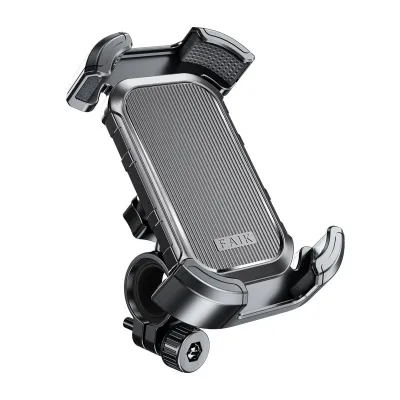
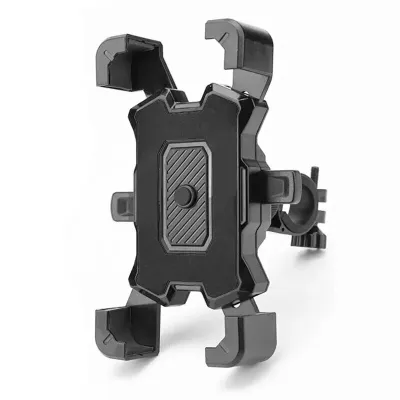
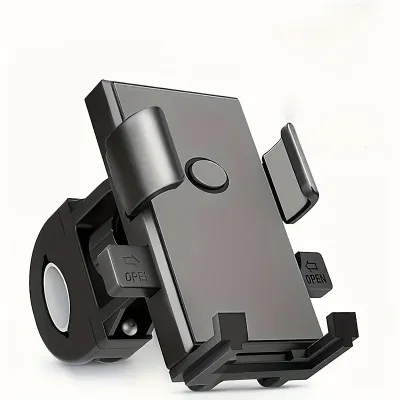
![[SG SELLER] Premium Version GUB P30 RAINBOW PHONE HOLDER MOUNT STAND ADJUSTABLE ROAD BIKE](https://img.lazcdn.com/g/p/2fd2c649add05bf002a5f391ce2ff4a9.jpg_400x400q80.jpg_.webp)
Prices are valid at publication and may change. Please refer to the product page for the latest price.
Physical obstructions like integrated cable routing, hydraulic brake lines, or proprietary stem faceplate bolts can easily block traditional clamp-on mounts. If your cables exit directly from the handlebar tape or run tightly underneath the stem, a standard circular clamp may pinch these lines, leading to stiff steering or compromised braking performance.
Finally, examine the shape of your handlebars. Traditional handlebars maintain a perfectly round profile near the stem, which is ideal for circular aluminum or plastic clamps. However, many modern road and gravel bikes utilize aerodynamic, flat-top, or ovalized handlebars. Standard circular clamps cannot grip these irregular shapes securely, meaning you will need to seek out specialized strap-based mounts or stem-integrated mounting plates.
Diagnose Mount Compatibility for Folding Bikes
Folding bikes present unique geometric challenges due to their compact design, long steering columns, and folding hinges. The primary concern when choosing a mount for a folding bike is ensuring the accessory does not interfere with the folding mechanism. A mount that protrudes too far from the handlebar can prevent the steering column from folding flat against the frame, or worse, get crushed and damaged during transit.

Before mounting any device, carefully fold your bike and observe the clearances. Identify where the handlebars fold relative to the frame and wheels. You must ensure that the phone mount can either be rotated out of the way or is compact enough to fit within the folded profile of the bike.
Because folding bikes often have very short stems or lack a traditional stem entirely, handlebar space is at a premium. A highly effective solution for this layout is a stem cap mount. This type of mount replaces the standard top cap bolt of your headset with a dedicated mounting post, keeping the phone centered, stable, and completely clear of the folding joints.
If a stem cap mount is not compatible with your folding bike’s steering column, look for compact, low-profile handlebar clamps with quick-release mechanisms. These allow you to detach the entire holder quickly before folding the frame, saving space and protecting your device’s mounting bracket from being bent or broken when the bike is packed into a car trunk or carried onto public transport.
Evaluate Mount Options for Road Bikes
Road cyclists prioritize aerodynamics, weight reduction, and stability under high-speed vibrations. On a road bike, the traditional stem area is often highly congested or shaped aerodynamically, leaving little room for bulky clamp-on brackets. Furthermore, high-speed descents and uneven road surfaces generate high-frequency vibrations that can damage sensitive smartphone components over time.
To maintain a clean, aerodynamic profile, out-front mounts are highly recommended for road bikes. These mounts attach to the handlebar near the stem and extend the phone forward, positioning it directly in front of the handlebars. This placement keeps the screen within your natural line of sight, allowing you to view navigation maps without tilting your head down and losing focus on the road ahead.
For integrated cockpits where the handlebar and stem are molded as a single carbon piece, standard clamps are completely unusable. In these scenarios, look for stem faceplate replacement mounts or mounts that bolt directly into the threaded holes on the underside of your integrated handlebar. These provide a seamless, secure connection without scratching or clamping sensitive carbon fiber surfaces.
When riding at high speeds, road vibration is a serious risk factor for modern smartphones. Specifically, persistent high-frequency vibrations can degrade the delicate mechanical parts inside a phone’s optical image stabilization (OIS) camera modules. When choosing a road bike mount, verify if the manufacturer offers an integrated vibration dampener or a silicone-cushioned mounting base to absorb road shock before it reaches your device.
Identify Workarounds for Shared Bikes
Using a phone mount on a shared rental bike requires a completely different approach. Shared bikes are designed to be robust and tamper-proof, meaning they often feature oversized, non-standard tubing, integrated front baskets, built-in bells, and safety components that block standard mounting zones. Because these bikes do not belong to you, any mounting solution must be non-destructive and require absolutely no tools for installation or removal.
To navigate these limitations, tool-free silicone strap mounts are highly effective. These mounts utilize flexible, high-tensile silicone bands that wrap tightly around handlebars of almost any shape or thickness. They can be stretched over thick, irregular tubes and secured in seconds, making them highly versatile for various shared bike models.
Another viable option is the universal claw clamp, which features a spring-loaded or thumb-screw-tightened jaw lined with textured rubber. These clamps can grip onto a wide range of handlebar diameters without scratching the paint. However, you must verify that the claw’s grip is tight enough to prevent the mount from rotating forward when riding over bumps or transition curbs.
When using a mount on a shared bike, always prioritize quick-release designs that can be attached and removed within seconds. This ensures you do not waste rental time struggling with complicated straps or screws at the start or end of your commute. Always perform a quick physical check to ensure the temporary mount does not block the bike’s brake levers or catch on the basket cables.
Measure Your Phone and Case Dimensions
A bicycle phone mount is only as secure as its grip on your specific device. Before finalizing your purchase, do not rely on the generic phone models listed on the packaging. Instead, take physical measurements of your phone while it is housed inside its everyday protective case.
Many heavy-duty, rugged cases or those with built-in kickstands, wallet slots, or external battery packs add significant thickness and width to your device. Standard phone mounts are often designed for slim, bare devices or basic silicone cases. If your case exceeds the maximum depth capacity of the mount’s retaining claws, the phone may pop out when subjected to sudden bumps or hard braking.
Check the manufacturer’s specifications for the mount’s maximum compatible width, height, and depth. Ensure there is a safety margin of at least 2mm to 3mm in every dimension. If you use magnetic mounting systems, verify that the magnetic ring on your phone case aligns perfectly with the mount’s magnetic faceplate, as any misalignment drastically reduces the holding force.
Additionally, look for mounts that facilitate easy, one-handed operation. Spring-loaded clamps or single-button locking mechanisms allow you to secure or release your phone with one hand. This convenience is crucial for quick stops, allowing you to detach your phone to take a photo or check a message without struggling with complex manual screws or tight silicone bands.
Perform a Pre-Ride Safety and Fit Check
Before heading out onto the road or entering shared pathways like Singapore’s Park Connector Network (PCN), you must perform a thorough pre-ride safety and fit inspection. A loose mount or an obstructed control line can lead to sudden phone damage or, more importantly, a serious riding accident.
Begin by mounting your phone and checking the physical security of the entire assembly. Give the mount a firm shake from side to side; there should be zero play or rotation on the handlebar. If the mount rotates or slides, tighten the clamping bolts or adjust the rubber shims inside the clamp to ensure a high-friction, snug fit.
Next, sit on your bicycle in your natural riding position and check your visibility. The phone screen must be clearly readable without forcing you to look down away from the path ahead. Ensure the mount’s positioning does not block your view of oncoming traffic, pedestrians, or trail hazards.
Verify that all brake levers, gear shifters, and steering components move freely through their entire range of motion. Turn the handlebars fully to the left and right to confirm that no brake or gear cables are pinched, stretched, or caught by the phone mount. If you feel any resistance in the steering, reposition the mount immediately.
Finally, conduct a brief, low-speed test ride in a safe, flat, traffic-free area. Ride over a few minor pavement transitions to verify that high-frequency vibrations do not cause the phone to slip or rattle. If any movement is detected, stop immediately in a safe location to adjust and retighten the system before continuing your ride.
Frequently Asked Questions (FAQ)
Can I rely on magnetic phone mounts for off-road or bumpy rides?
While magnetic phone mounts offer exceptional convenience for smooth city commuting, they are generally not recommended for off-road trails, gravel paths, or highly uneven surfaces. High-frequency vibrations and sudden vertical impacts from curbs or potholes can easily overcome the magnetic holding force, causing your phone to detach. If you frequently ride on rough terrain, prioritize mechanical locking mounts or dual-locking systems that physically clamp the edges of your device. For added security, look for mounts that feature dedicated vibration damping modules to absorb shock and protect your phone’s internal components.
Will a handlebar mount interfere with my bike's brake cables?
A handlebar-mounted bracket can potentially interfere with your bike’s brake or gear cables, especially on bicycles with external routing or compact cockpits. If a mount presses tightly against these cables, it can restrict their movement, leading to stiff steering, poor shifting performance, or reduced braking power. To prevent this, carefully inspect your cable routing before tightening the mount’s clamp. If space is limited, consider using an out-front mount or a stem cap mount, which positions the phone away from the handlebar center and keeps the clamping zone completely clear of moving cables.
Community discussion
Share your experience or ask a question. Comments are reviewed before publication.