
Finding the right bike water holder depends entirely on your bicycle’s frame design, geometry, and available mounting points. Whether you ride a sleek road bike along coastal paths, a rugged mountain bike on muddy trails, or a folding bike on urban park connectors, your frame dictates which bottle cage style will fit securely. Choosing an incompatible holder can lead to bottles launching on bumpy roads, interference with your knees while pedaling, or even structural damage to your frame.
To make an informed choice, you must evaluate your frame’s physical layout, measure the available clearance, and match these parameters to the correct mounting style. This guide walks you through the step-by-step process of inspecting your frame, comparing holder designs, and verifying compatibility so you can stay hydrated on every ride.
Inspect Your Bike Frame for Mounting Options
To establish a baseline for compatibility, start by locating the standard threaded inserts, often called braze-ons, on your bicycle frame. These threaded holes are typically positioned on the top side of the down tube and the front side of the seat tube. On modern frames, the distance between the centers of these two holes is standardized at 64 millimeters, which allows you to mount almost any standard bolt-on cage.
Products mentioned in this guide
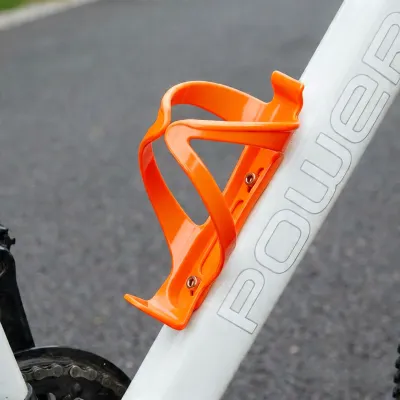
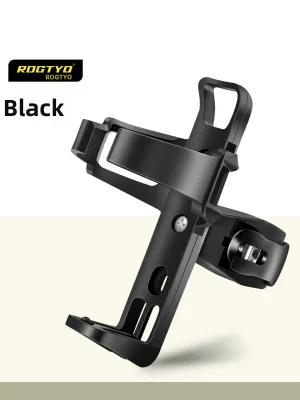
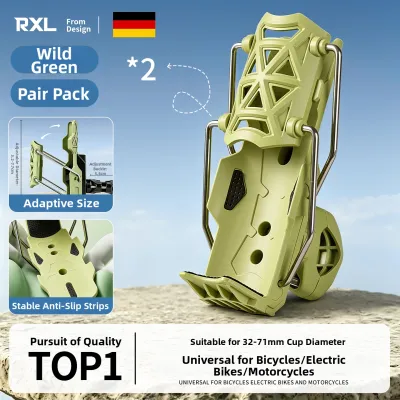
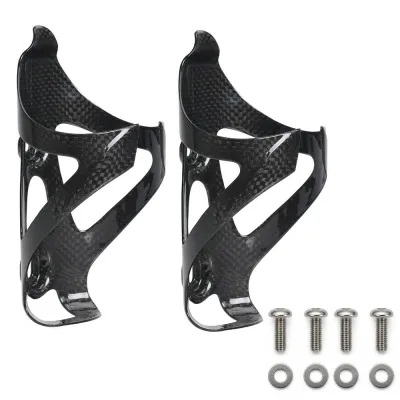
Prices are valid at publication and may change. Please refer to the product page for the latest price.
Next, identify any physical limitations imposed by your frame’s geometry. Full-suspension mountain bikes often feature rear shock linkages that occupy the space inside the front triangle, leaving little room for a traditional bottle. Similarly, step-through city bikes, folding bikes, and extra-small road frames have compact triangles that severely restrict the vertical space available for inserting and removing a bottle.
You must also look closely at the shape of your frame tubes. Aerodynamic road bikes frequently feature teardrop-shaped or flat-sided tubes rather than traditional round profiles. Standard bottle cages with flat mounting tabs may not sit flush against these specialized shapes, requiring specific spacers or cages designed to accommodate non-round tubing.
Finally, note your frame material to determine safe mounting pressure limits and hardware requirements. Carbon fiber frames require extreme care because the threaded inserts are bonded directly into the carbon layup; applying excessive force can crack the surrounding carbon. Aluminum and steel frames are more robust, but their threads can still strip if bolts are cross-threaded or overtightened.
Match Water Holder Styles to Your Frame
Once you have inspected your frame, you can select the appropriate mounting mechanism. Standard bolt-on cages are the most secure and reliable option if your frame has pre-drilled threaded inserts. These cages bolt directly into the frame, keeping the bottle low and centered, which helps maintain a balanced center of gravity. They are ideal for traditional road, gravel, and hardtail mountain bikes.

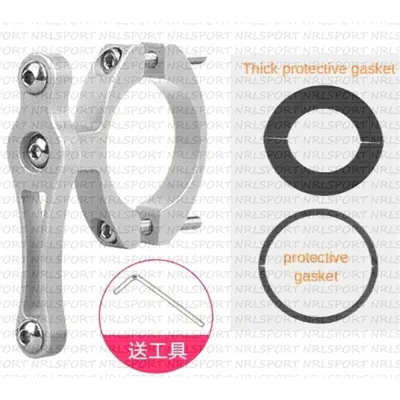
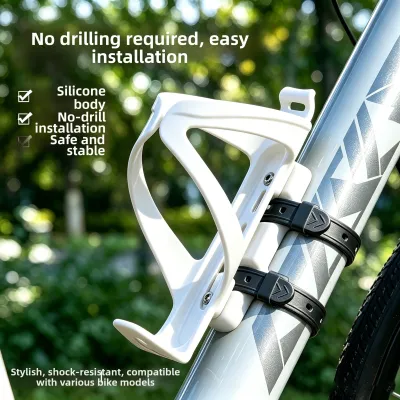
For frames without built-in mounting holes, strap-on or clamp-on mounts offer a versatile alternative. These systems use rubber straps, hook-and-loop fasteners, or plastic clamps to wrap tightly around the frame tubes, making them popular for vintage steel frames, kids’ bikes, and folding bikes. When using strap-on mounts, look for designs with textured rubber backings. The rubber increases friction to prevent the mount from sliding down the tube when riding over bumps, while also acting as a protective barrier that prevents the hard plastic or metal clamp from scratching your bike’s paint.
When the main frame triangle is completely occupied by a frame bag, suspension components, or a low step-through top tube, you must look to alternative mounting locations. Handlebar and stem mounts attach directly to your cockpit, keeping your hydration within arm’s reach without requiring you to bend down. Alternatively, saddle-rail and seatpost mounts position one or two bottles behind your seat. This configuration is highly aerodynamic and is favored by triathletes, long-distance road cyclists, and bikepackers, though you must pair them with high-grip cages to prevent bottles from launching out behind you on bumpy roads.
Verify Clearance and Bottle Size Compatibility
Having mounting holes does not guarantee that a bottle will actually fit inside your frame. You must measure the physical clearance inside the frame triangle, taking into account both the height of the cage and the height of the bottle you plan to use. A standard 600ml cycling bottle typically requires at least 20 to 22 centimeters of vertical clearance to be inserted and removed comfortably.
For tight spaces, calculate the extraction path. If the top tube sits very close to the top of your water bottle, you will not be able to pull the bottle straight up and out of a standard front-loading cage. In these scenarios, a side-loading cage is essential, as it allows you to slide the bottle out at an angle.
If you are mounting a bottle holder to the underside of your down tube or on your fork legs, check the clearance with your front tire and mudguards. Turn the handlebars fully to the left and right, and compress the front suspension fork if your bike has one. Ensure there is a safe gap between the tire and the bottle at all points of movement to prevent a dangerous wheel lockup. The bottle must remain completely stationary and clear of any moving parts even when riding over rough, uneven terrain.
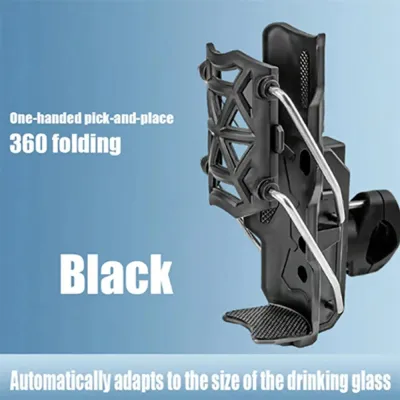
Finally, match your bottle’s outer diameter to the cage. Standard cycling bottles have a diameter of approximately 73 to 74 millimeters, which matches standard cages perfectly. If you prefer to carry a vacuum-insulated stainless steel flask, a standard store-bought plastic bottle, or an oversized container, you will need an adjustable-width holder or a flexible utility cage designed with adjustable straps.
Choose Cage Materials and Adjustable Features
The material of your water holder affects its weight, durability, grip strength, and how it treats your bottles. Aluminum alloy cages are a classic, cost-effective choice. They are highly durable and can be gently bent by hand to tighten or loosen the grip on your bottle, though they can leave grey scuff marks on plastic bottles over time.
Reinforced plastic and composite cages are lightweight, highly resilient, and available in a wide array of colors to match your bike’s aesthetics. Because they are molded, they do not bend out of shape and do not scuff your bottles. They also absorb road vibrations well, reducing the likelihood of the bottle rattling during your ride.
Carbon fiber cages represent the premium tier, offering the lowest weight and high structural rigidity. They are excellent for weight-conscious road cyclists but are rigid and cannot be adjusted if your bottle is slightly off-size. They are also more susceptible to cracking under heavy impact compared to metal or plastic alternatives.
If you ride with non-standard bottles, look for adjustable-width cages. These designs feature a dial, a sliding track, or an adjustable rubber strap that lets you expand or contract the cage’s diameter to carry everything from a slim aluminum can to a wide thermal coffee mug. For compact frames, full-suspension mountain bikes, and frames equipped with half-frame bags, side-loading cages are a game-changer. These cages are designed with an open side—either left-handed or right-handed—allowing you to slide the bottle in from the side rather than the top.
Safe Installation and Maintenance Checks
Proper installation is key to ensuring your water holder stays secure without damaging your bicycle frame. When installing a bolt-on cage, always start the bolts by hand for the first few turns to ensure they are not cross-threading. If you feel resistance immediately, back the bolt out and try again to avoid damaging the frame’s internal threads.
Always use a torque wrench when installing accessories on carbon fiber frames. Carbon tubes are thin and highly sensitive to localized crushing forces. Tighten the bolts strictly to the torque limit specified by your bike manufacturer, which is typically between 2 and 4 Newton-meters. Overtightening can crack the carbon layup or pull the threaded insert loose from the frame.
Apply a thin layer of bicycle grease or anti-seize compound to the bolt threads before installation to prevent the bolts from seizing or corroding over time due to exposure to sweat, rain, and road spray. To protect your bike’s paint and finish, place small washers or rubber spacers between the cage and the frame. If you are using strap-on or clamp-on mounts, apply a layer of clear polyurethane frame protection tape to the tube before wrapping the straps to prevent fine road grit from scratching your frame’s paint.
Establish a routine maintenance check for your water holders. The vibrations from riding on rough roads, gravel paths, or uneven park connectors can cause mounting bolts to back out over time. Check the tightness of your bolts every few weeks, and inspect metal cages for cracks or bending, and plastic cages for signs of stress whitening or fatigue.
Frequently Asked Questions (FAQ)
Can I mount a water holder on a carbon fiber frame?
Yes, you can mount a water holder on a carbon fiber frame, provided the frame has built-in, reinforced threaded inserts designed for this purpose. Never attempt to use clamp-on or strap-on mounts on bare carbon tubes unless the manufacturer explicitly states it is safe, as the clamping pressure can easily crush the thin-walled carbon structure. Always use a torque wrench during installation to stay within the manufacturer’s specified torque limits, and use grease on the bolt threads to prevent galvanic corrosion between the metal insert and the bolt.
What if my bike frame is too small for a standard bottle?
If your bike frame has limited space, you can use a side-loading cage, which allows you to insert and remove the bottle from the side rather than pulling it straight up. Another option is to switch to a smaller-capacity bottle, such as a 500ml or compact kids’ bottle, which has a shorter height. Alternatively, you can relocate your hydration system entirely by using a handlebar mount, a stem-mounted feed bag, or a saddle-rail mount that positions the bottles behind your seat.
Do I need special tools to install a strap-on water holder?
Most strap-on or clamp-on water holders do not require specialized tools and can be installed using basic hex keys (usually 3mm, 4mm, or 5mm) or a simple screwdriver. Some strap-on models use heavy-duty hook-and-loop straps or silicone bands that require no tools at all for installation. When installing these tool-free options, ensure the straps are pulled as tight as possible to prevent slipping, and check them regularly to ensure the material has not degraded or stretched from exposure to sun and rain.
Community discussion
Share your experience or ask a question. Comments are reviewed before publication.