
When you are pushing through a high-intensity workout in a humid tropical climate, having a reliable sports water bottle that keeps your water ice-cold is more than a luxury—it is a performance necessity. If you have ever taken a sip of lukewarm water halfway through an intense training session, you know how quickly it can sap your motivation. The quest to find which brand keeps drinks coldest the longest often leads consumers to compare high-end names like Hydro Flask, Yeti, Stanley, CamelBak, and Thermos. However, the reality is that no single brand holds an absolute monopoly on thermal performance.
While premium manufacturers all employ highly similar double-wall vacuum insulation technologies, the actual “coldest longest” title shifts depending on the specific bottle’s capacity, the design of its lid, and how you prepare it before exercise. Instead of choosing a bottle based solely on brand prestige, you will achieve much better results by matching the bottle’s physical configuration to your specific training habits.
To make the right choice, consider this condition-based decision framework:
Products mentioned in this guide
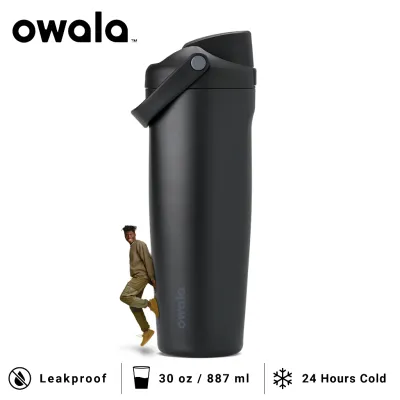
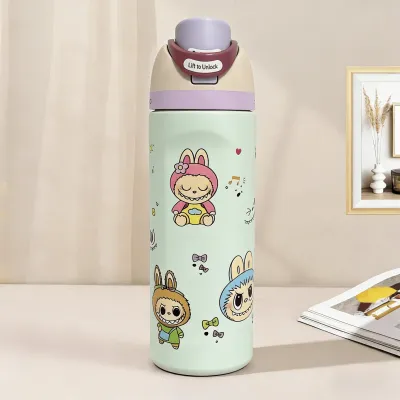
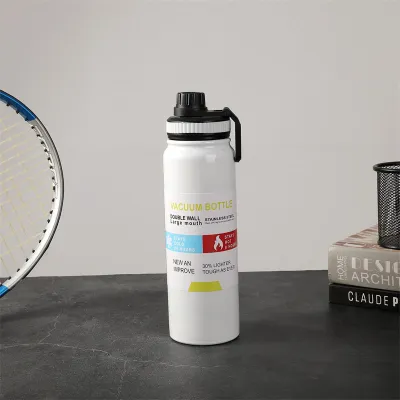
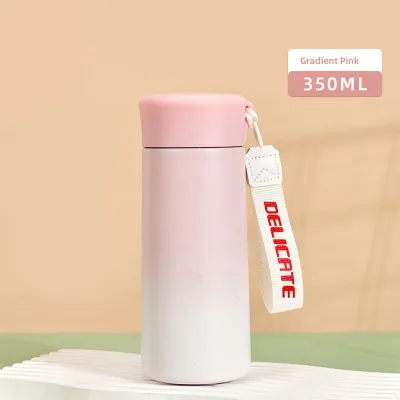
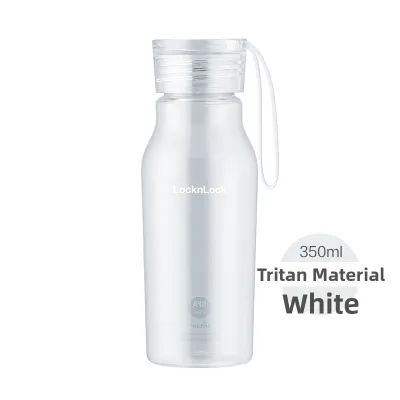
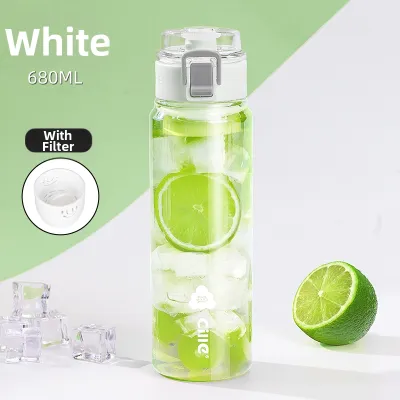
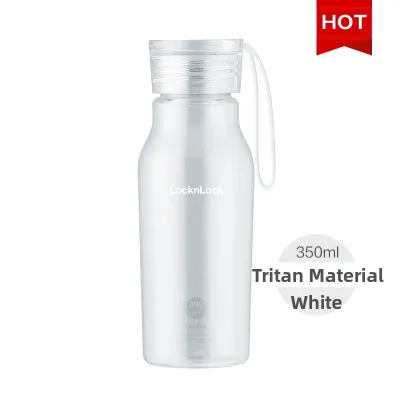
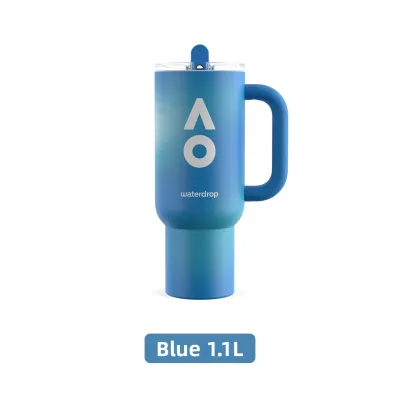
Prices are valid at publication and may change. Please refer to the product page for the latest price.
- Maximum Cold Retention: If your priority is keeping water freezing cold during long outdoor sessions under the sun, choose a wide-mouth bottle equipped with a heavy-duty, fully insulated screw-cap or chug lid.
- Hydration Frequency and Convenience: If you are training in an air-conditioned indoor gym where you need quick, one-handed sips between sets, prioritize a bottle with a straw lid or a push-button spout, accepting a minor trade-off in ultimate thermal retention.
This article will guide you through the structural differences that dictate thermal performance, show you how to look past marketing claims, and help you select the ideal bottle configuration for your workout environment.
Key Insulation Factors to Compare Across Sports Bottles
To understand why one bottle might keep water colder than another, it helps to look past the brand logo and examine the structural engineering of the container. Not all insulated bottles are built to the same specifications, and minor differences in materials and construction can have a noticeable impact on how long your ice remains solid.
Double-Wall Vacuum Insulation and Material Thickness
The core technology behind modern temperature retention is double-wall vacuum insulation. This design features an inner and an outer wall made of food-grade stainless steel—typically 18/8 stainless steel, which consists of 18% chromium and 8% nickel for rust resistance and durability. During manufacturing, the air between these two walls is completely vacuumed out and the unit is sealed.
Because a vacuum contains virtually no air molecules, it eliminates two of the primary methods of heat transfer: conduction and convection. Conduction requires direct physical contact between molecules to transfer heat, while convection relies on the movement of fluids or gases. Without air in the middle chamber, heat from the hot tropical air outside cannot easily pass through to the cold liquid inside. The third form of heat transfer, radiation, is minimized by applying reflective copper or silver coatings to the outer surface of the inner wall, reflecting radiant heat away.
However, the thickness of the stainless steel walls plays a significant role in both durability and thermal consistency. Thicker steel walls offer superior resistance to dents and punctures. If a bottle is dropped on concrete and the outer wall dents deeply enough to touch the inner wall, the vacuum seal is permanently breached. Once this contact occurs, heat will conduct directly through the metal, rendering the insulation useless. While thicker steel increases the weight of the bottle—a key consideration if you are running or hiking—it provides the structural protection needed to maintain the vacuum barrier over years of rugged use.
Lid Design and Seal Integrity
While the body of a high-quality sports bottle is highly effective at blocking heat, the lid is almost always the weakest link in the thermal chain. Unlike the double-walled metal body, most lids are constructed from plastic, silicone, or rubber. These materials do not feature vacuum insulation and conduct heat much faster than the rest of the bottle.
When comparing different sports lids, you must weigh convenience against thermal efficiency:
- Screw-Top and Chug Caps: These designs provide the absolute best thermal performance. They typically feature a thick, solid plastic cap that screws tightly into or over the bottle mouth, compressing a heavy-duty silicone gasket. Because there are no open airways or moving straw parts, they create an airtight seal that minimizes heat exchange with the outside environment.
- Straw Lids and Bite Valves: These are highly popular for gym workouts, cycling, and running because they allow you to drink without tilting your head back, keeping your eyes on your surroundings. However, the internal straw and the air-vent valve required to let water flow introduce tiny pathways where warm air can seep into the bottle. Additionally, the plastic straw mechanism acts as a minor thermal bridge, allowing heat to slowly conduct down into the liquid.
- Push-Button and Flip-Top Lids: These offer convenient one-handed operation but rely on complex spring mechanisms and multiple small seals. Over time, these seals can wear down, leading to microscopic air leaks that compromise the bottle's internal temperature.
To ensure your bottle performs at its best, regularly inspect the silicone gaskets inside the lid. If a gasket becomes twisted, dry-rotted, or dirty, it will fail to form a complete seal, allowing warm air to enter and rapidly warming your drink.
How to Evaluate Manufacturer Specs and "Hours Cold" Claims
When shopping for a sports bottle, you will inevitably encounter bold marketing claims on the packaging, such as “keeps drinks cold for 24 hours” or “keeps ice frozen for up to 48 hours.” While these numbers are useful as general indicators, they should not be taken as literal guarantees for your daily workouts. Understanding how manufacturers test their products will help you make a more realistic assessment.

Interpreting "Hours Cold" and Testing Conditions
There is no universal, industry-wide standard for testing the thermal retention of consumer water bottles. Each brand conducts its own internal testing, and the parameters used are designed to maximize the performance numbers shown on the label.
Typically, a manufacturer’s “hours cold” test is conducted under highly controlled laboratory conditions:
- Ambient Temperature: The testing room is usually kept at a stable, air-conditioned temperature, often between 20°C and 22°C. This is vastly different from the conditions of an outdoor workout in a tropical climate, where temperatures can easily exceed 30°C.
- Ice-to-Water Ratio: Brands often pack the test bottle completely full of ice before adding a minimal amount of water. A bottle filled with 80% ice will naturally stay cold much longer than a bottle filled with standard tap water and a few ice cubes.
- Static Testing: The bottle remains completely sealed and undisturbed for the entire duration of the test. In real life, you open the lid repeatedly during exercise, which introduces a fresh pocket of warm, humid air into the bottle with every sip.
Because of these differences, you should treat manufacturer claims as relative benchmarks. A bottle rated for 36 hours of cold retention will likely outperform a bottle rated for 24 hours under the same conditions, but you should expect the actual ice-retention time to be significantly shorter when using the bottle during active outdoor sports.
Checking Capacity, Dimensions, and Ice Compatibility
Beyond the numbers on the packaging, the physical dimensions and capacity of the bottle have a direct impact on how long your drinks stay cold.
First, consider the surface-area-to-volume ratio. Larger volumes of liquid possess greater thermal mass, meaning they hold their temperature much better than smaller volumes. A 1.2-litre (40 oz) bottle filled with cold water will stay cold significantly longer than a 500-millilitre (18 oz) bottle of the exact same design, simply because there is more cold mass to resist the incoming heat. If you plan to be outdoors for several hours, carrying a larger bottle is highly beneficial for temperature retention, provided you do not mind the extra weight.
Second, pay close attention to the mouth width of the bottle:
- Wide-Mouth Bottles: These are highly recommended for sports because they allow you to easily load large, solid ice cubes directly from a standard freezer. Large ice cubes have a lower surface-area-to-volume ratio than crushed ice, meaning they melt much slower and keep your water cold for a longer duration. Wide openings also make the bottle much easier to clean and dry thoroughly.
- Narrow-Mouth Bottles: While narrow openings technically offer slightly better thermal retention because there is less surface area at the lid for heat transfer, they make it difficult or impossible to insert standard ice cubes. You may be forced to use crushed ice, which melts rapidly, or purchase specialized ice-stick molds.
Finally, ensure the bottle’s outer dimensions are compatible with your workout gear. If you are a cyclist, verify that the bottle’s diameter fits securely into your bicycle’s bottle cage. For gym-goers, check if the base will fit into the cup holders on treadmills or stationary bikes. A bottle that is too wide to be carried securely is prone to falling, which can damage the vacuum seal.
Matching Bottle Features to Your Workout Environment
A bottle that performs perfectly in a climate-controlled fitness center may not be the best choice for a grueling outdoor run or a long cycling session. To get the most out of your investment, match the bottle’s features to the specific environment where you train.
Indoor Gyms and Air-Conditioned Studios
When training indoors, you are protected from direct sunlight and extreme ambient heat. Consequently, you do not need to prioritize maximum, heavy-duty insulation at the expense of convenience.
In an indoor gym setting, your primary focus should be on ease of use and grip:
- Lid Selection: A straw lid or a quick-release push-button lid is ideal. These designs allow you to take quick sips between sets without having to unscrew a cap, helping you maintain your workout rhythm.
- Condensation Management: While the vacuum-insulated body of the bottle will not sweat, the non-insulated plastic lid can develop condensation when exposed to the humid air inside a busy gym. To prevent the bottle from slipping out of your hands, look for models that feature a durable powder-coated exterior or a textured silicone grip sleeve.
- Sizing: A capacity of 700 to 950 millilitres (24 to 32 oz) is usually sufficient for a standard one-hour gym session, providing plenty of water without being overly bulky to carry from machine to machine.
Outdoor Running, Cycling, and Tropical Heat
Exercising outdoors in a hot, humid tropical climate presents a much greater challenge for thermal retention. When the sun is beating down on your bottle, heat transfer accelerates rapidly, requiring a more robust setup.
For outdoor workouts, prioritize durability and maximum seal integrity:
- Lid Selection: Avoid straw lids for intense outdoor use. Instead, choose a fully insulated screw-cap or a locked chug lid. These lids provide a superior thermal barrier and prevent dust, dirt, and insects from settling on the mouthpiece while you are running or cycling.
- Impact Protection: Outdoor sports carry a higher risk of dropping your bottle on hard surfaces like asphalt or gravel. Look for bottles made from thick-gauge stainless steel and consider adding a protective silicone boot to the base. This boot acts as a shock absorber, protecting the bottom of the bottle from dents that could rupture the vacuum seal.
- Carrying Accessories: A strong, integrated carry loop or a flexible strap is essential for carrying your bottle over long distances. If you are cycling, ensure the bottle's exterior finish is scratch-resistant, as rubbing against a metal bottle cage can wear down cheap paint quickly.
Practical Steps to Maximize Cold Retention During Exercise
Regardless of which brand of sports bottle you choose, your daily usage habits will play a massive role in how long your drinks stay cold. By following a few simple, low-risk preparation steps, you can significantly extend the ice retention of any insulated bottle.
To get the best thermal performance from your bottle, implement these practical strategies:
- The Pre-Chilling Routine: Before filling your bottle for a workout, rinse the inside with ice-cold water and let it sit for two to three minutes. This cools down the inner stainless steel wall. If you skip this step and pour cold water into a room-temperature bottle, the warm steel will immediately transfer heat to the water, melting your ice before you even leave the house.
- Optimize the Ice-to-Water Ratio: For long outdoor sessions, aim to fill at least one-third of the bottle with solid ice cubes before adding cold water. If you are training in extreme heat, increase the ratio to one-half ice. Always use large, solid ice cubes rather than crushed ice, as larger cubes melt at a much slower rate.
- Minimize Lid Openings: Every time you open your bottle, cold air escapes and warm, humid air rushes in. Keep the lid closed tightly whenever you are not actively drinking. If your bottle has a dust cover or a spout lock, keep it engaged to add an extra layer of protection against heat transfer.
- Keep Out of Direct Sunlight: Whenever you take a break during an outdoor workout, place your bottle in the shade. Direct sunlight heats up the outer steel shell of the bottle rapidly, increasing the temperature gradient and forcing the vacuum insulation to work much harder.
Before using your bottle, it is crucial to establish clear safety boundaries to protect both yourself and your equipment:
- Do Not Freeze: Never place a sealed, liquid-filled stainless steel bottle in the freezer. As water freezes, it expands with immense force. This expansion can easily warp the steel body, split the welded seams, or permanently rupture the vacuum seal, rendering the bottle completely useless.
- Avoid Pressure Buildup: Do not use your sports bottle for dry ice or highly carbonated beverages unless the manufacturer explicitly states it is safe to do so. The buildup of carbon dioxide gas can cause the lid to blow off violently, potentially causing injury or damaging the bottle's threads.
- Check Instructions: Always refer to the manufacturer's care and cleaning instructions before using your bottle for the first time. Some powder coatings are not dishwasher-safe and must be washed by hand to prevent peeling.
Frequently Asked Questions (FAQ)
Is it safe to put an insulated stainless steel bottle in the freezer?
No, you should never place a sealed, liquid-filled insulated stainless steel bottle in the freezer. When water freezes, it expands. Because the stainless steel walls of a vacuum bottle are rigid, this expansion can warp the metal, split the welded seams, or crack the internal vacuum seal. Once the vacuum seal is broken, the bottle will lose its insulation properties permanently. If you want your water colder, pre-chill the empty bottle in the refrigerator or add solid ice cubes directly to the liquid.
Why is my vacuum-insulated bottle sweating on the outside?
If condensation forms on the main body of your stainless steel bottle, it is a clear sign that the vacuum seal has failed. A properly functioning vacuum-insulated bottle will not transfer cold to the outer wall, meaning the exterior should remain dry and at room temperature. However, if you notice condensation only around the plastic lid or cap, this is normal. Most lids are not vacuum-insulated, allowing a small amount of thermal transfer to occur where the plastic meets the humid air.
Does pre-chilling the bottle with ice water improve cold retention?
Yes, pre-chilling your bottle is highly effective. Stainless steel is a thermal conductor, meaning it absorbs and holds heat from its environment. If you pour cold water into a warm bottle, the inner steel lining will immediately absorb heat from the water, melting your ice. By filling the bottle with ice water for a few minutes before empty-filling it with your actual workout drink, you lower the temperature of the inner steel lining, ensuring your ice lasts much longer during your workout.
Community discussion
Share your experience or ask a question. Comments are reviewed before publication.