
For riding on Singapore’s Park Connector Network (PCN), a bicycle headlight with a sustained output of 150 to 400 lumens paired with a shaped, anti-glare beam pattern is generally ideal. This combination provides sufficient illumination to spot path hazards without blinding oncoming pedestrians, runners, and fellow cyclists. Choosing the right light is about balancing your own visibility with the safety and comfort of others sharing the path.
While high-powered lights are widely available, excessive brightness on shared paths can create hazardous glare for oncoming traffic. Understanding how to match your light’s specifications to the unique conditions of the PCN ensures a safer, more comfortable ride for everyone.
Assessing Your PCN Riding Environment
Singapore’s Park Connector Network is a highly diverse infrastructure system. Some sections run alongside major roads and through brightly lit housing estates, where ambient streetlights provide ample visibility. Other stretches, such as coastal paths or forested connectors, can become exceptionally dark after sunset, requiring a dedicated light source to reveal the path ahead.
Products mentioned in this guide
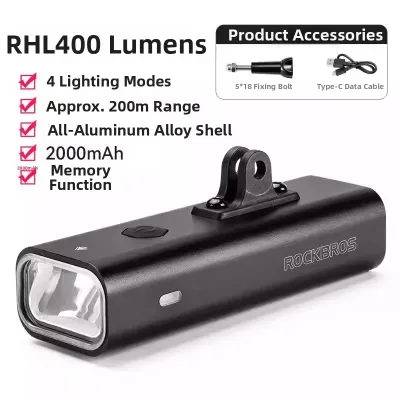
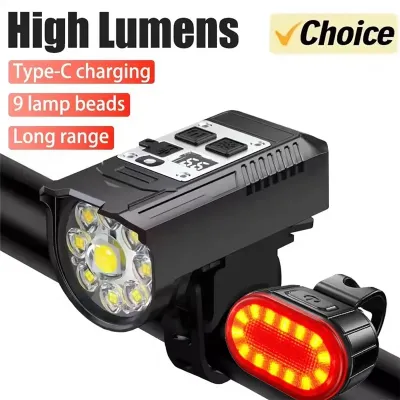
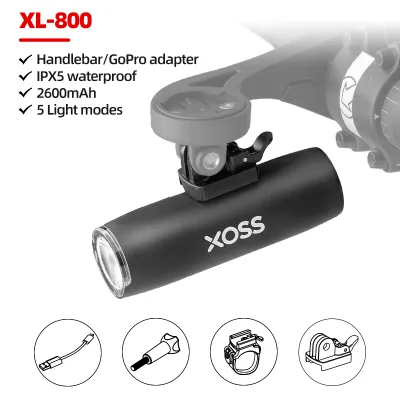
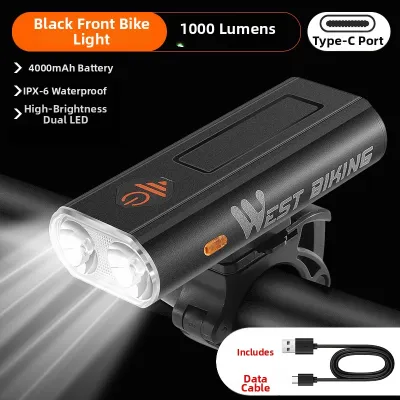
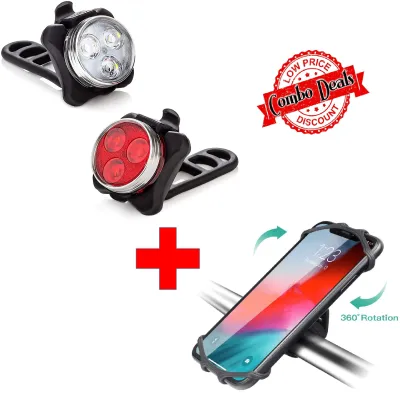
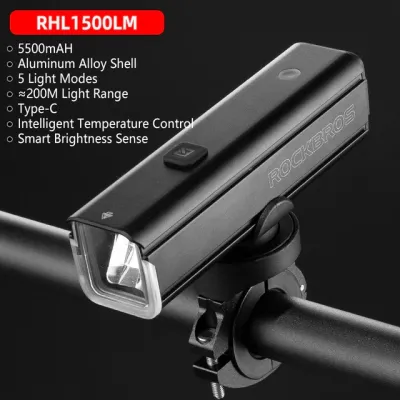
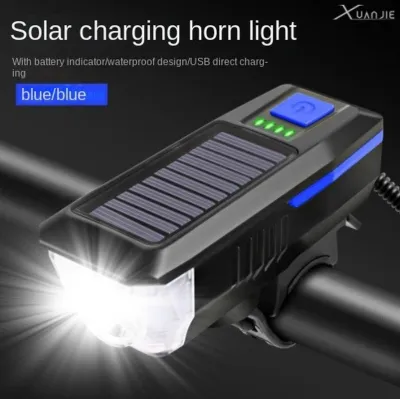
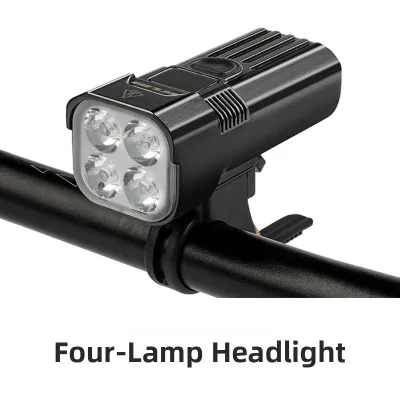
Prices are valid at publication and may change. Please refer to the product page for the latest price.
Because the PCN is a shared, multi-use space, you will regularly encounter a high density of other users. Pedestrians, joggers, families with children, and personal mobility device users all share these paths. This high-traffic environment means your lighting needs are dual-purpose: you need enough light to see physical hazards on the ground, but you also need to remain visible to others without causing discomfort.
Your primary lighting requirement changes depending on where and when you ride. In well-lit urban zones, your headlight primarily serves as a beacon to make you visible to others. In unlit or dimly lit sections, the priority shifts to active path illumination, where you must be able to spot tree roots, wet leaves, puddles, and sudden bends in the path well in advance.
Decoding Lumen Output for Shared Paths
Lumens measure the total amount of visible light emitted by a source in all directions. While it is tempting to purchase the brightest light available, high lumen numbers are not always better or safer on shared paths. A light that is too bright can easily overwhelm the vision of oncoming path users, creating temporary blindness and increasing the risk of head-on collisions.

For casual commuting and riding along well-lit urban connectors, a sustained output of 100 to 200 lumens is typically sufficient. This level of brightness ensures you are highly visible to pedestrians and other cyclists without casting an uncomfortable glare. It also helps conserve battery life during longer rides.
If your route includes unlit park sections or coastal loops, look for a headlight that can sustain 200 to 400 lumens. This range provides enough throw to illuminate the path several meters ahead at moderate riding speeds, giving you ample time to react to obstacles. Fast fitness riders who travel at higher speeds may require up to 600 lumens, but this level of brightness must be managed carefully with proper light angling.
When evaluating headlights, always check the manufacturer’s specifications for both peak and sustained lumen ratings. Many budget lights advertise a high peak lumen output that only lasts for a few minutes before thermal throttling automatically steps the brightness down to protect the internal electronics. Look for lights that specify their runtime at a constant, sustained lumen level.
Choosing the Right Beam Pattern and Anti-Glare Features
The shape of your headlight’s beam is just as important as its lumen output. Standard bicycle lights often feature symmetric spot or flood beams. Spot beams project a narrow, intense cone of light far ahead, which can easily blind oncoming users if pointed forward. Flood beams spread light widely, but without a controlled upper boundary, they also direct light upward into the eyes of pedestrians.
To ride responsibly on the PCN, look for headlights featuring a shaped beam with a sharp horizontal cut-off line. Often designed to meet strict European road standards, these beams direct light downward onto the pavement and prevent any light from escaping upward into the eyes of oncoming traffic. This design allows you to use a higher lumen output to illuminate the ground clearly while keeping the eyes of other path users in the dark zone.
Side-visibility features are another critical aspect of beam design. Many commuter-focused headlights include small side cutouts or secondary amber windows that allow light to escape laterally. This lateral light spill makes you significantly more visible when crossing intersections, exiting side paths, or navigating perpendicular junctions along the PCN.
Before heading out on a night ride, physically verify your beam alignment. Mount the light on your handlebars and project the beam against a flat wall from a distance of about three meters. Adjust the vertical angle of the mount so that the brightest part of the beam hits the ground several meters ahead of your front wheel, ensuring the upper edge of the light cut-off sits well below eye level.
Secondary Specs to Verify Before You Buy
Beyond lumens and beam patterns, battery runtime is a crucial factor for reliable PCN riding. Evaluate the manufacturer’s runtime specifications specifically for the steady mode you plan to use, rather than the maximum runtime advertised for low-power flashing modes. Ensure the battery capacity comfortably exceeds your typical round-trip duration, leaving a safety margin for unexpected delays.
Mounting compatibility and stability are equally important. Ensure the light’s mounting bracket is compatible with your specific handlebar diameter and shape, especially if you use aero or oversized bars. A secure, tool-free strap or a rigid screw-on bracket prevents the light from vibrating loose or shifting upward into people’s eyes when riding over tactile paving or uneven path joints.
Finally, verify the light’s water resistance rating to ensure it can handle Singapore’s sudden tropical downpours. Look for an IPX4 rating or higher, which indicates the light can withstand splashing water from any direction. A robust weather seal over the charging port is essential to prevent water ingress from shorting out the internal battery during a heavy rain shower.
Frequently Asked Questions (FAQ)
Is a flashing mode necessary or allowed on the PCN?
Flashing modes are highly effective during daylight hours or twilight transitions to alert other path users of your presence. However, using a high-intensity flashing or strobe mode at night on a dark PCN path is generally discouraged. Rapid, bright flashes can disorient oncoming cyclists and pedestrians, making it difficult for them to judge your distance and speed. For night riding, use a steady beam to illuminate your path, or select a gentle, low-intensity pulsing mode if your light has one.
Do I need a separate rear light if my headlight is bright enough?
Yes, a front headlight does not replace the need for a dedicated rear light. A headlight only makes you visible from the front and slightly from the sides, leaving you completely invisible to anyone approaching or overtaking you from behind. A dedicated red rear light is essential for comprehensive safety on the PCN, especially when navigating multi-directional paths where faster cyclists, runners, or personal mobility devices may need to pass you safely.

Community discussion
Share your experience or ask a question. Comments are reviewed before publication.