
For cycling on Singapore’s Park Connector Network (PCN), you generally need a front bicycle light capable of producing between 100 and 800 lumens, paired with an asymmetric or wide flood beam pattern. The exact brightness depends on whether you are navigating well-lit coastal stretches or dark, shaded connector paths under heavy tree canopy.
A proper setup ensures you can spot sudden obstacles like fallen branches or wet leaves while preventing your beam from blinding oncoming pedestrians and fellow cyclists on these shared pathways.
Identifying Lighting Challenges on the Park Connector Network
Singapore’s PCN is a highly diverse network of shared paths that transitions rapidly between different environments. You might start your ride on a brightly lit, wide coastal path, only to turn into a narrow, heavily shaded green corridor or a dark underpass beneath a major highway. These rapid transitions require lighting that can adapt to sudden drops in ambient light.
Products mentioned in this guide
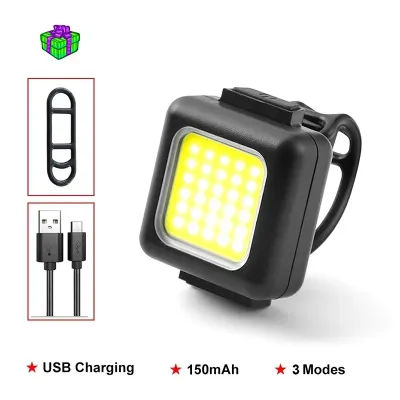
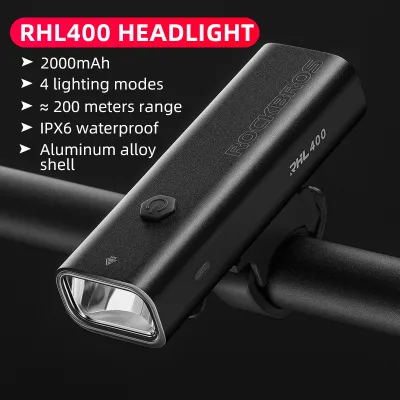
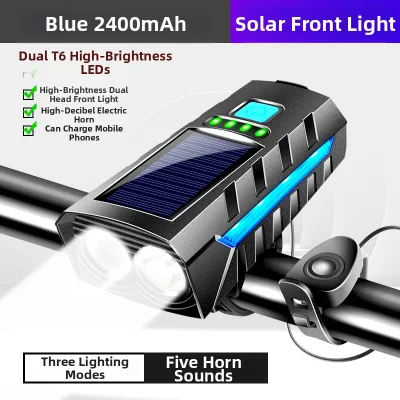
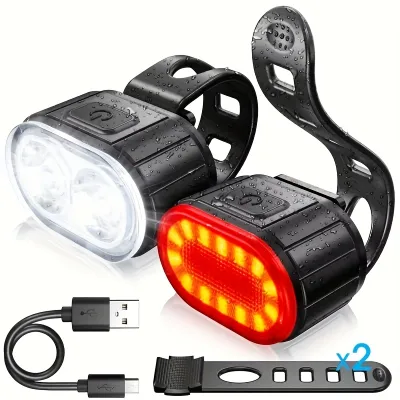
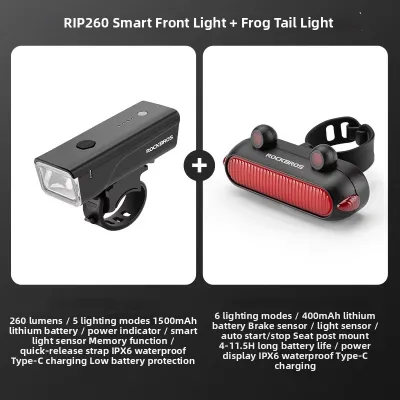
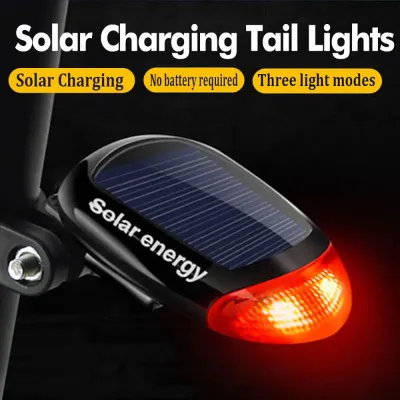
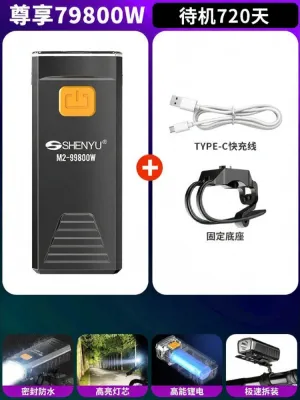
Prices are valid at publication and may change. Please refer to the product page for the latest price.
During the day, the primary challenge is not seeing the path, but ensuring you are visible to others. Shaded linkways, overhanging tree canopies, and sudden afternoon downpours can dramatically reduce contrast, making it difficult for pedestrians and oncoming riders to spot you. A low-intensity flashing or pulsing light helps bridge this visibility gap without causing distraction.
At night, the challenges multiply as you share the path with a variety of users, including runners, families with strollers, and personal mobility device users. Some sections of the PCN run alongside quiet canals or through nature parks where street lighting is minimal or non-existent. In these dark zones, a weak light leaves you blind to surface hazards, while an overly bright, poorly aimed light can temporarily blind oncoming path users, creating a serious safety hazard.
Evaluating Brightness for Different Path Sections
When shopping for bicycle lights, the first specification you will encounter is the lumen rating, which measures the total amount of visible light emitted by the source. However, manufacturer lumen ratings can sometimes be misleading, as some lights only hit their peak output for a few minutes before thermal throttling reduces the brightness to protect the internal electronics. To get an accurate picture of real-world performance, look for products that list sustained lumen outputs or carry verified testing standards on their packaging.

For well-lit urban sections of the PCN, a low setting of 100 to 200 lumens is usually sufficient to make your presence known without wasting battery power. When transitioning into darker zones, such as unlit underpasses or heavily forested connectors, you will want the ability to quickly toggle up to 400 to 800 lumens. This higher output provides enough throw to let you spot hazards like wet leaves, tree roots, or debris far enough ahead to react safely at typical PCN cruising speeds.
Balancing high brightness with battery life requires a strategic approach to power management. Running a light continuously at its maximum setting generates significant heat and drains the battery rapidly, often reducing runtime to under an hour. To avoid being left in the dark, select a light with a battery capacity that exceeds your planned ride duration by at least fifty percent when running on your most frequently used medium setting.
Before purchasing, check the product packaging or the manufacturer’s website for a detailed runtime chart. Reliable brands will provide a breakdown of how many hours the light can run at specific lumen levels. Verify whether the runtime is measured continuously or if it includes a gradual step-down in brightness as the battery depletes, ensuring you choose a light that maintains consistent illumination throughout your entire journey.
Selecting a Beam Pattern for Shared Paths
The shape of your light beam is just as important as its brightness when riding on shared paths. Standard bicycle lights often feature a simple spot beam, which projects a narrow, intense cone of light directly ahead. While excellent for off-road trail riding where you need to see far into the distance, a spot beam is poorly suited for the PCN because it fails to illuminate the path edges and can easily blind oncoming pedestrians.
A flood beam, by contrast, distributes light across a wider angle, illuminating the entire width of the path and making it easier to spot pedestrians stepping off the grass or obstacles on the shoulders. However, an unshaped flood beam still wastes a lot of light by projecting it upward into the eyes of oncoming path users. The ideal solution for urban shared paths is an asymmetric beam, often designed to comply with German road safety standards (StVZO), which features a sharp horizontal cutoff line at the top of the beam.
This sharp cutoff directs all the light downward onto the pavement, preventing any stray glare from rising into the eyes of oncoming cyclists or walkers. When evaluating a light’s beam pattern, look for a wide, flat distribution that covers the immediate foreground and mid-ground. This wide coverage is crucial for navigating tight corners on narrow connector paths, where you need to see around bends before your bicycle is fully aligned with the new direction.
Adapting Your Light Setup for Changing Conditions
To handle the diverse environments of the PCN safely, your lighting setup must be highly adaptable. Look for a front light that offers a dedicated mode button that is easy to operate while riding. This allows you to seamlessly drop your brightness when entering a brightly lit park area to conserve battery, and instantly boost it when entering a dark, covered linkway or tunnel.
Proper physical installation is the next step in optimizing your light’s performance. Mount your front light securely to your handlebars or a dedicated out-front mount, ensuring it is positioned horizontally and not tilted upward. A slight downward tilt of approximately ten to fifteen degrees ensures the brightest part of the beam hits the ground ten to fifteen meters ahead of your front wheel, maximizing path illumination while keeping the glare well below the eye level of oncoming users.
Your rear light requires equal attention to ensure you are visible from behind in all conditions. During the day, a bright, irregular pulsing mode helps you stand out against the busy urban background and shifting shadows of tree-lined paths. At night, switch your rear light to a constant low-intensity mode or a slow, gentle pulse; high-intensity flashing red lights at night can be highly disorienting to cyclists riding directly behind you on narrow paths.
Frequently Asked Questions (FAQ)
Do I need a rear light for daytime rides on shared paths?
Yes, using a rear light during daytime rides significantly improves your visibility on shared paths. While you might feel highly visible in broad daylight, the rapid transition between bright sunlight and deep shade under canopy cover can make you temporarily invisible to overtaking cyclists or personal mobility device users. A dedicated daytime running mode, which features a high-contrast flash pattern, helps break through these visual distractions and alerts others to your presence from a distance.
How should I angle my front light to avoid blinding pedestrians?
To properly angle your front light, stand your bicycle on a flat surface facing a wall about three meters away. Turn on the light and adjust the mount so that the top edge of the beam pattern sits well below your handlebar height on the wall. When you are out on the path, the main hotspot of the light should illuminate the ground roughly ten to fifteen meters in front of your bicycle, ensuring the beam does not rise high enough to hit the eyes of oncoming walkers or riders.
Are flashing or strobe modes permitted on shared paths?
While flashing modes are generally permitted and highly effective for daytime visibility, high-frequency strobe modes should be avoided on shared paths at night. Rapid, intense strobing can be highly disorienting to pedestrians, children, and other cyclists, making it difficult for them to judge your distance and speed. For night riding on the PCN, it is best practice to use a steady beam for your front light and either a steady or a slow, gentle pulsing mode for your rear light to maintain a comfortable environment for all path users.

Community discussion
Share your experience or ask a question. Comments are reviewed before publication.