
Selecting the right bicycle lights for night cycling on Singapore’s Park Connector Network (PCN) requires balancing personal visibility with the safety of other path users. Because the PCN is a shared-use infrastructure, your lighting setup must illuminate dark stretches of the path without blinding oncoming pedestrians, runners, and fellow cyclists. A successful setup pairs a front light featuring a downward-focused beam with a highly visible, wide-angle rear light to ensure you can see obstacles clearly while remaining visible from all directions.
Understanding PCN Lighting Conditions and Safety Needs
The Park Connector Network spans a diverse range of environments, meaning lighting conditions can change dramatically. While urban sections running through housing estates are brightly illuminated, other stretches—such as those bordering canals or nature ways—can be exceptionally dark. Under heavy tree canopies, ambient light drops to near zero, making it difficult to spot sudden path curves or debris without dedicated illumination.
Navigating these paths safely requires a keen awareness of the shared-path dynamic. Unlike open roads, the PCN brings cyclists into close proximity with pedestrians and joggers. Using an overly bright, unfocused light can temporarily blind oncoming path users, creating a safety hazard. Your goal is to illuminate the ground directly in front of your tires rather than projecting a high-intensity beam straight ahead.
Products mentioned in this guide
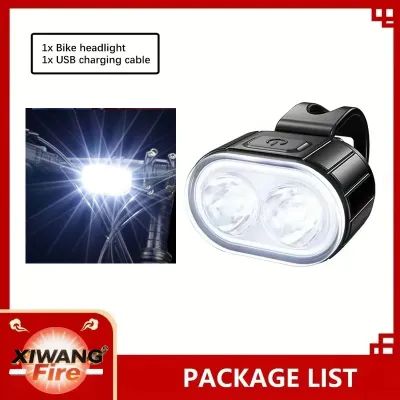
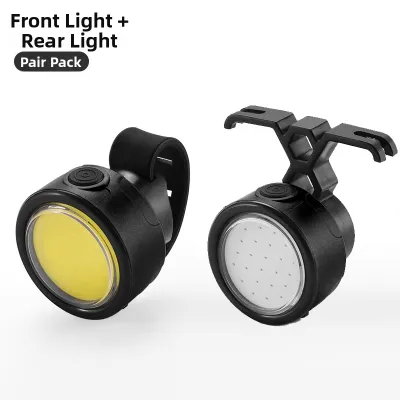
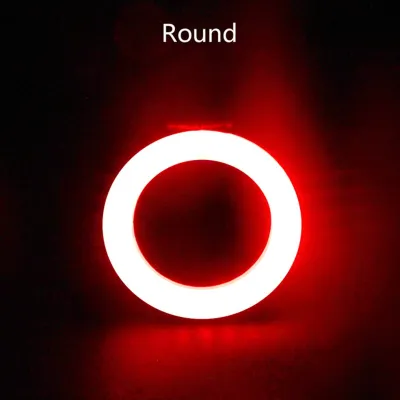
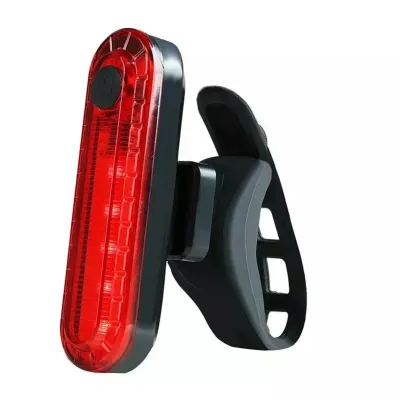
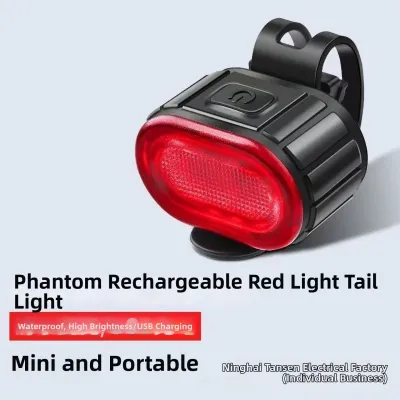
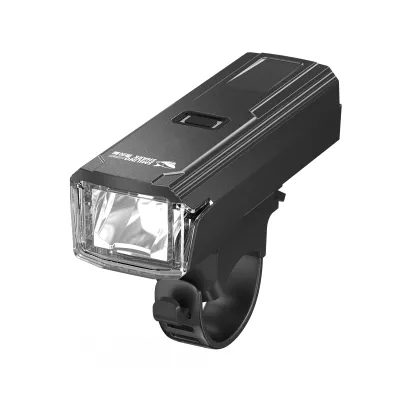
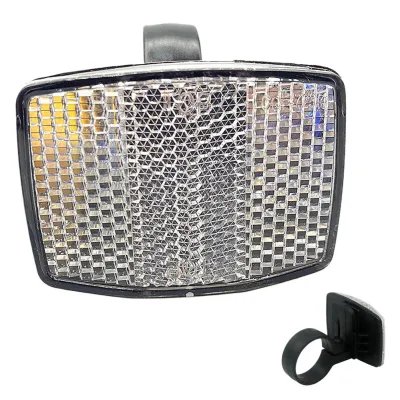
Prices are valid at publication and may change. Please refer to the product page for the latest price.
Additionally, Singapore’s tropical climate introduces environmental challenges that directly impact light performance. Sudden heavy downpours can reduce visibility to a fraction of its normal range in seconds, while high humidity can cause condensation to build up inside poorly sealed light housings. Your chosen equipment must not only cut through wet mist and rain but also feature robust weatherproofing to survive frequent exposure to moisture.
Key Features to Look for in Front and Rear Lights
To build a safe and reliable setup, you must evaluate specific technical features on product labels and packaging before making a purchase.

Front Lights: Brightness and Beam Patterns
When evaluating front lights, it is essential to distinguish between total light output, measured in lumens, and focused light intensity, measured in lux. Lumens indicate the total amount of light emitted by the source in all directions, whereas lux measures how much of that light actually lands on a specific surface area. For PCN cycling, a light with a high lumen rating is only useful if the optics are designed to project that light onto the path surface rather than scattering it upward.
To prevent blinding oncoming path users, look for front lights designed with anti-glare beam patterns or physical cut-off shields. These specialized optics shape the beam so that the top of the light pattern is cut off horizontally, directing the illumination downward onto the pavement. This design, often inspired by international road safety standards, ensures you can see the path ahead clearly while keeping the high-intensity glare well below the eye level of pedestrians and other cyclists.
Adjustable brightness modes are equally critical for managing battery life and adapting to changing environments. A versatile front light should offer multiple settings, such as a low-power or eco mode for well-lit park connectors, a high-power mode for pitch-black stretches, and a pulsing mode for daytime visibility. By switching to lower settings when ambient street lighting is sufficient, you conserve battery power for the darker segments of your route where maximum illumination is necessary.
Rear Lights: Visibility and Flash Modes
A high-quality rear light is your primary tool for alerting faster cyclists, runners, and personal mobility device users approaching from behind. When selecting a rear light, compare the effectiveness of steady and flashing modes for different riding scenarios. A steady red light is highly recommended when riding in groups or on narrow, crowded PCN paths, as it allows those behind you to accurately judge your distance and speed. Flashing modes, on the other hand, are highly effective at grabbing attention when crossing roads or navigating busy trail junctions.
Wide-angle visibility is another crucial safety feature to verify on product packaging. Many standard rear lights project a narrow beam directly backward, making them virtually invisible to traffic approaching from the sides. Look for models that feature curved lenses, side-emitting LEDs, or wrap-around designs that offer at least 180 degrees of visibility, ensuring you remain visible at intersections and roundabouts.
You may also encounter smart rear lights equipped with built-in accelerometers that function as automatic brake lights. These sensors detect deceleration and temporarily increase the light’s brightness to warn trailing riders that you are slowing down. Before relying on this feature, consult the product manual to verify its sensitivity settings and understand how the automatic activation affects overall battery consumption.
Mounting Options and Battery Management for Regular Rides
The practical usability of your bicycle lights depends heavily on how they mount to your frame and how easily they can be recharged. Quick-release mounts, which typically use durable silicone straps or slide-in clips, offer excellent convenience for daily riders who need to remove their lights quickly when parking at public racks or food centres to prevent theft. Conversely, tool-required bolted mounts offer a more permanent, secure attachment that is highly resistant to vibration, though they require more effort to remove for charging.
Battery management is a critical consideration for maintaining consistent safety on regular night rides. Verify that the light uses a modern charging standard, such as USB-C, which allows for fast recharging using standard phone chargers or power banks. Always check the manufacturer’s stated battery life for each specific brightness mode and compare it against your typical round-trip duration, ensuring you have a comfortable safety margin so your lights do not lose power mid-ride.
Given the frequent rain and high humidity in Singapore, inspecting the product’s Ingress Protection (IP) rating is essential for long-term durability. Look for lights that carry at least an IPX4 rating, which certifies resistance to water splashes from any direction. For maximum reliability during heavy tropical downpours, opt for lights rated IPX6 or higher, indicating they can withstand powerful water jets without moisture penetrating the internal electronics.
Building Your PCN Night Cycling Light Setup
When assembling your complete lighting system, plan your budget in S$ to balance the performance of both front and rear units. Rather than spending your entire budget on an ultra-bright front light, allocate approximately 60% of your funds to a reliable front light with a clean beam cut-off, and reserve the remaining 40% for a high-visibility rear light. This balanced approach ensures you are equally equipped to see the path ahead and be seen from behind.
To ensure seamless operation, aim for a setup with complementary runtimes and synchronized battery management. If your front light lasts for three hours on its medium setting, pair it with a rear light that can easily match or exceed that duration on its standard steady mode. This prevents situations where one light fails prematurely, leaving you partially invisible or unable to navigate dark sections of the path safely.
Before setting off on any night ride, establish a quick, consistent pre-ride safety checklist to verify your equipment is ready:
- Check the battery charge levels on both lights to ensure they have sufficient power for your planned route.
- Clean the light lenses with a soft cloth to remove dirt, dust, or dried rainwater spots that can scatter the beam and reduce brightness.
- Physically adjust the mounting angle of your front light downward, ensuring the center of the beam hits the ground approximately three to five meters ahead of your front wheel to avoid glaring oncoming path users.
Frequently Asked Questions (FAQ)
Do I need a helmet light for the PCN?
A helmet-mounted light can serve as an excellent supplementary visibility tool, but it should never replace your primary handlebar-mounted front light. Helmet lights are highly effective at illuminating your immediate line of sight, allowing you to light up trail signs or spot hazards when looking around sharp corners or navigating junctions. However, because helmet lights move with your head, they can easily shine directly into the eyes of oncoming pedestrians and cyclists; always use a low-intensity setting on your helmet light and avoid looking directly at other path users.
Are reflectors enough if my lights run out of battery?
Passive reflectors are not a safe or legal substitute for active bicycle lights on dark sections of the PCN. Reflectors do not emit light on their own; they only bounce back light from external sources, such as car headlights or streetlamps. On unlit or poorly lit stretches of the park connector network where there are no external light sources, reflectors remain completely dark and invisible. Active front and rear lights are mandatory to ensure you can navigate safely, spot obstacles in time, and remain visible to everyone else sharing the path.

Community discussion
Share your experience or ask a question. Comments are reviewed before publication.