
The ideal bicycle front and back light setup for night riding on Singapore’s Park Connector Network (PCN) balances your need to see the path ahead with the safety of other path users. Unlike riding on open roads where maximum brightness is prioritized, shared paths require a more considerate approach. A successful configuration relies on a front light with a downward-angled, cut-off beam pattern and a highly visible, non-glaring rear light. By selecting lights with adjustable outputs and mounting them correctly, you can navigate dark stretches safely without blinding oncoming cyclists and pedestrians.
Why Shared Paths Require a Specific Light Setup
Singapore’s PCN brings together a diverse mix of users after dark. On any given evening, you share these narrow corridors with fast-moving cyclists, casual joggers, families, and personal mobility device users. Because these paths are relatively narrow, a high-powered, poorly aimed light can easily blind oncoming users, creating immediate safety hazards.
The environmental lighting along the PCN also varies dramatically. While urban park connectors winding through residential estates are often brightly illuminated by streetlights, other sections—such as nature trails or coastal paths—can be exceptionally dark. Your light setup must be versatile enough to handle these rapid transitions without requiring constant manual adjustments that distract you from riding.
Products mentioned in this guide
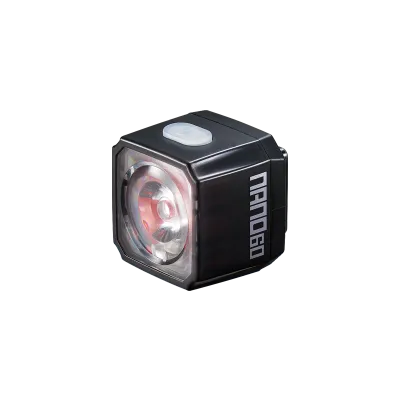
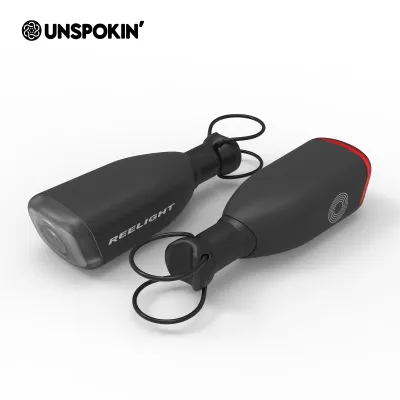
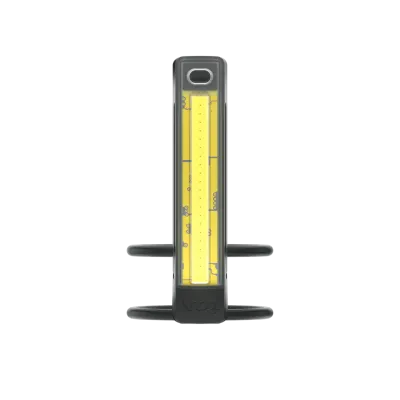
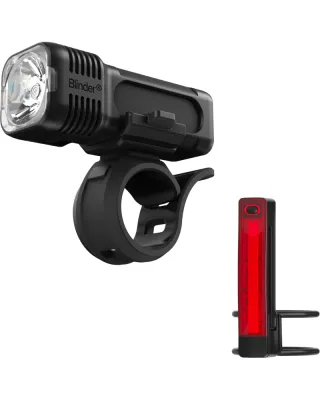
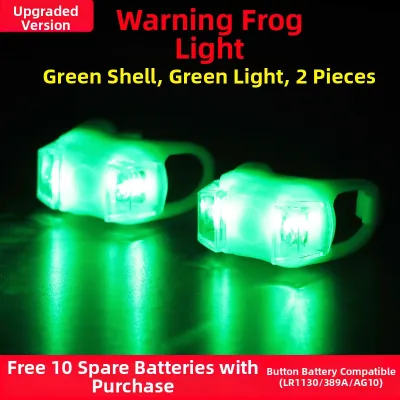
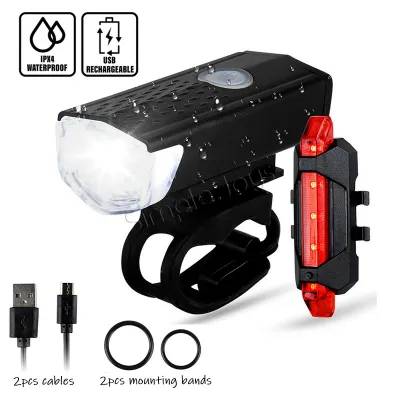
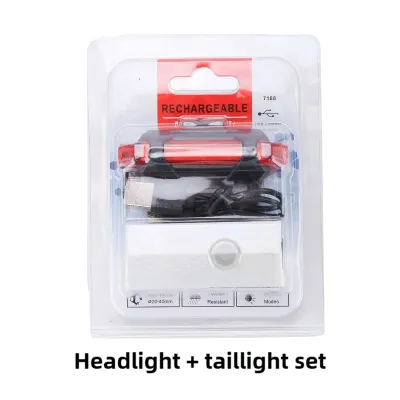
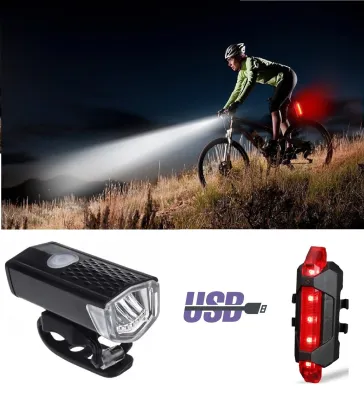
Prices are valid at publication and may change. Please refer to the product page for the latest price.
Furthermore, riding on shared paths means adhering to local guidelines under the Active Mobility Act. These regulations require riders to equip their bicycles with functioning front and rear lights during the hours of darkness. Crucially, the law emphasizes that these lights must be operated in a manner that prevents glare from causing discomfort or danger to other path users.
How to Choose a Front Light That Illuminates Without Blinding
When shopping for a front light, the beam pattern is far more important than raw lumen output. Standard bicycle lights often feature symmetrical spot or flood beams that scatter light in all directions, including upward into the eyes of oncoming traffic. Instead, look for lights designed with a cut-off beam pattern, often compliant with German StVZO standards. These specialized lenses shape the beam to project a flat horizontal line, directing all light downward onto the pavement.

To determine the appropriate brightness, evaluate the specific routes you plan to ride. For well-lit urban connectors, a front light operating between 100 and 200 lumens is generally sufficient to make your presence known to others. If your route includes unlit nature corridors, you will need a light capable of producing 400 to 600 lumens to clearly identify surface hazards like twigs or uneven pavement. Always verify that the light you choose offers multiple brightness modes so you can dim the output when entering brighter areas.
Mounting location also plays a critical role in beam control. Handlebar mounts are the preferred choice for PCN riding because they position the light at a lower, more consistent angle, making it easier to direct the beam downward. While helmet mounts are popular for off-road trail riding, they are highly discouraged on shared paths. A helmet-mounted light will inevitably shine directly into the eyes of oncoming path users whenever you turn your head to make eye contact.
Finally, consider the practical aspects of battery management and charging. Look for lights featuring clear battery life indicators, such as color-coded LED power buttons, so you are never caught off guard. USB-C rechargeable models offer the greatest convenience, allowing you to top up the battery easily between rides.
Selecting a Rear Light for Maximum Visibility and Safety
A rear light serves a single primary purpose: to make you visible to anyone approaching from behind. Unlike front lights, which require higher outputs to illuminate the ground, a rear light only needs to produce between 10 and 50 lumens to be highly effective at night. Chasing excessively high lumen ratings for a taillight on a shared path is unnecessary and often results in blinding the cyclists riding directly behind you.
To maximize your safety at junctions and path crossings, prioritize rear lights that offer wide-angle visibility. Many modern designs feature curved lenses or side-facing LEDs that project light in a wide arc, ensuring you remain visible to traffic approaching from the sides. This lateral visibility is particularly valuable when crossing minor roads or transitioning between different sections of the PCN.
When deciding between steady and flashing modes, consider the density of the traffic around you. A steady red light makes it much easier for following riders to accurately judge their distance from your bicycle. Flashing modes are highly effective at grabbing attention, but rapid, high-intensity flashes can be disorienting on dark, narrow paths. If you prefer a flashing mode, look for a light that offers a gentle pulse setting rather than a harsh strobe.
Mounting options typically include the seatpost, rear rack, or the back of your helmet. Whichever position you choose, verify that the light is mounted horizontally and is not angled upward. Because Singapore experiences sudden, heavy tropical downpours, ensure your rear light carries a verified water resistance rating of at least IPX4 to protect the internal circuitry.
Matching Light Setups to Your Riding Style
Your ideal light combination depends heavily on how and when you ride. If you are a casual evening cruiser who enjoys relaxed weekend rides along well-lit coastal loops, your priority should be simplicity and convenience. A lightweight, compact light set with integrated silicone strap mounts is perfect for this style of riding. These sets are easy to install, simple to operate, and can be quickly removed when you stop at a cafe.
For daily commuters who rely on the PCN to travel to and from work, reliability and security are paramount. Look for lights with robust, quick-release mounting brackets that allow you to slide the lights off in seconds when parking your bike at public racks. Commuters should also prioritize models with long runtimes and prominent side-visibility windows to stay safe when crossing busy road junctions between path segments.
If you are a fast-paced fitness rider training on the PCN during quieter late-night hours, you will need a more robust setup. Higher riding speeds require a longer reaction time, meaning your front light must project a clear beam further down the path. Opt for a high-capacity front light paired with a secure, out-front handlebar mount that keeps the light centered and stable over bumps.
If your rides frequently transition between dark park connectors and busy public roads, look for a versatile setup that offers cross-scenario compatibility. A front light with a quick-toggle button allows you to easily switch from a low, cut-off beam on the PCN to a brighter, more conspicuous mode when merging onto the road. This adaptability ensures you remain safe and compliant regardless of where your journey takes you.
Setup, Alignment, and Path Etiquette
Properly installing and aligning your lights is just as important as choosing the right models. To set up your front light correctly, mount it securely to your handlebars and point the lens downward. A good rule of thumb is to aim the brightest part of the beam—the hot spot—at the ground approximately 5 to 10 meters in front of your front wheel. This distance provides adequate reaction time at moderate speeds while keeping the top edge of the beam well below the eye level of oncoming users.
Before setting off on any night ride, perform a quick glare check. Turn on your lights, step a few meters in front of your stationary bicycle, and crouch down to the eye level of a pedestrian. If the light feels uncomfortably bright, adjust the mounting angle downward until the glare disappears. Also, check that all mounting brackets are tightened securely so that vibrations from riding over tactile paving or wooden bridges do not cause your lights to shift upward.
Routine maintenance is essential to keep your lights functioning reliably. Wipe down the lenses regularly with a damp microfiber cloth to remove road grime and dust, which can scatter the beam and reduce overall brightness. Periodically inspect the rubber seals protecting the charging ports to ensure they remain intact and free of debris.
Finally, practice good path etiquette by remaining highly aware of your surroundings. When approaching well-lit plazas or crowded park areas, consider dimming your front light to its lowest setting. If you stop along the path to rest, turn off your front light entirely or turn your bicycle away from the path so you do not project a blinding beam directly into the eyes of passing riders.
Frequently Asked Questions (FAQ)
Are flashing front lights allowed on shared paths in Singapore?
Yes, flashing front lights are generally permitted under the Active Mobility Act, provided they do not cause undue glare or blind other path users. However, on narrow or poorly lit sections of the PCN, a high-intensity flashing front light can be highly disorienting to oncoming cyclists and pedestrians. The best practice is to use a steady beam mode when riding on shared paths, reserving flashing modes for daytime riding or highly congested road environments where you need to stand out against background traffic.
How many lumens do I really need for the Park Connector Network?
For most well-lit urban segments of the PCN, a front light output of 100 to 200 lumens is perfectly adequate to ensure you are visible to others. If your route takes you through unlit nature corridors or coastal paths, you will want a light capable of producing 400 to 600 lumens to safely illuminate the path surface. Rather than searching for the highest possible lumen rating, look for a light that offers multiple adjustable brightness levels so you can adapt your output to the changing ambient light conditions of your ride.

Community discussion
Share your experience or ask a question. Comments are reviewed before publication.