
A reliable bicycle tail light is essential for safety and visibility when riding on the Park Connector Network (PCN). Whether you are commuting after sunset or enjoying an early morning ride, a rear light ensures you remain visible to other path users. Choosing the right light involves understanding the unique demands of shared-use paths, tropical weather, and various bicycle frame designs. By focusing on practical specifications, mounting security, and appropriate brightness levels, you can select a tail light that enhances safety without blinding those riding behind you.
Understand the Park Connector Network Riding Environment
The Park Connector Network consists of a vast system of multi-use paths linking parks and residential estates. Unlike dedicated road lanes, these paths are shared by families, joggers, personal mobility device users, and casual walkers. This mixed-traffic environment requires cyclists to use equipment that signals their presence clearly without creating hazards.
Lighting conditions along these paths change dramatically. Some stretches run alongside well-lit urban roads, while others wind through dense nature parks or canal banks where tree canopies block out light. A tail light must handle these transitions, offering sufficient brightness in dark zones while remaining visible against city lights.
Products mentioned in this guide
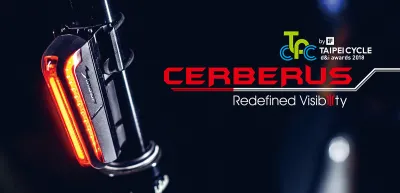
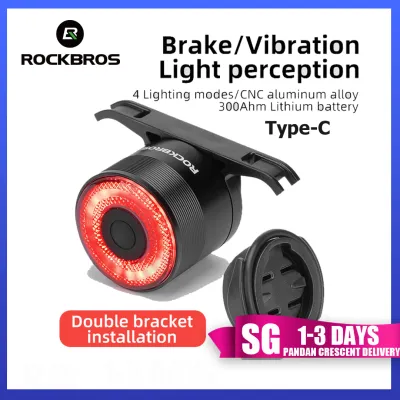
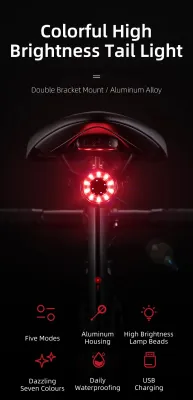
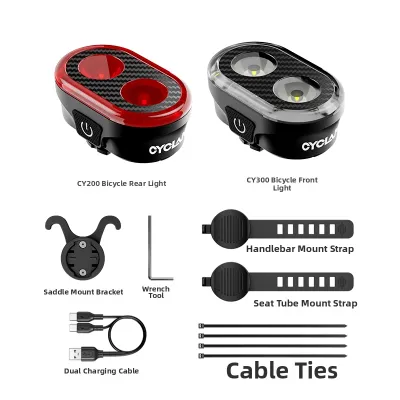
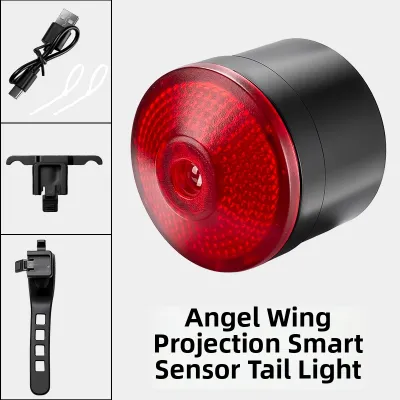
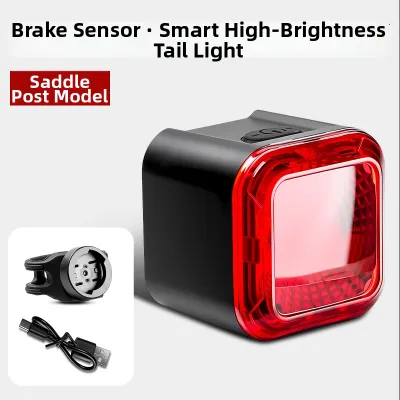
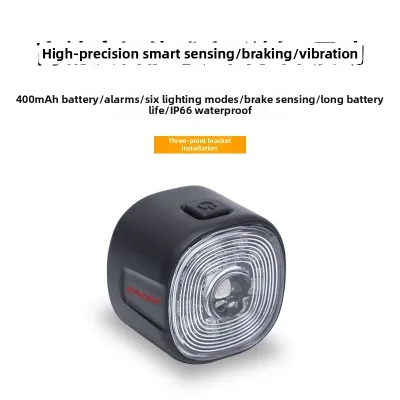
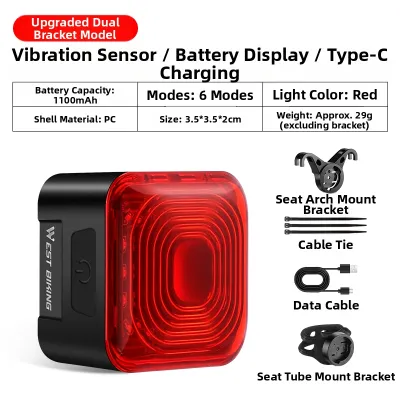
Prices are valid at publication and may change. Please refer to the product page for the latest price.
Furthermore, the local tropical climate introduces specific challenges. Sudden, heavy downpours can occur with little warning, and high humidity persists year-round. These factors make a basic, non-weatherproof light highly susceptible to water ingress, making durability a primary consideration.
Evaluate Visibility and Light Modes for Shared Paths
When reviewing product specifications, light modes and output levels are critical indicators of performance on shared paths. Most modern lights offer steady and flashing modes. A steady beam helps trailing path users judge your distance and speed accurately on narrow paths. Flashing modes are highly effective at catching attention in high-traffic areas, but they should be used with care to avoid disorienting others.

Beam angle and side visibility are equally important safety features. Many standard tail lights project a narrow beam directly backward, making them difficult to see from the side. On shared paths with numerous intersections, a light with wide-angle optics or side-facing LEDs ensures you are visible from oblique angles. Look for designs specifying a wide beam spread of 180 degrees or more.
Brightness is measured in lumens, and while higher numbers mean greater visibility, excessive brightness can be counterproductive. A tail light emitting hundreds of lumens can blind a cyclist riding directly behind you. Look for adjustable brightness settings that allow you to lower the output to a comfortable level (typically between 10 and 50 lumens for night riding on shared paths) while reserving higher outputs for daytime visibility.
Verify Weather Resistance for Tropical Conditions
To ensure your tail light survives sudden tropical downpours, verify its water resistance rating rather than relying on generic marketing terms like “waterproof.” The standard measurement is the Ingress Protection (IP) rating. A reliable tail light should carry a rating of at least IPX4 to protect against splashing water. For complete peace of mind during heavy rainstorms, look for an IPX6 rating, which indicates protection against powerful water jets, or IPX7, which allows for temporary immersion.
The materials used in the light and its mount must withstand constant exposure to high humidity and intense sunlight. Ultraviolet (UV) radiation can degrade cheap plastics and silicone straps over time, causing them to become brittle and snap. Look for high-grade polycarbonate housings and UV-stabilized silicone or rubber mounts that resist degradation, along with rust-proof hardware.
The integrity of the seals is another critical point of inspection. Before purchasing, examine the charging port covers and battery seals. These should be made of thick, flexible rubber or silicone that fits snugly into the port without gaps. A loose or flimsy port cover is the most common entry point for moisture, which can quickly corrode the internal circuitry and render the light useless.
Compare Power Sources and Battery Management
Choosing between a rechargeable tail light and one using replaceable batteries depends on your riding frequency and maintenance preferences. Rechargeable models, typically utilizing USB-charged lithium-polymer batteries, are highly convenient for regular commuters. They eliminate the ongoing cost of buying disposable batteries and generally offer more compact, lightweight designs with higher light output capabilities.
Replaceable battery models, which often run on AAA or coin-cell batteries, remain a practical choice for occasional riders or those who embark on long-distance journeys where charging opportunities are unavailable. The primary advantage is swapping in fresh batteries instantly if the light dies mid-ride. However, they tend to be bulkier, and the cost of replacement batteries can accumulate over time if used frequently.
When evaluating battery life, cross-reference the manufacturer’s runtime claims with the specific light modes you intend to use. A light claiming a 20-hour runtime may only achieve that on its lowest flashing setting, while a high-intensity steady mode might drain the battery in under two hours. Additionally, look for models equipped with a low-battery indicator, such as a color-changing LED, which warns when power drops.
Check Mounting Stability for Your Bicycle
A tail light is only useful if it remains securely attached to your bicycle. Bicycles feature various seatpost shapes, ranging from standard round tubes to aerodynamic profiles found on road and gravel bikes. Before purchasing, verify that the included mounting bracket is compatible with your specific seatpost shape. Many manufacturers include angled rubber shims or multi-fit straps designed to accommodate different profiles.
The attachment mechanism itself plays a significant role in both convenience and security. Flexible silicone straps allow for tool-free installation and quick removal when parking in public areas to prevent theft. However, if you prefer a permanent setup, a bolt-on bracket securing directly to the seatpost or saddle rails offers greater stability and is much harder for opportunistic thieves to remove.
Vibration resistance is crucial for maintaining the correct light angle over uneven path surfaces, speed bumps, and tactile paving. A poorly designed mount may slip during a ride, pointing the light downward or upward, which drastically reduces your visibility. Look for mounts with textured rubber backings that grip the seatpost firmly and robust locking mechanisms that prevent the light from rattling loose.
Follow Local Regulations and Shared-Path Etiquette
Riding on public paths and roads carries legal responsibilities regarding bicycle equipment. Local regulations require cyclists to display a red light at the rear of the bicycle when riding during hours of darkness. This light must be visible from a reasonable distance to ensure other path users can identify your presence in a timely manner. Failing to use a rear light compromises safety and constitutes a regulatory infraction.
Beyond legal compliance, practicing good shared-path etiquette is essential for maintaining a harmonious environment on the Park Connector Network. In crowded areas, aggressive flashing modes can distract or blind other path users. It is courteous to switch your tail light to a steady mode or a gentle, low-frequency pulse when riding in close proximity to others, reserving intense flashing modes for isolated stretches.
Some modern tail lights feature built-in deceleration sensors acting as automatic brake lights, increasing in brightness when you slow down. While this feature adds safety value in stop-and-go traffic by alerting those behind you, check the manufacturer’s instructions regarding mounting angles. These sensors often rely on internal accelerometers requiring the light to be mounted perfectly level to function accurately, as an incorrect angle can lead to false triggers.
Frequently Asked Questions (FAQ)
Do I need a brake light function for PCN cycling?
A brake light function is not legally required for cycling on the Park Connector Network, but it can provide an extra layer of safety in high-traffic areas. Because PCN routes feature mixed speeds and frequent stops for crossings, pedestrians, and obstacles, a light that brightens as you decelerate can warn trailing riders immediately. If you choose a model with this feature, ensure you follow the manufacturer’s instructions for calibration and mounting, as incorrect positioning can prevent the sensor from detecting speed changes accurately.
Can I use a generic clip-on light instead of a seatpost mount?
While generic clip-on lights that attach to saddlebags, backpacks, or clothing offer flexibility, they are generally less stable than dedicated seatpost mounts. A light clipped to a loose bag or fabric can easily bounce, shift, or point downward, severely compromising its visibility angle to those behind you. If you must use a clip-on light, ensure it is fastened securely to a rigid loop and check periodically during your ride to confirm that it remains facing directly backward and has not fallen off.

Community discussion
Share your experience or ask a question. Comments are reviewed before publication.