
Riding along Singapore’s extensive Park Connector Network (PCN) offers a scenic, breezy, and convenient way to explore the island, especially during the cooler hours of dawn, dusk, and night. However, navigating these shared paths safely and responsibly requires more than just a reliable bicycle; you must equip your ride with proper lighting. Choosing the right bike lights ensures you remain highly visible to pedestrians, runners, and other cyclists while illuminating potential hazards on the path ahead. It also keeps you on the right side of local regulations, preventing unnecessary fines and ensuring a harmonious sharing of public spaces. By understanding what to look for in terms of brightness, beam shape, and durability, you can select a setup that perfectly matches your riding schedule and route conditions.
Understanding LTA Regulations for Bike Lights
In Singapore, the Land Transport Authority (LTA) mandates specific lighting requirements for active mobility devices, including conventional bicycles and power-assisted bicycles, when riding on public paths and roads during hours of darkness. The baseline legal requirement is straightforward: your bicycle must be equipped with a front light that emits a white beam and a rear light that emits a red beam. These lights must be switched on during low-light conditions, typically defined from 7:00 PM to 7:00 AM, or whenever visibility is poor due to sudden weather changes like heavy rain or thick haze.
When selecting your equipment, it is essential to verify current LTA guidelines regarding light modes and visibility distances. Generally, the regulations require that the lights be visible from a reasonable distance to alert other path users of your presence well in advance. While both steady and flashing modes are commonly available on modern lights, you should check the latest local rules to ensure flashing modes are permitted on your specific route, as some areas or conditions may favor steady beams to prevent disorientation.
Products mentioned in this guide
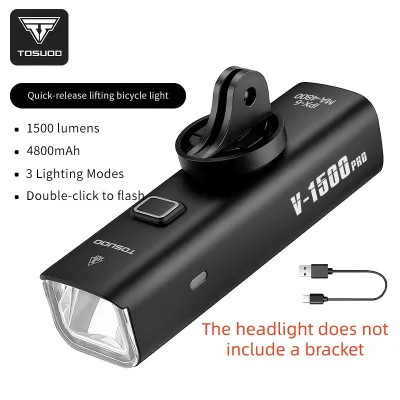
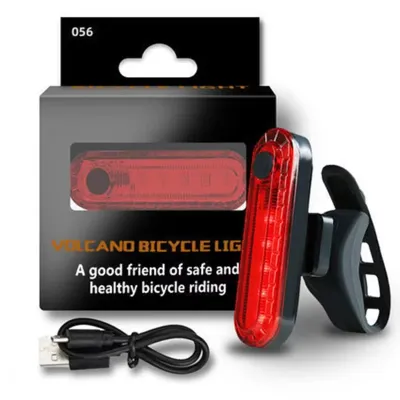
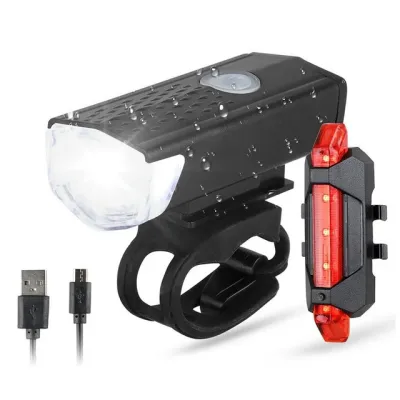
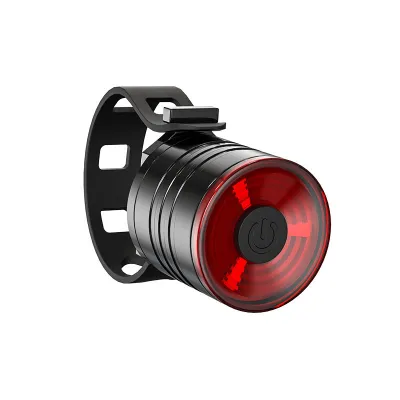
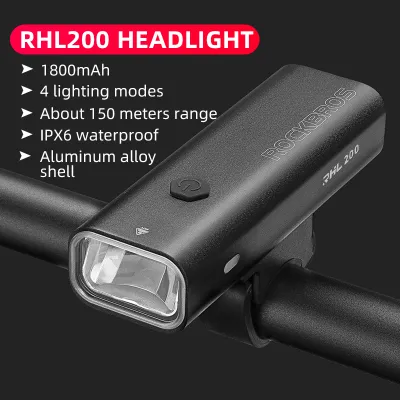
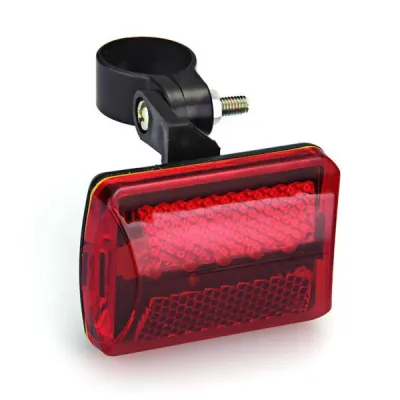
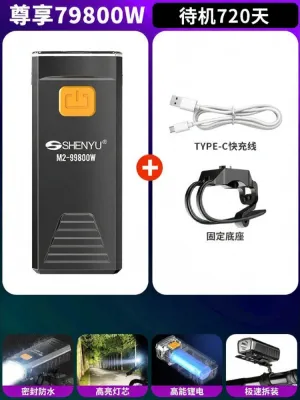
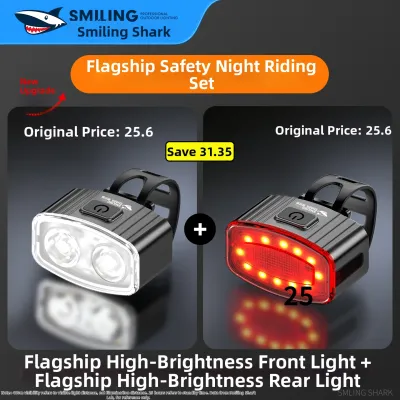
Prices are valid at publication and may change. Please refer to the product page for the latest price.
Before making a purchase, always inspect the product packaging or manufacturer specifications to confirm compliance with local standards. Avoid lights that feature excessively high beam intensities or poorly designed lenses that scatter light upward, as these can blind oncoming path users and may violate regulations against dazzling lights. A compliant light setup is designed to focus its beam downward onto the path, ensuring safety without causing discomfort to others.
Matching Light Types to PCN Riding Conditions
The PCN consists of diverse environments, ranging from brightly lit coastal stretches along East Coast Park to darker, tree-canopied paths in the heartlands. Your choice of beam pattern and light output should reflect these varying conditions. On shared paths with high pedestrian traffic, a wide, diffused beam pattern is highly beneficial. This spread illuminates the immediate path and the edges of the track, helping you spot joggers, pets, or sudden obstacles without projecting a blinding spotlight directly into the eyes of oncoming users.

When cycling through well-lit urban PCN stretches, your primary goal is to be seen rather than to see. In these areas, a lower lumen output is often sufficient, as the ambient street lighting already reveals the path surface. However, if your route includes unlit or dimly lit sections, such as certain rustic stretches or park loops, you will need a light with a stronger, focused beam. This allows you to actively scan for uneven pavement, fallen branches, or wet patches well in advance.
Transitional lighting periods, such as dawn and dusk, present unique visual challenges. As ambient light levels shift rapidly, your eyes require time to adjust, and contrast on the path is significantly reduced. During these hours, using a low-intensity steady light or a gentle pulse mode can bridge the gap, making you instantly recognizable to others without wasting battery power on high-intensity settings that are unnecessary before full darkness sets in.
Key Features to Evaluate Before Buying
When shopping for bike lights, battery life and charging convenience are critical factors to align with your riding habits. Integrated USB rechargeable systems, often utilizing lithium-ion batteries, are highly convenient for regular commuters who can easily plug them in at home or the office. If you plan longer weekend rides across the island, verify the manufacturer’s runtime specifications for different brightness modes, ensuring the light can sustain its output for your entire journey.
The mounting mechanism of a bike light must be robust enough to withstand the vibrations of riding over tactile paving, curb transitions, and occasional rough patches on the PCN. Look for versatile mounting straps or brackets made of durable silicone or reinforced plastic that can securely grip various handlebar and seatpost diameters. A loose mount not only causes the beam to bounce distractingly but also risks the light falling off mid-ride, creating a hazard for you and those behind you.
Singapore’s tropical climate demands excellent weather resistance. Sudden, heavy downpours and high humidity can easily compromise poorly sealed electronics. Check the product specifications for an Ingress Protection (IP) rating, aiming for at least IPX4, which protects against splashing water from any direction, or higher ratings like IPX6 for heavy rain resistance. A well-sealed charging port cover is essential to prevent moisture from entering the internal circuitry.
Building Your Front and Rear Light Setup
A balanced lighting setup requires coordination between your front and rear units to ensure comprehensive visibility. While the front light guides your path and alerts oncoming traffic, the rear red light must provide wide-angle visibility to anyone approaching from behind. Ensure your rear light is mounted at an angle that points directly backward rather than downward toward the rear wheel, maximizing its effective range without being obscured by your seatpost bag or loose clothing.
For enhanced safety, especially at complex intersections where the PCN crosses public roads, consider incorporating redundancy into your setup. Adding a secondary, low-intensity backup light or a helmet-mounted light can significantly improve your lateral visibility. A helmet light has the added advantage of illuminating wherever you turn your head, allowing you to look at directional signs or make eye contact with drivers before crossing a junction.
Before setting off on any PCN ride, establish a quick pre-ride operational checklist. Verify that both lights are securely mounted and aligned correctly to avoid blinding others. Turn them on briefly to check the battery level indicators, ensuring you have sufficient charge for the planned duration. Finally, select the appropriate mode for the current ambient light conditions, starting your ride with the confidence that you are both visible and compliant.
Frequently Asked Questions (FAQ)
Can I use my phone flashlight or a headlamp instead of dedicated bike lights?
While a phone flashlight or a standard headlamp might seem like a convenient temporary fix, they are generally unsuitable and potentially non-compliant substitutes for dedicated bike lights. Phone flashlights lack the focused beam patterns required to illuminate a path safely and are difficult to mount securely, risking damage to your device. Headlamps, when worn on the forehead, tend to project light directly into the eyes of oncoming cyclists and pedestrians whenever you look up, creating a safety hazard. Dedicated bike lights are engineered with specific optics to direct light downward onto the ground, ensuring you meet LTA visibility requirements without blinding others.
How should I clean and maintain my bike lights in a humid climate?
To prevent corrosion and prolong the lifespan of your bike lights in Singapore’s humid environment, regular maintenance is essential. After riding in wet conditions, gently wipe the lens and outer housing with a soft, non-abrasive microfiber cloth to remove dirt and road grime. Never submerge the lights or use harsh chemical solvents that could degrade the rubber seals. Ensure the light is completely dry before opening any charging port covers. Keep the USB port clean and dry, and leave the port cover closed securely whenever the light is in use to prevent moisture ingress and electrical shorts.

Community discussion
Share your experience or ask a question. Comments are reviewed before publication.