
Navigating Singapore’s Park Connector Network (PCN) after dark requires a lighting setup that balances personal visibility with shared path etiquette. While a handlebar light is essential for illuminating the path directly ahead, a helmet light serves as an invaluable secondary light source that follows your gaze. The ideal helmet light for PCN riding is not simply the brightest one available; rather, it is a lightweight, highly adjustable unit with a diffused beam pattern and accessible brightness controls that allow you to adapt instantly to changing environments.
Understanding Night Riding Conditions on the Park Connectors
The PCN is a highly diverse and dynamic environment. On any given evening, you will share these paths with a mix of pedestrians, runners, other cyclists, and personal mobility device users. Because these paths are shared, using an overly bright or poorly aimed spotlight can easily blind oncoming path users, creating safety hazards for everyone involved.
Lighting conditions along the PCN also vary dramatically. Some urban stretches, such as those running through downtown or near major housing estates, are brightly lit by streetlamps and ambient city glow. However, other sections—particularly those winding through nature parks, coastal areas, or under dense canopy—can be exceptionally dark. Overhanging branches, low-hanging leaves, and sudden path dividers can appear suddenly in these unlit zones.
Products mentioned in this guide
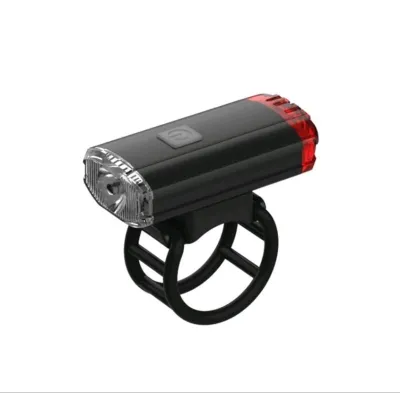
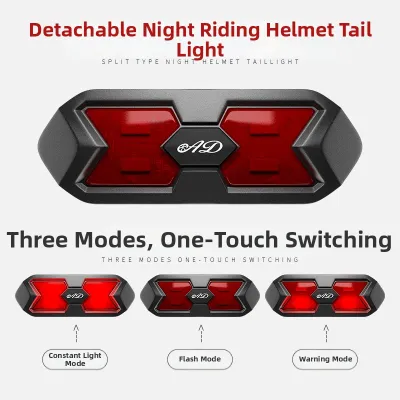
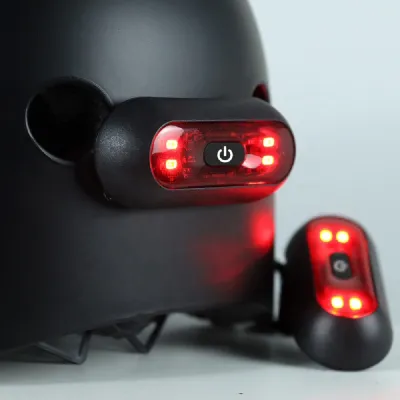
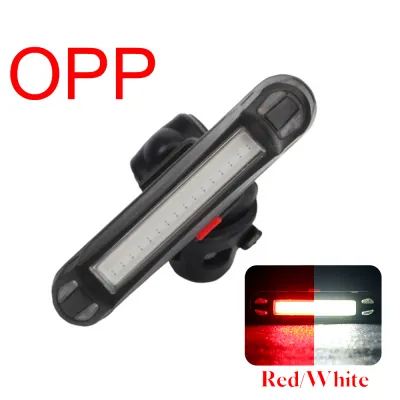
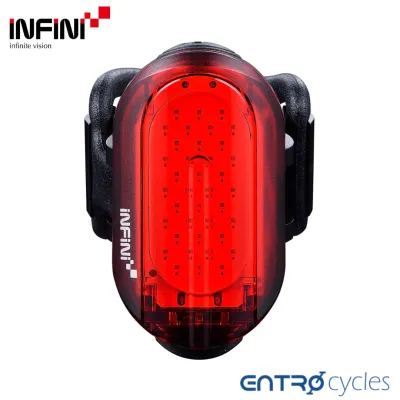
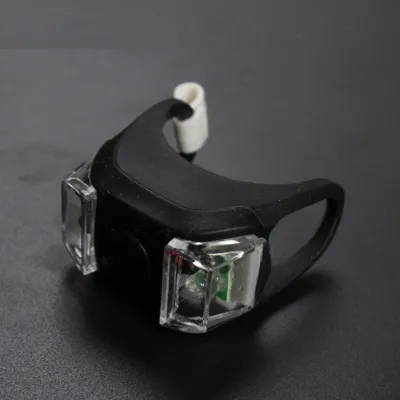
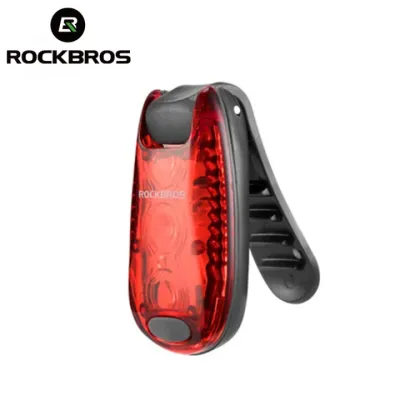
Prices are valid at publication and may change. Please refer to the product page for the latest price.
A helmet light addresses these challenges by projecting light exactly where you look. Unlike a fixed handlebar light, which only points where the front wheel is facing, a helmet-mounted light allows you to scan corners before turning, read overhead directional signage, and spot eye-level obstacles like low branches before they become a hazard.
Key Helmet Light Features for Shared Path Etiquette and Safety
When evaluating helmet lights for tropical night riding, several key specifications dictate performance, comfort, and safety.

First, prioritize beam pattern and brightness control. A tight, high-intensity spotlight beam is highly disruptive on shared paths because it concentrates intense light directly into the eyes of oncoming pedestrians and cyclists. Instead, look for lights that offer a diffused or wide flood beam pattern. This distributes the light more evenly and reduces harsh glare. Additionally, ensure the light has easily accessible, tactile buttons that allow you to cycle through multiple brightness modes quickly. This enables you to drop the output to a low setting when entering well-lit areas or when approaching other path users.
Second, pay close attention to weight and balance. Because a helmet light sits at the highest point of your gear, even a few extra grams can significantly increase neck strain over a long ride. Check the manufacturer’s specifications for the total weight of the light unit, including any integrated batteries. If you prefer a self-contained unit, aim for a lightweight model that sits low on the helmet profile to maintain a balanced center of gravity.
Third, consider heat dissipation and battery performance in Singapore’s warm, humid climate. Tropical night temperatures often remain high, which can cause high-output LED lights to run hot. Look for units designed with aluminum heat sinks or built-in thermal management systems that automatically step down brightness if the unit overheats. High humidity can also affect battery efficiency, so verify that the manufacturer’s runtime estimates at your preferred brightness level provide a comfortable safety margin for your typical ride duration.
Finally, robust weather resistance is non-negotiable. Sudden tropical downpours can occur at any time of year. Before purchasing, verify the manufacturer’s water-resistance rating on the product packaging or specification sheet. An IPX6 rating indicates protection against strong jets of water, while an IPX7 rating ensures the light can withstand temporary submersion, giving you peace of mind when riding through a sudden storm.
Combining Helmet and Handlebar Lights for Better Visibility
For the safest and most comfortable night riding experience, a dual-light setup—combining a handlebar-mounted light with a helmet-mounted light—is highly recommended. Each position serves a distinct, complementary purpose that a single light source cannot replicate.
A handlebar light is positioned low, which is ideal for casting long shadows over the ground. These shadows are crucial for revealing surface irregularities, such as tree root damage, potholes, and small debris on the path surface. Because the handlebar light is fixed to the frame, it provides a stable, consistent field of illumination directly in front of your bicycle.
In contrast, a helmet light provides dynamic, eye-level illumination. It allows you to look through tight corners, illuminate side paths before turning, and make eye contact with other path users or motorists at junctions. It also ensures that overhead hazards, which remain in the dark under a low-angle handlebar beam, are clearly visible.
To maintain proper etiquette on shared paths, use a strategy of balanced output. Set your handlebar light as your primary illuminator, using a medium or high setting with a clean cut-off beam that points downward at the path. Keep your helmet light on a lower, highly diffused setting. This combination ensures you have excellent depth perception and situational awareness without casting a blinding beam directly into the eyes of oncoming pedestrians.
Compatibility and Comfort Checks Before Purchasing
Before finalizing your purchase, perform a few practical checks to ensure the light integrates seamlessly with your existing cycling gear.
Start by verifying mounting compatibility. Helmet lights typically attach using hook-and-loop straps, adhesive mounts, or specialized magnetic brackets. Examine your helmet’s ventilation slots to ensure there is a clear path for straps to loop through securely without blocking airflow or pinching your head. If you use a helmet with a built-in visor or a highly aerodynamic design, check if the manufacturer offers a dedicated mount that matches your specific helmet model.
Next, consider cable management if you choose a light with an external battery pack. While external packs can reduce the weight on your head by keeping the battery in a jersey pocket or backpack, the connecting cable must be routed carefully. Ensure the cable is long enough to allow full head rotation without pulling, and check that it can be secured to your helmet or clothing to prevent snagging on low branches.
Lastly, look into local warranty and support options. Purchasing from a reputable local retailer or an authorized distributor ensures you have access to reliable customer service and straightforward return policies. Whether you are investing S$40 or over S$150 in a lighting system, local support provides peace of mind. Check the warranty duration and verify whether the manufacturer covers water damage or battery degradation under normal riding conditions in Singapore.
Frequently Asked Questions (FAQ)
Do I need a helmet light if my bike already has a handlebar light?
While a handlebar light is sufficient for well-lit, straight paths, a helmet light is highly beneficial for comprehensive safety. A handlebar light only illuminates the area directly in front of your front wheel, leaving your sides and corners in darkness. A helmet light allows you to look into turns before you steer, spot low-hanging branches, and signal your presence to others simply by turning your head.
How do I avoid blinding pedestrians and other cyclists on shared paths?
To practice good path etiquette, always angle your helmet light slightly downward so the center of the beam hits the ground a few meters ahead of you rather than pointing straight out. When riding through well-lit urban sections of the PCN, switch the light to its lowest brightness setting or a diffused flood mode. Finally, when approaching oncoming path users, avoid looking directly at their faces to prevent your beam from shining into their eyes.

Community discussion
Share your experience or ask a question. Comments are reviewed before publication.