
Navigating Singapore’s extensive Park Connector Network (PCN) after dark offers a refreshing escape from daytime heat, but it requires a specialized lighting strategy to ensure safety and compliance. To ride safely on these shared paths, you need a dual-light setup: a front white LED light and a rear red LED light. The front light must provide sufficient illumination to reveal path hazards without blinding oncoming pedestrians and cyclists, while the rear light ensures you remain visible from behind. Because the PCN transitions rapidly between brightly lit urban corridors and pitch-black nature trails, your lighting setup must be versatile, weather-resistant, and securely mounted to handle both smooth pavements and sudden tropical downpours.
Assessing Park Connector Lighting and Path-Sharing Rules
Singapore’s PCN is a diverse network where ambient lighting conditions change dramatically from one kilometer to the next. Urban sections running through residential estates are often illuminated by bright streetlights, which reduce the contrast of your bicycle’s beam but make you highly visible to others. Conversely, coastal stretches, canal-side paths, and nature corridors can be exceptionally dark, with minimal or no ambient lighting. On these unlit trails, your front light becomes your primary tool for spotting uneven pavement, fallen branches, or wet leaves.
Because the PCN is a shared space, your lighting choices directly impact the safety of joggers, pedestrians, and other cyclists. High-powered lights pointed directly ahead can cause temporary blindness or severe glare for oncoming path users, creating hazardous situations on narrow paths. Local active mobility guidelines require cyclists to equip their bicycles with a front white light and a rear red light when riding during hours of darkness. These lights must be kept on and positioned correctly to ensure you are visible to other trail users from a reasonable distance, while flashing modes should be managed carefully to avoid disorienting those sharing the path.
Products mentioned in this guide
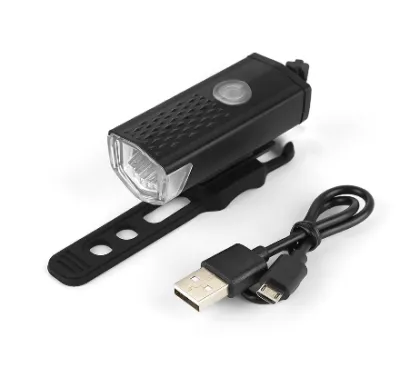
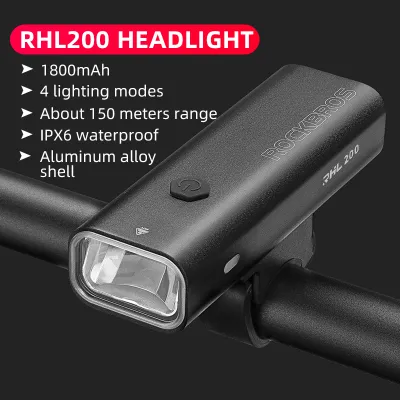
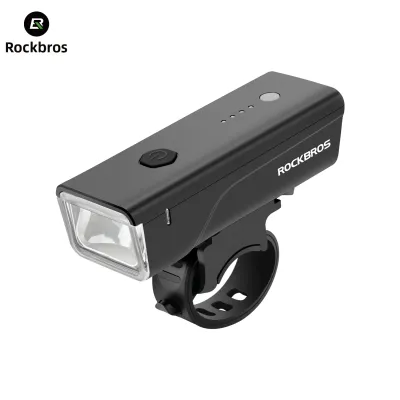
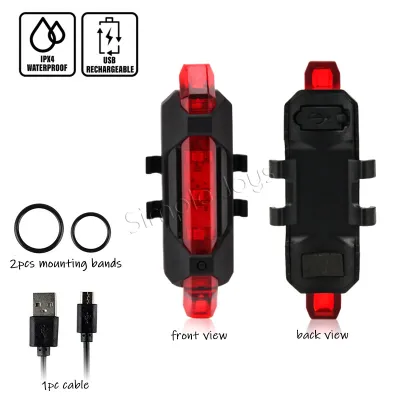
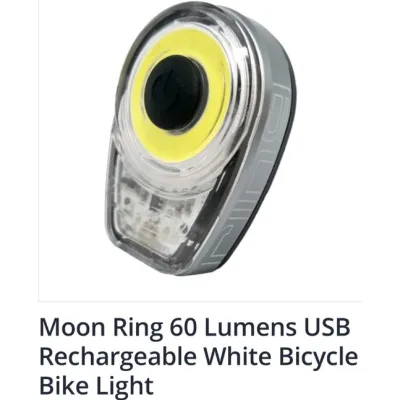
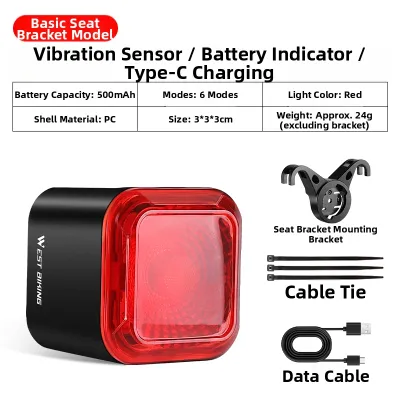
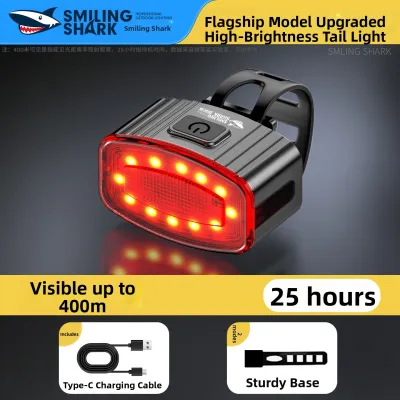
Prices are valid at publication and may change. Please refer to the product page for the latest price.
Selecting a Front LED Light for Variable PCN Conditions
When choosing a front LED light for bicycle use on the PCN, brightness and beam control are your primary considerations. For well-lit urban connectors, a lower brightness setting of 100 to 200 lumens is generally sufficient to make your presence known to others. However, when transitioning to unlit nature trails or coastal paths, you will need a light capable of producing 400 to 800 lumens to clearly illuminate the path ahead. Rather than buying a single-intensity light, look for models with adjustable brightness modes so you can toggle the output based on the surrounding ambient light.

The shape of the light beam is just as important as its brightness. Standard flashlight beams scatter light in a wide, symmetrical circle, which often shines directly into the eyes of oncoming path users. To prevent this, look for bicycle-specific LED lights designed with a cut-off beam pattern, often compliant with German StVZO standards. These lights feature a shaped lens or reflector that directs the light downward onto the ground, creating a flat horizontal beam that illuminates the pavement while keeping the glare below the eye level of oncoming pedestrians and cyclists.
Mounting stability is another critical factor to verify before purchasing. Your front light must remain securely attached to your handlebars, even when riding over tactile paving, speed bumps, or minor path imperfections. Check that the mounting bracket is compatible with your specific handlebar diameter and shape, especially if you use aerodynamic or oversized bars. Ensure the mount allows for quick angle adjustments so you can point the beam downward, and position it carefully to avoid cluttering your handlebars alongside your bell, brake levers, and phone mount.
Maximizing Rear and Side Visibility on Shared Paths
While a front light helps you navigate, a reliable rear red light is essential for ensuring that faster cyclists, personal mobility device users, and pedestrians approaching from behind can spot you early. When selecting a rear light, consider the balance between steady and flashing modes. A steady red light makes it much easier for others to judge your distance and speed in pitch-black areas. In contrast, a gentle flashing mode can be highly effective in well-lit urban areas where your light must compete with bright streetlights and storefronts. Many riders opt for a dual-light setup or a light that offers a low-intensity pulse mode to get the benefits of both.
Side visibility is a frequently overlooked aspect of night cycling safety, particularly at PCN intersections, driveway crossings, and blind corners where paths merge. Standard front and rear lights offer limited visibility from the side. To address this, look for lights that feature side-lit cutouts or amber side-marker LEDs. Complementing your active lights with passive reflectors on your wheel spokes, pedals, or frame can significantly improve your profile to crossing traffic and other path users without adding extra battery drain.
Proper positioning of your rear light is crucial for its effectiveness. Mount the light high enough on your seat post or rear rack so that it is not obstructed by your saddlebag, mudguards, or loose clothing. If you carry a backpack or panniers, verify that they do not hang down and block the light’s line of sight. The light should be angled horizontally rather than pointing down at your rear tire, ensuring the beam projects directly backward toward approaching trail users.
Managing Battery Runtime and Tropical Weather Resistance
Singapore’s tropical climate and sudden weather shifts demand a lighting setup that is both durable and reliable. Before setting out on a night ride, estimate your battery requirements based on your planned route distance and duration. A typical PCN loop can easily take one to three hours depending on your pace. Ensure your chosen light can run at your required brightness setting for at least 50% longer than your estimated ride time to account for unexpected detours or slower riding conditions.
Water resistance is non-negotiable for night riding in Singapore, where sudden evening downpours are common. Check the product specifications for an Ingress Protection (IP) rating. A rating of IPX4 indicates resistance to splashing water from any direction, which is suitable for light drizzle, but a rating of IPX6 or IPX7 is highly recommended to ensure the light survives heavy tropical rain and wet road spray. Inspect the rubber seals protecting the charging ports to ensure they fit tightly and remain free of dirt or debris.
You will also need to choose between built-in rechargeable batteries and replaceable battery setups. USB-C rechargeable lights are highly convenient, allowing you to top up the battery at home or using a portable power bank during a rest stop. If you opt for a built-in battery, verify its long-term degradation characteristics and overall capacity. Replaceable battery setups, while less common in high-lumen lights, offer the convenience of carrying spare cells for instant power, though they often require more frequent maintenance to keep the battery compartment dry and corrosion-free.
Assembling Your PCN Night Ride Lighting Checklist
Before you push off into the evening breeze, establishing a quick pre-ride routine ensures your lighting setup performs reliably throughout your journey. Start by checking the charge level of both your front and rear lights, ensuring they are fully powered and that any backup lights are packed. Give each mount a gentle shake to verify that the brackets are tight and will not slip or rotate when you encounter bumps or vibrations along the path.
Next, perform a quick alignment check. Stand a few meters in front of your bicycle and look back at your front light to ensure the beam is angled downward toward the ground, typically hitting the pavement about five to ten meters ahead of your front wheel. This simple adjustment ensures you get maximum path illumination while keeping the bright core of the beam well below the eye level of oncoming path users.
Finally, always prepare a backup strategy for longer rides. Carrying a compact, lightweight secondary light or a small power bank with the appropriate charging cables can prevent you from being stranded in the dark if your primary light runs out of power unexpectedly. By taking these simple precautions, you can enjoy a safe, responsible, and highly visible night ride across Singapore’s beautiful Park Connector Network.
Frequently Asked Questions (FAQ)
Can I use my phone flashlight as a temporary bicycle light on the PCN?
Using a smartphone flashlight as your primary or temporary bicycle light on the PCN is not recommended for several safety and practical reasons. Smartphone flashlights are designed to flood a wide area with low-intensity light, lacking the focused beam pattern and lens shaping required to project light far enough ahead for safe cycling speeds. This lack of beam control also means the light scatters upward, potentially blinding oncoming path users. Additionally, mounting a phone securely to your handlebars requires specialized brackets, and the vibrations from riding can risk damaging your phone’s internal camera stabilizers or causing the device to fall. It is always safer to carry a compact, dedicated LED bicycle light as a backup.
Are helmet-mounted lights allowed or recommended for PCN cycling?
Helmet-mounted lights are allowed on the PCN, but they should only be used as secondary, supplementary visibility aids rather than your primary path-illuminating device. Because a helmet light points wherever you turn your head, looking directly at an oncoming cyclist or pedestrian will shine the beam straight into their eyes, causing severe glare and discomfort. If you choose to use a helmet light, select a low-lumen model, angle it downward, and use it primarily to read your bike computer or to make yourself visible when looking through corners. Your primary, high-lumen path illumination should always come from a securely mounted handlebar light that remains fixed in the direction of your bicycle’s travel. Additionally, verify that any helmet-mounted light does not compromise the weight, balance, or protective integrity of your cycling helmet.

Community discussion
Share your experience or ask a question. Comments are reviewed before publication.