
Selecting the ideal Ravemen bike light for night cycling on Singapore’s Park Connector Network (PCN) depends on matching your specific riding route with the light’s beam design and battery capacity. Because the PCN features a mix of brightly lit urban pathways, pitch-black nature corridors, and high-density pedestrian zones, a single generic light setting will not suffice. To ride safely and legally, you need a light that offers adjustable brightness, a clear cut-off beam to prevent blinding oncoming path users, and sufficient runtime to cover your planned distance. By evaluating Ravemen’s specific product specifications, such as their dual-lens systems and anti-glare designs, you can find a configuration that balances personal visibility with shared-path etiquette.
Define Your PCN Night Riding Conditions
Singapore’s PCN is a highly diverse network of shared paths. If your typical evening ride consists of a leisurely commute along well-lit coastal stretches like East Coast Park or the Marina Bay loop, your primary need is to remain visible to others rather than to illuminate a dark path. In these bright urban environments, a compact light with a lower lumen output and a highly visible flashing mode is often sufficient to alert pedestrians and other cyclists of your presence.
Conversely, if your route takes you through unlit nature corridors, such as sections of the Green Corridor, the Northern Eastern Riverine Loop, or the Round Island Route, you will encounter stretches with zero ambient lighting. For these dark paths, you must rely entirely on your bike light to spot sudden obstacles, uneven pavement, or stray wildlife. Riding at fitness speeds of 20 km/h or more on these unlit stretches requires a much stronger, focused beam that projects far enough ahead to give you adequate reaction time.
Products mentioned in this guide
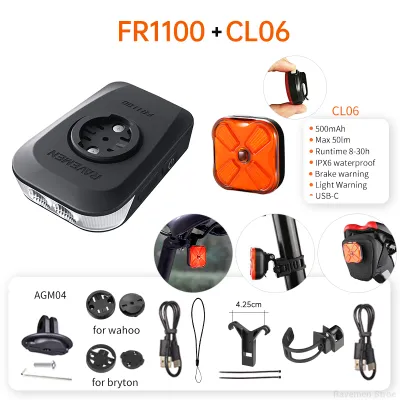
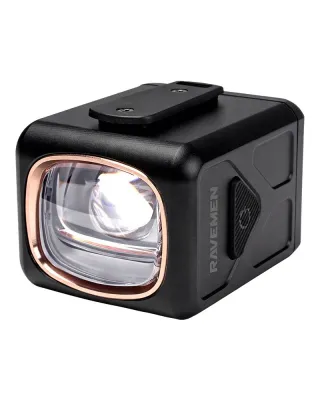
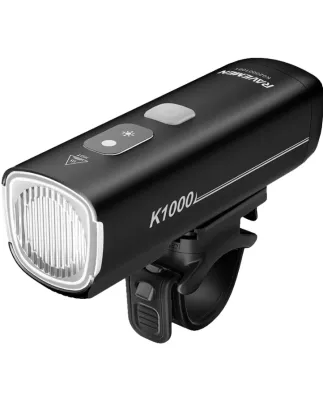
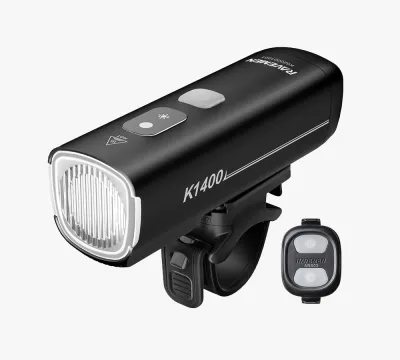
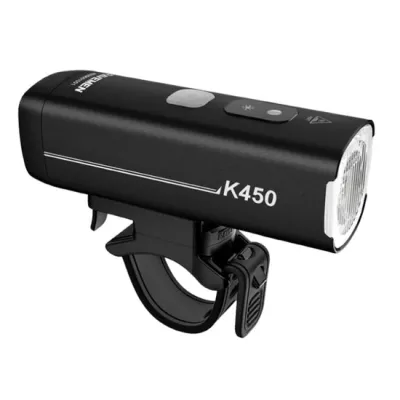
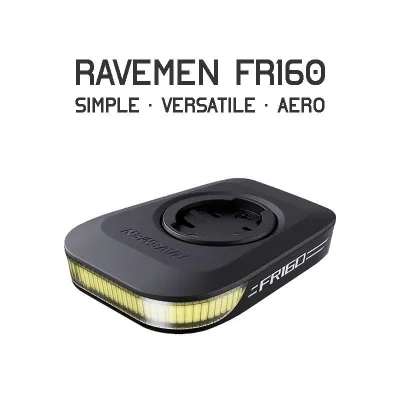
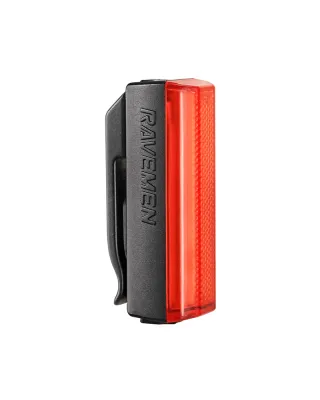
Prices are valid at publication and may change. Please refer to the product page for the latest price.
Shared-path etiquette is a critical consideration on the PCN, where cyclists share narrow lanes with runners, families, and personal mobility device users. Standard high-powered flashlight beams scatter light in all directions, which can temporarily blind oncoming path users and create dangerous situations. Selecting a light with dedicated anti-glare features is essential for maintaining safety and mutual respect on these shared paths.
Finally, you must estimate your typical ride duration and frequency to establish your battery requirements. A casual one-hour loop requires far less battery capacity than a multi-hour weekend endurance ride spanning several connected parks. Understanding your typical riding schedule helps you determine whether a standard USB-rechargeable internal battery is sufficient or if you need a model that supports external power banks during operation.
Choose a Beam Pattern That Respects Shared Paths
When evaluating Ravemen lights, the beam pattern is the most critical technical feature to examine. Traditional round beams throw light upward into the eyes of oncoming pedestrians and cyclists, which is both annoying and hazardous on narrow PCN paths. To address this, look closely at the manufacturer’s lens technology, specifically searching for designs that mimic automotive headlights by utilizing a physical cut-off line.

Ravemen’s product lineup often features dual-lens or cut-off beam designs. A cut-off beam shapes the light so that the upper edge of the beam is flat, preventing light from shining upward into the eyes of oncoming traffic while directing the illumination downward onto the path. When reading product descriptions, verify if the model uses a specialized optical lens designed to distribute light evenly across the ground directly in front of your wheel while maintaining a sharp horizontal boundary.
Some models incorporate a dual-lens system that combines a close-range floodlight with a long-range spotlight. This setup allows you to activate a wide, diffused beam for slow-speed riding in crowded areas, and then switch to a combined beam that adds a focused, far-reaching spotlight when you transition onto empty, unlit stretches. Check the official specification sheets to confirm how these lenses operate and whether they can be controlled independently.
To manage these patterns effectively during a ride, look for models that include a wired remote button. This accessory mounts near your handlebar grips, allowing you to change brightness levels or switch between beam modes instantly without taking your hands off the handlebars. This is particularly useful on the PCN, where you may need to dim your light quickly when approaching a group of pedestrians and then restore full brightness once the path clears.
Match Brightness and Battery Life to Your Ride Duration
Understanding how manufacturers measure and label brightness is key to selecting the right light. Brightness is measured in lumens, and while a higher lumen rating sounds impressive, it is important to match the output to your actual riding speed and ambient conditions. For well-lit PCN sections, an output of 100 to 200 lumens is generally ample for visibility. For completely unlit stretches, you will likely need a continuous output of 400 to 800 lumens to safely navigate the path at moderate speeds.
However, you must carefully analyze the relationship between lumen output and battery runtime. Manufacturers prominently display maximum lumen ratings on their packaging, but these high-output modes consume battery power rapidly, often draining the light in under two hours. Always check the detailed runtime specification table on the packaging or official website to see how long the light can sustain medium and low modes, which are the settings you will use most frequently.
For example, a light rated for a maximum of 1600 lumens might only run for 1.5 hours at that peak setting, but it could easily last 4 to 6 hours at a highly usable 400-lumen setting. If your typical night ride lasts three hours, you must ensure the light’s battery capacity can comfortably support your preferred brightness level for the entire duration of the trip, with some safety margin left over.
If you plan long-distance weekend rides that cover the entire Round Island Route, look for lights that feature USB-C charging ports and support “run-while-charging” functionality. This feature allows you to connect an external power bank to the light while it is mounted on your handlebars, effectively extending your runtime indefinitely. Verify this capability in the product specifications, as some lights disable operation or limit brightness modes when connected to an external power source.
Mount and Align Your Light for Maximum Safety
Even the most advanced bike light is ineffective if it is poorly mounted or incorrectly aligned. Before purchasing, check the compatibility of the included mounting bracket with your bicycle’s handlebars. Standard round handlebars typically measure 31.8mm or 35mm in diameter, which most stock mounts accommodate. However, if your bike uses integrated aero handlebars or non-round carbon bars, you may need to verify if the manufacturer offers compatible strap mounts or out-front mount adapters.
Once the light is securely mounted, proper alignment is crucial to make the most of the anti-glare cut-off beam. To align the light correctly, position your bicycle on a flat surface facing a wall about three to five meters away. Turn on the light and adjust the bracket vertically until the bright, flat upper edge of the beam sits below the handlebar height of your bicycle. This ensures the light projects downward onto the pavement and does not glare into the eyes of oncoming path users, even when riding over minor bumps.
In addition to a high-quality front light, complete visibility on the PCN requires a reliable rear light and reflective gear. While the front light helps you see and alerts oncoming traffic, a bright red rear light is essential for letting cyclists approaching from behind know your position. Look for a rear light with a wide-angle beam and multiple flashing modes to maximize your visibility from various angles.
To further enhance your safety profile, consider wearing clothing with integrated reflective strips or adding reflective tape to your bicycle frame and helmet. These passive safety measures work in tandem with your active lighting system, ensuring you remain visible to all path users even if your primary lights experience an unexpected battery drain or technical failure.
Frequently Asked Questions (FAQ)
Are Ravemen lights waterproof enough for Singapore's sudden rain?
Singapore’s tropical climate is famous for sudden, heavy downpours that can catch cyclists unprepared. To ensure your light can survive these conditions, check the IPX water-resistance rating on the product packaging or official specification sheet. Look for a rating of at least IPX4, which indicates protection against splashing water from any direction, or IPX6, which protects against high-pressure water sprays. Avoid submerging any cycling light in water, as IPX ratings for standard bike lights are designed for rain protection rather than full submersion. Always ensure the rubber charging port cover is pressed firmly in place before riding in wet weather.
Do I need a helmet-mounted light in addition to the handlebar light?
A handlebar-mounted light is the essential foundation for night cycling, but a secondary helmet-mounted light can be highly beneficial on specific PCN routes. If your route includes winding, unlit paths with sharp turns, a handlebar light will only illuminate directly in front of your front wheel, leaving the direction of your turn in darkness. A helmet light allows you to cast light exactly where you look, helping you spot obstacles around corners before your bike turns. However, if you use a helmet light, select a model with a highly focused, lower-intensity beam and be mindful to look down or away when approaching other path users to avoid blinding them.

Community discussion
Share your experience or ask a question. Comments are reviewed before publication.