
Selecting the ideal resistance band for your back workout depends on your specific training goals, your current pulling strength, and the exercises you plan to perform. Because the back consists of several large and small muscle groups—including the latissimus dorsi, rhomboids, trapezius, and rear deltoids—no single band type or tension level fits every movement. For heavy compound pulling and pull-up assistance, thick continuous loop bands offer the necessary structural support. For rowing variations and high-angle pulldowns, tube bands with integrated handles provide a secure grip and a natural line of pull. Meanwhile, thin, flat therapy bands excel at targeted shoulder mobility and rotator cuff activation before you begin your main working sets.
Which Resistance Band Type Fits Your Back Exercises?
To build a strong, balanced back, you must perform a variety of pulling angles, from vertical pulldowns to horizontal rows. Different band designs excel at different movement patterns, making it essential to match the band shape to the exercise.
Tube Bands with Handles
Products mentioned in this guide
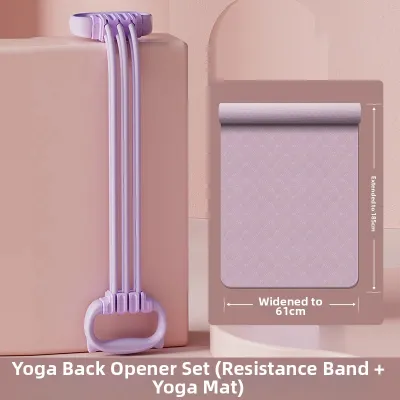
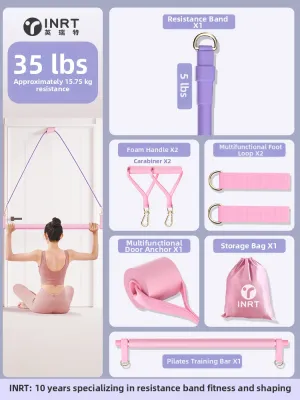
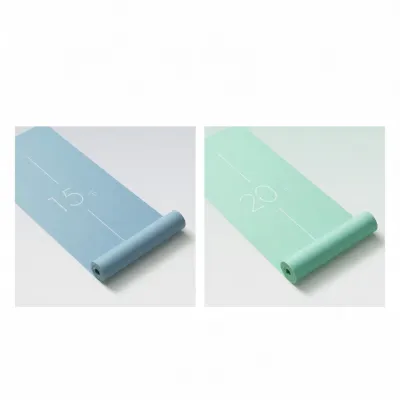
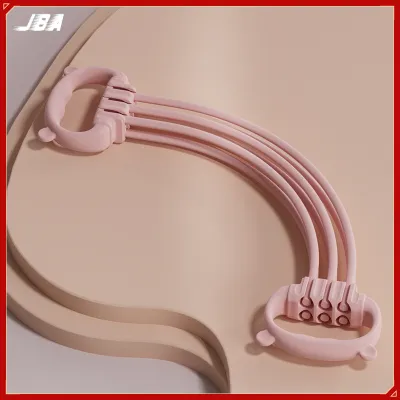
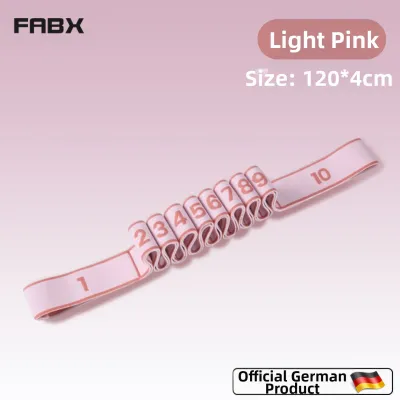
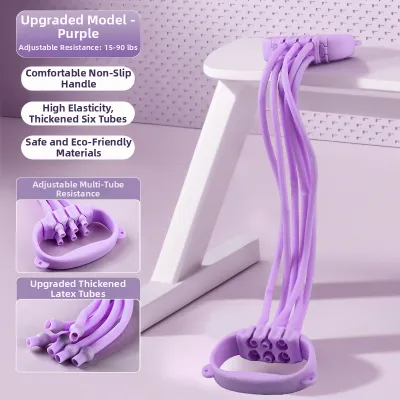

Prices are valid at publication and may change. Please refer to the product page for the latest price.
Tube bands are hollow rubber tubes equipped with carabiners or permanent handles at each end. These bands are highly effective for exercises that mimic cable machine movements, such as seated rows, standing chest-supported rows, and high-to-low woodchops. The handles provide a comfortable, ergonomic grip, preventing the rubber from pinching your hands during heavy pulling phases. This secure grip is particularly beneficial for back training, as it allows you to focus entirely on retracting your shoulder blades rather than worrying about your grip slipping mid-set.
Continuous Loop Bands (Pull-Up Assist Bands)
Continuous loop bands are flat, thick, and form a single unbroken circle, typically measuring about one meter in length. Because they are made of layered latex, they are incredibly durable and capable of handling high amounts of tension. These bands are the standard choice for assisted pull-ups and chin-ups, where they support a portion of your body weight to help you complete full-range repetitions. They are also highly versatile for anchoring around sturdy structural posts or overhead bars, making them excellent for heavy lat pulldowns and straight-arm pullovers.
Flat Therapy Bands
Flat therapy bands are wide, thin sheets of elastic material without loops or handles. They are primarily designed for low-resistance movements, rehabilitation, and targeted muscle activation. If you are preparing for a heavy back workout, these bands are perfect for performing light band pull-aparts, external shoulder rotations, and overhead mobility drills. They help wake up the smaller stabilizing muscles around the scapula, such as the infraspinatus and teres minor, ensuring your shoulder joints are warm and stable before you progress to heavier compound lifts.
How to Choose the Right Resistance Level for Your Strength
Selecting the correct tension level is critical for stimulating muscle growth while protecting your joints from strain. Because resistance bands do not have standardized weight markings, finding the right level requires a systematic approach.

Read Manufacturer Tension Charts
Never assume that band colors are universal across different brands. While many manufacturers use a progression from yellow (lightest) to black or gold (heaviest), others use entirely different color schemes. Always consult the manufacturer’s specific tension chart, which typically lists the estimated resistance range in kilograms or pounds at specific stretch percentages, such as 100% or 200% elongation. This gives you a realistic baseline of how much force the band will exert when stretched during your exercises.
Apply the Two-Rep Reserve Rule
To find your ideal starting tension for any back exercise, use the “two-rep reserve” (RIR) framework. Select a band that allows you to complete your target repetitions with strict, controlled form, while feeling as though you could only perform two more clean repetitions before your muscles fatigue completely. If you find yourself jerking your torso, shrugging your shoulders excessively, or cutting the range of motion short to complete a rep, the resistance is too high. Back training requires a complete contraction at the end of the movement; if you cannot squeeze your shoulder blades together fully, drop down to a lighter band.
Adjust Effective Resistance Dynamically
One of the greatest advantages of resistance bands is the ability to adjust tension without changing equipment. For continuous loop and therapy bands, you can instantly increase the resistance by shortening the active length of the band—simply choke up on your grip. For tube bands, you can increase tension by stepping further away from the anchor point or widening your stance when standing on the band. You can also stack multiple tube bands onto a single set of handles to create custom resistance levels that match your strength progression.
Pairing Band Types with Specific Back Movements
To maximize muscle engagement and ensure safety, you should pair specific band designs with the movement patterns they are best suited to support.
Seated and Bent-Over Rows
For horizontal pulling movements like rows, tube bands with handles offer the most natural path of motion. To perform a seated row, sit on the floor with your legs extended, loop the band securely around the soles of your feet, and hold the handles with a neutral grip. Pull the handles toward your lower ribs, keeping your chest proud and squeezing your shoulder blades together. For bent-over rows, stand on the center of the tube band, hinge forward at the hips while keeping a flat back, and pull the handles upward, driving your elbows toward the ceiling.
Assisted Pull-Ups and Lat Pulldowns
Vertical pulling movements require the heavy-duty support of continuous loop bands. To set up an assisted pull-up, loop a thick band over your pull-up bar and pull it through itself to create a secure girth hitch. Place one foot or knee into the hanging loop, grip the bar, and perform your pull-ups. The band provides maximum assistance at the bottom of the movement where you are weakest, helping you push past sticking points. For lat pulldowns, anchor the loop band to a high structural point, kneel on the floor, grip the band above your head, and pull down until your hands reach shoulder level, focusing on driving your elbows down and back.
Face Pulls and Rear Delt Flyes
Targeting the smaller muscles of the upper back, such as the rear deltoids and middle trapezius, requires lighter, more precise resistance. Using a band that is too heavy will cause your larger latissimus dorsi to take over the movement. Use a light tube band or a thin loop band for these exercises. For face pulls, anchor the band at upper-chest height, hold it with an overhand grip, and pull the band toward your nose while flaring your elbows outward. For rear delt flyes, hold a light band directly in front of your chest with straight arms and pull your hands out to the sides, squeezing your upper back at the peak of the movement.
Form Cues and Anchor Safety
Regardless of the movement, always maintain a strong, stable posture. Keep your core engaged to protect your lower back, and avoid using momentum to swing your body. Before starting any exercise, verify that the band is securely anchored and cannot slip. If you are using a door anchor, always place it on the side of the door that closes shut against the frame, rather than the side that pulls open, to prevent the door from accidentally swinging open under tension.
Essential Safety Checks and Anchor Point Setup
Because resistance bands store a significant amount of kinetic energy when stretched, a sudden snap or slip can lead to painful injuries. Incorporating a few simple safety habits into your routine will keep your workouts safe and productive.
Inspect the Material Before Every Session
Before you attach a band to an anchor or step on it, take a few seconds to run your hands along its entire length. Look closely for any signs of wear, including micro-tears, small nicks, white stress marks, or areas where the rubber has become sticky or brittle. Pay extra attention to the connection points where the tubing meets the plastic sleeves or carabiners, as these areas experience the highest stress. If you spot any damage, do not use the band.
Use Secure, Smooth Anchor Points
Never anchor your bands to sharp metal edges, rough wooden posts, or unstable household furniture. The friction from these surfaces can quickly cut through the latex, leading to a sudden snap. Instead, use a dedicated door anchor with a soft foam stopper, or wrap the band around smooth, round structural columns. If you must anchor to an outdoor fitness station or a gym rack, ensure the surface is free of rust and sharp burrs, or use a protective anchor strap to shield the band from direct friction.
Retire and Replace Bands Regularly
In warm, humid climates like Singapore, natural latex degrades more rapidly due to ambient moisture and heat. Sweat and body oils also accelerate this breakdown. If your bands begin to lose their elasticity, develop a powdery residue, or feel sticky to the touch, they have reached the end of their lifespan and should be retired immediately. As a general safety practice, replace frequently used bands every one to two years, even if they do not show obvious signs of damage, to ensure the material remains reliable.
Structuring a Balanced Back Workout with Bands
To get the most out of your resistance bands, organize your training session in a logical sequence that prioritizes joint health, compound strength, and targeted muscle fatigue.
The Three-Phase Workout Structure
Begin your session with a five-minute activation phase using a light therapy band. Perform high-repetition movements like band pull-aparts and overhead shoulder dislocates to lubricate the shoulder joints and activate the rotator cuffs. Next, transition to your primary compound movements, such as assisted pull-ups or heavy seated rows, where you can challenge the larger muscle groups of the back. Finally, complete your workout with isolation finishers, such as rear delt flyes or straight-arm pulldowns, to fully exhaust the target muscles without fatiguing your secondary stabilizer muscles.
Sets and Repetitions
Your set and rep schemes should align with your specific fitness goals. If your primary objective is muscle hypertrophy (growth), aim for 3 to 4 sets of 8 to 12 repetitions, using a band tension that brings you close to muscular failure by the final rep of each set. If you are training for muscular endurance, joint stability, or rehabilitation, opt for 2 to 3 sets of 15 to 20 repetitions with a lighter, highly controllable band, focusing on a slow, deliberate tempo.
Apply Progressive Overload
To continue making progress over time, you must gradually increase the challenge to your muscles. With resistance bands, you can achieve progressive overload by moving to a thicker band, shortening your grip to increase the starting tension, or slowing down the eccentric (lowering) phase of each repetition to increase the time under tension. You can also add a two-second pause at the point of maximum contraction to force your back muscles to work harder without needing to switch to a heavier band.
Frequently Asked Questions (FAQ)
Can resistance bands build back muscle as effectively as free weights?
Yes, resistance bands can be highly effective for building back muscle. While free weights provide a constant resistance profile governed by gravity, bands offer variable resistance, meaning the tension increases as the band stretches. This matches the natural strength curve of many pulling movements, where your muscles are stronger at the end of the range of motion. To build muscle successfully, you must focus on progressive overload by gradually increasing the band tension, maintaining high intensity, and ensuring you train close to muscular failure.
How do I clean and store resistance bands to prolong their lifespan?
To maximize the lifespan of your bands, wipe them down with a damp, clean cloth after every workout to remove sweat, skin oils, and chalk, which can degrade the latex over time. Avoid using harsh chemical cleaners, detergents, or alcohol-based sprays. Allow the bands to air dry completely in a shaded area, away from direct sunlight. Store your bands in a cool, dry drawer or storage bag, as prolonged exposure to ultraviolet (UV) rays and high humidity will dry out the material, causing it to crack and snap prematurely.
What should I do if the band slips out of the door anchor during a set?
If you feel the band shifting or slipping, immediately stop the exercise, slowly release the tension, and step back. Do not attempt to finish the repetition. Inspect the door anchor to ensure the foam stopper is positioned entirely on the opposite side of the door and that the door is completely latched and locked. If the door frame or latch feels unstable, move the anchor to the hinge side of the door, which offers greater structural support, or transition to a solid, permanent anchor point like a heavy structural column.

Community discussion
Share your experience or ask a question. Comments are reviewed before publication.