
Choosing the right Rockbros bicycle light requires matching technical specifications—such as lumen output, beam spread, battery capacity, and mounting style—to your primary riding environment. Whether you are navigating the well-lit Park Connector Network (PCN) during an evening commute, training on dark coastal roads, or tackling unpaved trails, the right illumination ensures both your safety and the comfort of those sharing the path. By understanding how to read product labels and evaluate physical mounting designs, you can select a model that fits your bicycle frame and matches your typical riding duration.
Matching Light Specifications to Your Cycling Environment
When browsing Rockbros bicycle lights, understanding the core technical specifications on the packaging is the first step to making an informed purchase. Lumen output is the primary measure of brightness, but more lumens do not automatically make a light better for every scenario. You must balance brightness with beam pattern, battery capacity, and environmental protection to find a balanced setup.
Beam patterns generally fall into two categories: flood and spot. A flood beam distributes light widely across the immediate foreground, which is excellent for low-speed navigation, cornering, and maintaining awareness of your immediate surroundings. A spot beam projects a narrow, concentrated column of light far down the path, allowing high-speed riders to identify hazards well in advance. Many versatile models utilize a combination of both patterns or feature adjustable lenses to transition between them.
Products mentioned in this guide
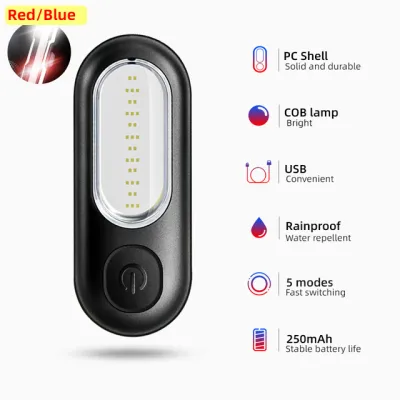
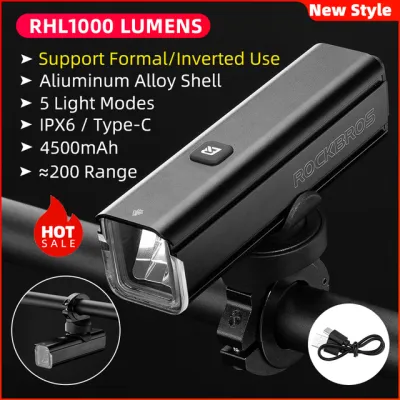
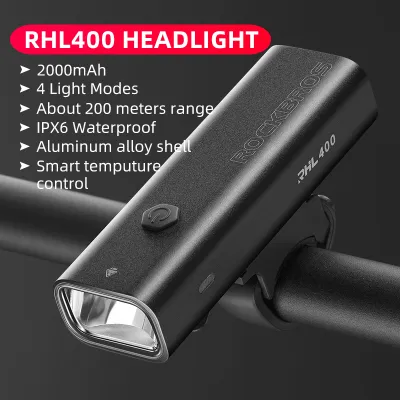
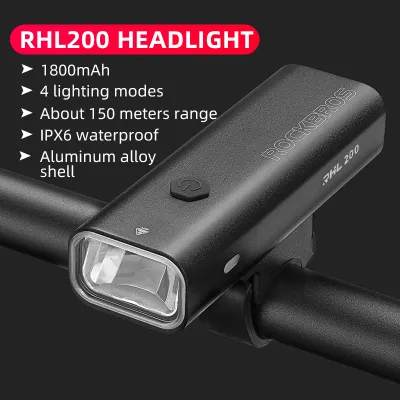
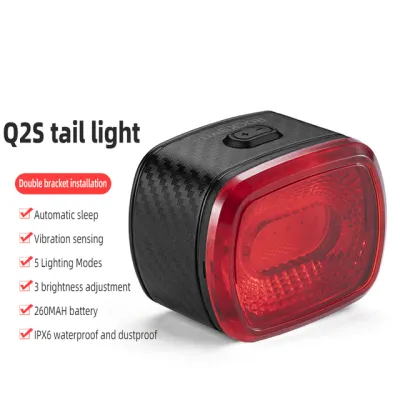
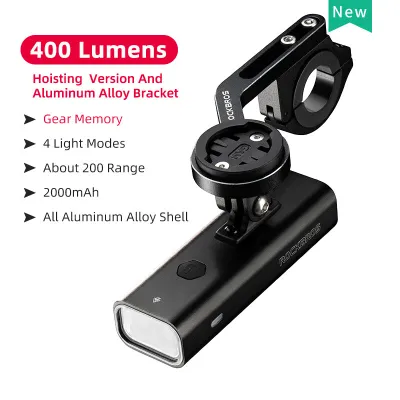
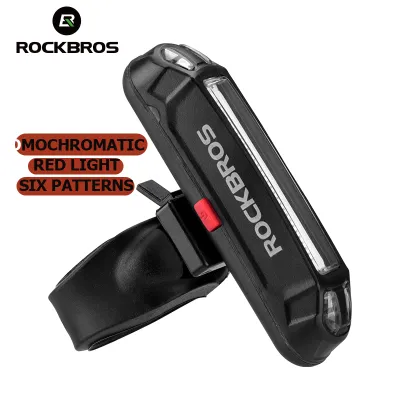
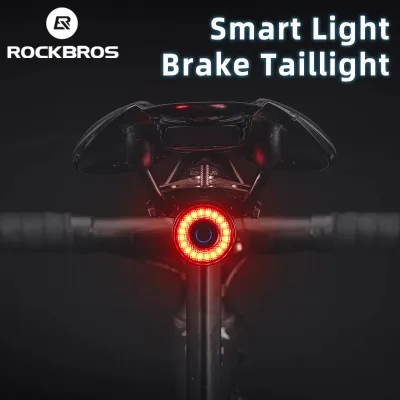
Prices are valid at publication and may change. Please refer to the product page for the latest price.
Battery capacity, measured in milliampere-hours (mAh), directly dictates how long your light can run before requiring a charge. However, high-lumen modes consume power rapidly, meaning a high-capacity battery might only last an hour or two at maximum brightness. Always consult the manufacturer’s runtime chart on the packaging to verify how many hours the light can sustain your preferred brightness level.
Finally, environmental protection is critical for outdoor gear. Singapore’s tropical climate brings sudden, heavy downpours that can easily ruin poorly sealed electronics. Check the product’s IPX water resistance rating before buying. An IPX4 rating provides basic splash protection, but for reliable performance during sudden storms, look for models rated at IPX6 or higher, which are designed to withstand high-pressure water streams.
Daily Commuting and Shared Path Riding
Commuting on urban streets and navigating shared paths like the Park Connector Network requires a light that prioritizes visibility and courtesy. In these well-lit environments, your primary goal is to make yourself visible to motorists and pedestrians without blinding oncoming path users.

For shared paths, look for lights that offer a wide, even flood beam pattern. Some models feature an anti-glare design or a physical cut-off line that shapes the beam, directing the light downward onto the pavement rather than upward into the eyes of oncoming cyclists and pedestrians. This ensures you illuminate your path clearly while maintaining a polite and safe environment for everyone.
Side-visibility is another crucial safety feature for urban riding. Check the light housing for lateral cut-outs or translucent side panels that allow light to escape to the left and right. This small design detail significantly increases your visual profile when crossing intersections or passing driveways where motorists might otherwise fail to see you from the side.
Before purchasing, verify that the mounting system is compatible with your bicycle. Commuter and folding bikes often feature non-standard handlebar diameters or crowded cockpits. Ensure the included silicone strap or bracket can adjust to your handlebar’s thickness. For folding bikes, check that the light mount does not interfere with the folding hinges or pinch any brake and gear cables when the frame is collapsed.
Recreational Night Rides on Paved Roads
Recreational road cycling at night involves higher speeds and longer distances, requiring a light setup that supports fast reaction times and extended runtimes. When riding on quiet, unlit roads or dedicated cycling lanes, you need to see far enough ahead to react to potholes, debris, or sudden obstacles.
To ride safely at speeds exceeding 25 km/h, you generally need a light capable of projecting a clear beam at least 20 to 30 meters ahead. This typically requires a constant output of 400 to 800 lumens. Because road training sessions can easily last several hours, you must balance this high output with sufficient battery capacity. Look for mid-to-high-range models that can sustain these lumen levels for the entire duration of your planned route.
If your recreational rides include stops at local food centers or convenience stores, security becomes a practical concern. Leaving a premium light attached to an unattended bicycle poses a theft risk. Selecting a model with a quick-release bracket allows you to slide the light body off the mount in seconds, letting you carry it with you while leaving the mounting base securely clamped to the handlebar.
To prevent sudden power loss in dark areas, prioritize lights equipped with clear low-battery warning indicators. Many models feature a power button that changes color (such as green to red) or a small digital screen displaying the remaining battery percentage. This visual feedback alerts you when it is time to switch to a lower power-saving mode or connect a portable power bank.
Off-Road Trails and Mountain Biking
Off-road trail riding and mountain biking demand the most robust lighting solutions. Navigating unpaved terrain, loose gravel, and technical descents in complete darkness requires maximum visibility and equipment that can withstand severe physical stress.
For trail riding, look for high-output lights capable of delivering 1000 lumens or more to cut through dense foliage and illuminate deep shadows. Because trails subject your bike to continuous vibrations and hard impacts, the light’s housing material is critical. Opt for models with machined aluminum alloy bodies. Aluminum provides excellent impact resistance and acts as an effective heatsink, preventing the high-power LEDs from overheating during slow, technical climbs.
A dual-light configuration is highly recommended for off-road environments. A single handlebar-mounted light only illuminates the direction your front wheel is pointing, leaving the inside of sharp corners in complete darkness. By combining a wide-beam handlebar light with a lightweight, spot-beam light mounted to your helmet, you can illuminate your direct line of sight, allowing you to look through corners and spot obstacles before your bike turns.
Standard silicone strap mounts are generally inadequate for rough trails, as heavy vibrations can cause the light to slip or rotate downward. For mountain biking, verify that the light uses a rigid, screw-tightened bracket or a secure mechanical locking interface, such as a GoPro-style dual-prong mount. This ensures the light remains firmly locked in position regardless of how bumpy the trail becomes.
Cross-Scenario Compatibility and Mounting Options
If you participate in multiple types of cycling, you must decide whether to purchase several dedicated lights or a single versatile unit. A high-output light with multiple adjustable brightness modes can easily transition from off-road trails to shared paths, provided you remember to lower the intensity and adjust the beam angle when entering crowded areas.
When evaluating mounting options, consider how often you plan to swap the light between different bicycles. Flexible silicone strap mounts offer excellent portability and can be transferred between frames in seconds without tools. However, for heavier, high-capacity lights, a rigid plastic or aluminum locking bracket provides superior stability and prevents the light from bouncing on uneven surfaces.
Finally, check the availability of compatible accessories and replacement parts. Many riders prefer to upgrade to an out-front mount, which positions the light directly in front of the handlebar stem. This setup clears up valuable handlebar space for GPS computers and phone mounts while keeping the front of your bicycle clean and streamlined.
Frequently Asked Questions (FAQ)
How do I prevent my bicycle light from blinding others on shared paths?
To avoid blinding oncoming cyclists and pedestrians, physically angle your light downward so the brightest part of the beam strikes the ground approximately 3 to 5 meters in front of your front tire. When riding on crowded park connectors, switch the light to a lower constant brightness setting rather than its maximum output. Avoid using high-intensity flashing modes at night, as rapid strobing can be highly disorienting to others in dark environments.
What should I check before riding in heavy rain?
Before riding in wet weather, inspect the rubber charging port cover on the light housing to ensure it is pressed completely flush and sealed tight, as water entering the USB port can permanently damage the internal circuits. Check the outer casing for any hairline cracks or loose seals around the lens where moisture could seep in. Finally, wipe your handlebars dry before mounting the light to ensure the clamp or strap maintains a secure grip and does not slip downward when wet.

Community discussion
Share your experience or ask a question. Comments are reviewed before publication.