
When selecting a large family or group tent, no single brand offers a universal waterproofing victory. The ideal choice depends on how a brand’s specific engineering choices—such as fabric coatings, seam construction, and ventilation design—align with your regional climate and camping style. For instance, a tent designed for a breezy, occasional shower will perform poorly in a sustained tropical downpour, regardless of the brand name on the carry bag.
To find the right big tent, you must look past marketing buzzwords and evaluate concrete technical specifications. Large tents present unique waterproofing challenges due to their massive surface areas, high wind profiles, and the significant amount of internal condensation generated by multiple occupants. Understanding how different brands balance these factors is the key to staying dry on your next outdoor adventure.
Key Waterproof Specifications to Compare Across Brands
The most reliable way to compare waterproof performance across different brands is to analyze their technical specifications, starting with the Hydrostatic Head (HH) rating. Measured in millimeters, the HH rating indicates the height of a water column a fabric can support before water begins to penetrate. For example, a fabric with a 2,000mm rating can theoretically withstand a two-meter column of water pressing against it before leaking.
Products mentioned in this guide
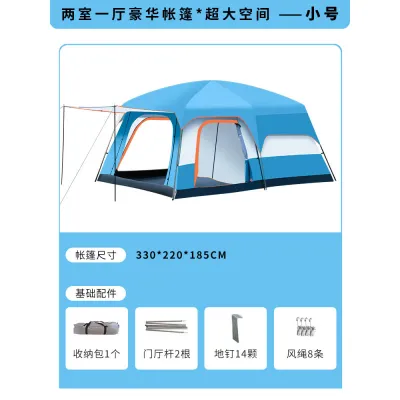
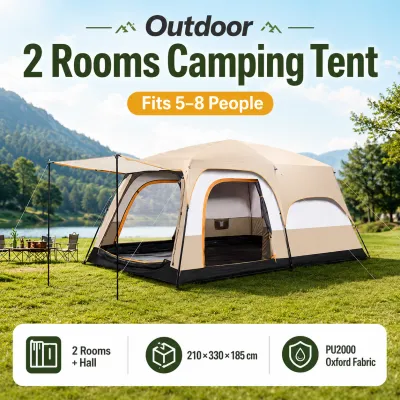
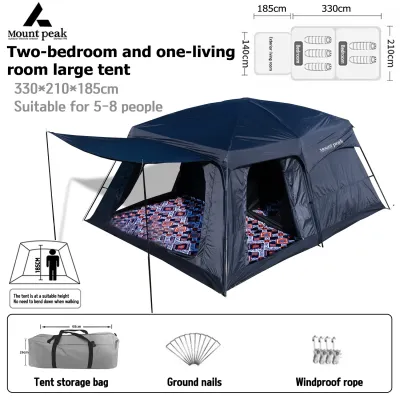
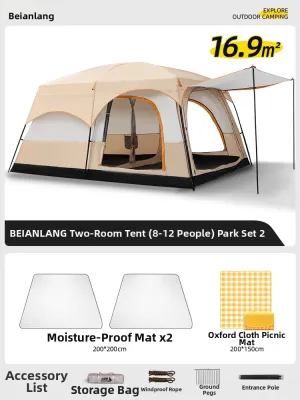
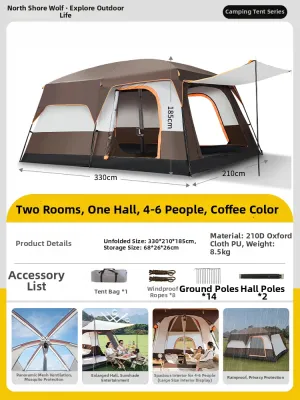
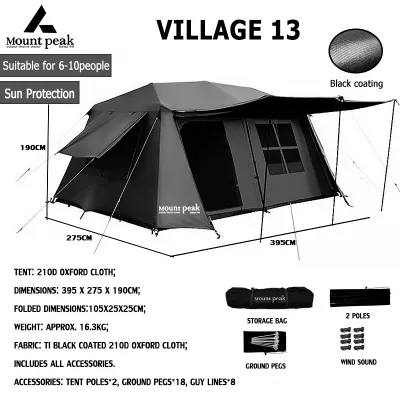
Prices are valid at publication and may change. Please refer to the product page for the latest price.
While a rainfly rating of 1,500mm is generally sufficient to shed moderate rain, the tent floor requires a significantly higher rating. When you sit, kneel, or place heavy camping cots on the tent floor, you exert concentrated mechanical pressure that can easily force ground moisture through low-rated fabrics. For reliable protection on damp ground, look for brands that offer floor ratings of at least 3,000mm to 5,000mm, even if the rainfly is rated lower.
Seam construction is another critical differentiator between brands. Every line of stitching creates thousands of tiny needle holes that are highly vulnerable to water penetration. Most reputable brands equip their tents with factory-taped seams, where a thermoplastic tape is heat-welded over the seams to seal them. However, some specialized or budget brands may require you to manually apply a liquid seam sealer before your first trip, so always verify the seam treatment specifications.
Additionally, pay close attention to the floor design. A “bathtub” floor is a crucial feature for large-footprint tents, where the waterproof floor material wraps several inches up the lower walls of the tent before meeting the seam. This elevated seam design ensures that pooling rainwater or splashing mud cannot seep through the stitching at ground level, providing an essential barrier during heavy downpours.
How Tent Design and Materials Affect Water Protection
Beyond basic laboratory ratings, the physical design and structural materials of a tent play a massive role in real-world weather resistance. The coverage of the rainfly is one of the most visible design choices. A full-coverage rainfly extends all the way to the ground, completely enclosing the inner tent body and creating a protective double-wall barrier. This design is highly effective at shedding wind-driven rain and keeping the inner living space dry.

In contrast, many large family tents feature partial-coverage rainflies that only protect the roof, leaving the lower fabric walls exposed to the elements. While partial flies offer excellent ventilation and are easier to set up, they are highly vulnerable to blowing rain. If you anticipate camping in stormy or unpredictable weather, a full-coverage rainfly is almost always the superior choice, despite the added weight and setup complexity.
The choice of fabric also dictates how a tent handles prolonged moisture exposure and environmental wear. Polyester is the most common material for large family tents because it is naturally hydrophobic, resists stretching when wet, and holds up well under UV exposure. Nylon is lighter and stronger, making it popular for backpacking tents, but it tends to absorb water and sag when saturated, requiring you to retension the guylines during a storm.
Canvas, or poly-cotton blend, represents a traditional approach to waterproofing. While incredibly heavy and bulky, canvas tents are highly breathable and naturally swell when wet to seal out water. However, they require meticulous drying after every trip to prevent mold and rot, making them less practical for casual campers or those with limited storage space.
Finally, never underestimate the role of ventilation in keeping a tent dry. Large tents house multiple people, each generating significant respiratory moisture overnight. Without adequate mesh panels, ground vents, and fly-ports, this warm, humid air will condense on the cold inner surface of the rainfly. This condensation can easily drip down onto your sleeping gear, creating the illusion of a roof leak when the tent is actually structurally sound.
Evaluating Brand Approaches to Waterproofing
Different tent manufacturers approach waterproofing with distinct design philosophies and material choices. Some brands prioritize heavy-duty, high-HH materials with thick polyurethane (PU) coatings. While these tents offer exceptional water resistance out of the box, the thick coatings add substantial weight and bulk, and they can degrade over time if stored in warm, humid environments.
Other brands focus on lightweight, highly breathable fabrics treated with advanced Durable Water Repellent (DWR) and silicone coatings. These materials are highly durable and resistant to UV degradation, but they often carry a premium price tag. When comparing brands, consider whether your priority is maximum out-of-the-box water resistance at a lower cost, or long-term durability and packability at a higher investment.
Warranty terms also offer valuable insight into a brand’s confidence in its waterproofing technology. Review the manufacturer’s warranty carefully to see if it covers waterproof defects, seam tape failure, or coating delamination. A brand that offers a multi-year warranty on its waterproof coatings is generally a safer bet than one that only covers basic manufacturing defects for a few months.
To get an accurate picture of long-term performance, look past marketing claims and seek out verified user feedback. Pay close attention to reviews from campers who have used the tent in sustained wet conditions over multiple seasons. This real-world data will reveal whether a brand’s seam tape tends to peel prematurely or if the waterproof coating begins to flake off after a year of storage.
Decision Framework: Choosing the Right Big Tent for Your Conditions
To select the perfect large tent for your needs, you must match the tent’s features to your specific camping environment and group dynamics. If you plan to camp in sustained heavy rain, high winds, or low-lying areas prone to pooling water, prioritize a tent with a full-coverage rainfly, a robust pole structure (preferably aluminum or high-quality fiberglass), and a floor HH rating of at least 3,000mm.
If you primarily camp in hot, humid conditions—such as tropical climates where sudden downpours are followed by intense humidity—your primary moisture risk is actually internal condensation. In this scenario, prioritize maximum ventilation over extreme HH ratings. Look for a tent with large mesh windows, ground vents, and a moderate rainfly HH rating (around 1,500mm to 2,000mm) that allows for adequate airflow while still shedding rain.
For budget-conscious campers or those purchasing older stock, be prepared to perform some initial maintenance. Budget-friendly large family tents often feature basic seam taping that may require reinforcement. Inspect the seams immediately after purchase, and consider applying an aftermarket seam sealer to high-stress areas to ensure a reliable seal before your first trip.
Maintenance and Care to Preserve Waterproofing
No matter which brand you choose, the longevity of a tent’s waterproof performance depends heavily on proper maintenance and care. The single most important rule of tent care is to ensure the tent is completely dry before packing it away. Storing a damp tent, even for a few days, triggers a chemical reaction called hydrolysis, which breaks down the polyurethane coating, leaving it sticky, smelly, and no longer waterproof.
When cleaning your tent, avoid harsh household detergents and never put it in a washing machine. Instead, use a soft sponge, cold water, and a specialized tent cleaner designed to preserve the fabric’s DWR finish. Harsh chemicals can strip away the protective coatings, severely compromising the tent’s ability to shed water.
Over time, UV exposure and friction will naturally wear down the waterproof coatings and seam tape. Periodically inspect your tent for signs of wear, such as peeling tape or water soaking into the fabric rather than beading up. When this occurs, you can easily restore the tent’s performance by applying a specialized aftermarket seam sealer to the seams and spraying the rainfly with a fresh coat of DWR waterproofer.
Frequently Asked Questions (FAQ)
Is a higher hydrostatic head rating always better for a big tent?
Not necessarily. While a higher HH rating indicates greater water resistance, it often comes with trade-offs in fabric weight, bulk, and breathability. Extremely high coatings can make the fabric stiff, heavy, and prone to trapping condensation inside the tent. For most recreational camping, a balanced rating of 1,500mm to 3,000mm offers excellent rain protection without sacrificing ventilation or making the tent excessively heavy to transport.
How can I test my big tent's waterproofness before a trip?
The safest way to test your tent is to pitch it in your backyard on a dry day and perform a gentle water test. Use a garden hose with a spray nozzle set to a gentle shower setting, mimicking natural rainfall. Spray the tent from various angles for 10 to 15 minutes, then inspect the interior for any signs of dampness, pooling water, or leaking seams. Avoid using high-pressure washers, as the intense pressure can damage the delicate waterproof coatings and tear the seam tape.

Community discussion
Share your experience or ask a question. Comments are reviewed before publication.