
Selecting the ideal bicycle light mount is a decision that directly shapes your safety, visibility, and riding comfort. The right choice depends entirely on where you ride, what you need to see, and how you need to be seen by others. Handlebar mounts serve as the standard for front illumination, offering a stable, wide beam that is perfect for navigating paved park connectors and urban streets. Seatpost mounts focus on rearward visibility, keeping your cockpit clean while ensuring trailing traffic can spot you from a distance. Helmet mounts introduce dynamic, directional lighting that follows your gaze, making them indispensable for technical trails and unlit paths where fixed lights cannot illuminate around corners. By evaluating your specific riding environment, bike frame geometry, and accessory layout, you can choose a mounting system that keeps you safe and visible on every journey.
Handlebar Mounts: Front Illumination for Urban and Commuter Riding
Handlebar mounts are the most common solution for front bicycle lights, primarily because they position the light source directly ahead of your path. For riders navigating paved surfaces, city streets, and shared park connectors, a handlebar-mounted light provides a stable, consistent beam that clearly illuminates immediate road hazards like potholes, debris, or wet patches. Because the light is fixed to the steering system, the beam naturally sweeps in the direction you steer, which is highly effective for predictable, forward-facing illumination on structured paths.
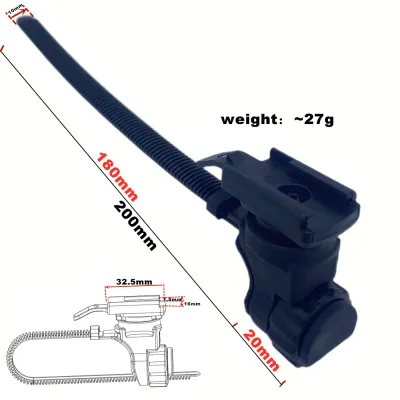
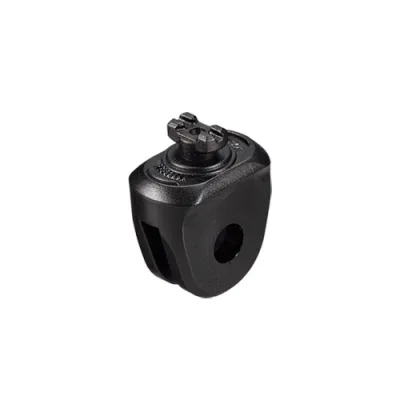
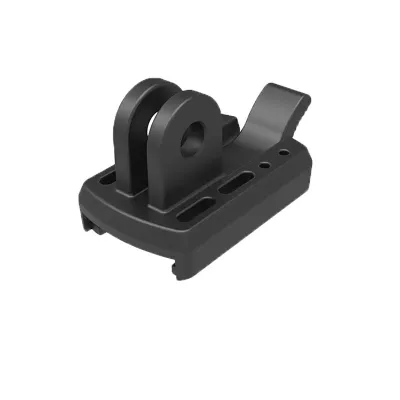
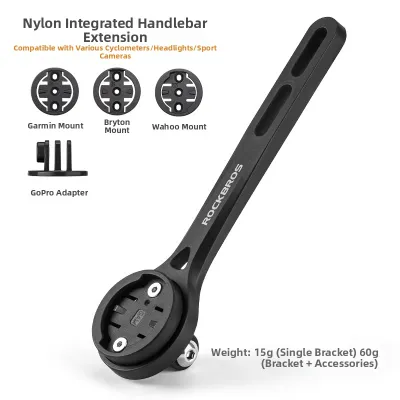
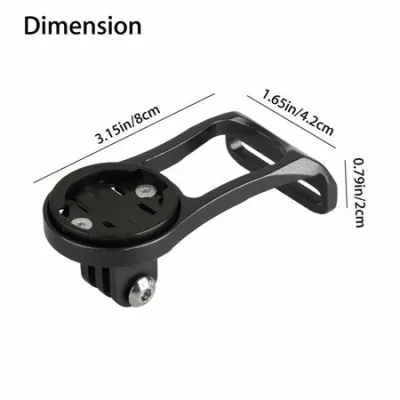
Before choosing a handlebar mount, you must verify the physical dimensions of your cockpit. Handlebars come in several standard diameters, typically ranging from 25.4 mm on older or folding bikes to 31.8 mm or 35 mm on modern road and mountain bikes. Using a caliper to measure your handlebar’s diameter at the exact mounting point is highly recommended, as visual estimates often lead to purchasing the wrong size. Additionally, you must assess the available space on your bars. If you already use a bell, a cycling computer, a phone mount, or have integrated brake and gear levers, finding a clear section of the handlebar can be challenging. Out-front mounts or dual-purpose accessory brackets can help consolidate your gear and free up valuable bar space.
Products mentioned in this guide
![[SG FREE ] Bicycle Tail Light Saddle Support Seat Post Mount MTB Cycling Bike Lamp Bracket Holder For Garmin Varia For-](https://img.lazcdn.com/g/p/12628d25df9a7d886e1f1a4e55951476.jpg_400x400q80.jpg_.webp)
![[SG SELLER] Light Skewer Holder Bicycle Quick Release Light Lamp Mount Holder for Bike Wheel Hub Accessories](https://img.lazcdn.com/g/p/cabf35df4a81cc491e683ee5efb2b066.jpg_400x400q80.jpg_.webp)
Prices are valid at publication and may change. Please refer to the product page for the latest price.
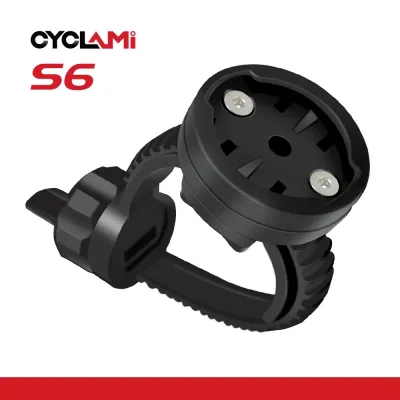
Security and convenience are also critical factors, especially for daily commuters. If you frequently park your bicycle in public areas, such as transit hubs, shopping malls, or outdoor racks, a quick-release mounting mechanism is essential. These mounts allow you to slide or twist the light off its bracket in seconds, letting you take the expensive light unit with you while leaving the low-profile bracket securely clamped to the bar. For riders who leave their bikes unattended for longer periods, heavy-duty mounts with anti-theft hardware or bolted clamps offer a more permanent, tamper-resistant solution.
Seatpost Mounts: Maximizing Rear Visibility and Cockpit Space
Seatpost mounts are the primary choice for rear safety lights, designed to maximize your visibility to trailing traffic, other cyclists, and pedestrians. Placing a red light high on the seatpost ensures that the beam sits close to the eye level of approaching drivers, significantly improving your safety margins on shared roads. To prevent blinding other trail users or drivers, look for mounts that allow you to adjust the vertical angle of the light. Because seatposts slope backward, a fixed-angle mount may point your rear light downward at the rear wheel or upward into the eyes of trailing riders; an adjustable mount allows you to align the beam parallel to the ground.

Compatibility is a key consideration when selecting a seatpost mount, as modern bicycle frames feature a wide variety of seatpost profiles. While traditional round seatposts are straightforward to accommodate, aerodynamic road bikes often feature deep, oval, or proprietary D-shaped seatposts that require specialized rubber straps or custom-shaped brackets. If you ride a mountain bike equipped with a dropper seatpost, you must be exceptionally careful. Clamping a rigid mount to the moving stanchion of a dropper post can scratch the smooth surface, damage the internal seals, and void the component’s warranty. In these cases, look for mounts that attach directly to the saddle rails or the lower, stationary collar of the dropper post.
Physical obstructions can also compromise the effectiveness of a seatpost-mounted light. If you ride with a saddlebag, a rear fender, or a loaded pannier rack, these accessories can easily block the light’s beam from view. Before finalizing your setup, install your typical riding gear and observe the bike from behind at a distance of several meters. If your saddlebag obscures the seatpost, you may need to utilize a light with an integrated clip that attaches directly to the bag’s accessory loop, or opt for a dedicated rack-mount bracket to keep your rear light fully visible.
Helmet Mounts: Directional Lighting for Technical and Unlit Trails
Helmet mounts offer a unique advantage by providing directional, head-tracking illumination that traditional frame-mounted lights cannot match. Because the light is mounted directly to your protective headwear, the beam points exactly where you look rather than where the bicycle is pointing. This capability is incredibly valuable when navigating technical mountain bike trails, unlit rural roads, or tight switchbacks. When you approach a sharp corner, a handlebar-mounted light continues to point straight ahead into the bushes, leaving your intended path in complete darkness; a helmet light allows you to look through the turn and spot obstacles before your wheels even begin to pivot.
While the functional benefits are clear, adding weight to your helmet requires careful consideration. Even a lightweight light unit can alter the balance of your helmet, leading to neck strain or fatigue during long rides. To minimize this effect, look for low-profile mounts that position the light close to the shell of the helmet, reducing the leverage force on your neck. Additionally, ensure your helmet’s ventilation ports are compatible with the mount’s strap routing. Most helmet mounts use hook-and-loop straps that thread through the vents; if your helmet has minimal venting or an unusual aero design, a strap-based mount may not fit securely.
Safety and cable management are paramount when using a helmet-mounted light. If your light uses an external battery pack, you must route the power cable carefully down your back or inside your jersey to prevent it from snagging on low-hanging tree branches, trailside brush, or your own riding gear. Wireless, self-contained helmet lights eliminate this snag hazard but typically have shorter runtimes due to smaller internal batteries. Always perform a quick physical check before setting off: shake your head gently to ensure the mount does not wobble, and verify that the light is angled slightly downward so it does not blind oncoming trail users when you look up.
How to Match the Mount to Your Riding Style
To choose the right bicycle light mount, you must align the mounting style with your primary riding environments and bike configuration. No single mount is perfect for every scenario, and many experienced riders use a combination of mounts to achieve comprehensive visibility.
If your primary riding consists of daily commuting, urban utility trips, or casual evening rides along well-lit park connectors, a handlebar mount is the most practical choice. These routes generally feature predictable terrain where a fixed, forward-facing beam is more than sufficient to guide your way. The ease of accessing a handlebar-mounted light to adjust modes or remove it for charging makes it highly convenient for daily utility.
For road cyclists, gravel riders, and those who frequently share the tarmac with motorized traffic, a seatpost mount is an absolute necessity. Your priority in these environments is being seen from behind at a distance. A seatpost mount keeps your rear safety light high, clear, and visible to approaching vehicles. If you ride an aerodynamic road bike with limited handlebar space, keeping your front light on a sleek out-front mount and your rear light on the seatpost preserves the aerodynamic profile and clean aesthetic of your cockpit.
If you venture onto unlit singletrack, technical mountain bike trails, or poorly lit rural roads, you should strongly consider a helmet mount, ideally paired with a handlebar-mounted light. This dual-light setup gives you the best of both worlds: the handlebar light provides a stable, wide floodlight that reveals ground texture and casts shadows over obstacles, while the helmet light provides a focused spotlight that follows your gaze around tight corners and over sudden drops.
Before making a purchase, always verify that your specific equipment supports your chosen mounting style. Check that your helmet has compatible ventilation slots, that your seatpost has enough exposed length to accommodate a clamp, and that your handlebars have a clear section of the correct diameter. Taking these steps prevents the frustration of purchasing a high-quality light only to find it cannot be securely attached to your bicycle.
Essential Compatibility and Safety Checks Before You Buy
Ensuring a secure fit requires precise measurement rather than guesswork. Do not rely on visual estimates when determining the size of your handlebars or seatpost. Use a digital caliper to measure the outer diameter of the tube at the exact location where you plan to install the mount, or consult your bicycle manufacturer’s technical specifications. An improperly sized mount can slip during a ride, causing your light to point downward or fall off entirely, which poses a severe safety hazard.
When installing a mount on carbon fiber handlebars or seatposts, you must exercise extreme caution regarding clamping torque. Carbon fiber is highly sensitive to localized crushing forces. Always use a torque wrench to tighten the mounting bolts to the manufacturer’s specified torque limit, which is typically measured in Newton-meters (Nm). Applying too much torque can crack the carbon structure, leading to catastrophic component failure while riding. If you are unsure, apply a small amount of carbon assembly paste to the clamping area to increase friction, allowing you to secure the mount safely at a lower torque setting.
Finally, consider the environmental conditions your mount will face. In tropical climates characterized by high humidity and sudden, heavy downpours, mounts made from low-grade plastics or prone to rusting hardware will degrade rapidly. Look for mounts constructed from durable, UV-resistant composite plastics or anodized aluminum, paired with stainless steel or brass hardware. These materials withstand prolonged exposure to moisture and vibration, ensuring your light remains securely attached to your bicycle season after season. Budgeting S$15 to S$40 for a durable, weather-resistant bracket is a worthwhile investment to protect your lighting equipment.
Frequently Asked Questions (FAQ)
Can I use a handlebar mount on a seatpost or vice versa?
In most cases, you cannot directly swap a dedicated handlebar mount to a seatpost due to significant differences in tube diameters and mounting angles. Handlebars typically measure 25.4 mm to 35 mm in diameter, whereas seatposts commonly range from 27.2 mm to 31.6 mm, or feature non-round aerodynamic profiles. Additionally, handlebar mounts are designed to project a beam horizontally forward, while seatpost mounts must compensate for the rearward angle of the seat tube to keep the light pointing straight back. Attempting to force an incompatible mount onto a carbon seatpost or handlebar can apply uneven clamping pressure, risking structural damage to these critical components. If you must swap lights between positions, look for highly adjustable, strap-based universal mounts designed specifically for multi-location use.
Do helmet mounts void my helmet's safety certification?
Attaching an aftermarket light mount to your helmet can affect its safety certification and structural performance, depending on how the mount is secured. Many helmet manufacturers explicitly state that drilling holes, applying strong chemical adhesives, or modifying the helmet shell will void the warranty and compromise the impact-absorbing EPS foam liner. Strap-on mounts that loop through existing ventilation ports are generally safer because they do not alter the helmet’s physical structure. However, any rigid object attached to the exterior of a helmet can act as a snag hazard during a crash, potentially twisting your neck or concentrating impact forces on a single spot. To mitigate these risks, use lightweight, breakaway mounts designed to detach easily under sudden impact, and always consult your helmet manufacturer’s guidelines before mounting any accessories.

Community discussion
Share your experience or ask a question. Comments are reviewed before publication.