
For riding on the unlit stretches of the Park Connector Network (PCN) at night, your bicycle light should deliver a sustained output of 400 to 800 lumens. This range strikes the ideal balance between illuminating immediate path hazards and maintaining a safe, courteous environment for other path users. While a lower output of 100 to 200 lumens works well under bright streetlights, entering the pitch-black canopy of nature trails and coastal connectors requires a stronger, more focused beam to reveal obstacles in time.
Choosing the right brightness is not just about maximizing power; it is about matching your light to your riding speed and the unique conditions of shared paths. A light that is too dim leaves you vulnerable to sudden obstacles, while an overly bright, poorly aimed beam can blind oncoming cyclists and pedestrians, creating a serious safety hazard. By understanding how to evaluate lumens, beam patterns, and mounting options, you can ensure a safe and enjoyable night ride across the island’s diverse green corridors.
Assessing the PCN Night Riding Environment
The Park Connector Network weaves through bustling residential hubs, quiet coastal stretches, and dense nature corridors. As shared spaces, these paths require navigating around joggers, families with strollers, and other cyclists. This high-density environment requires lighting that illuminates the path clearly without blinding oncoming users.
Products mentioned in this guide
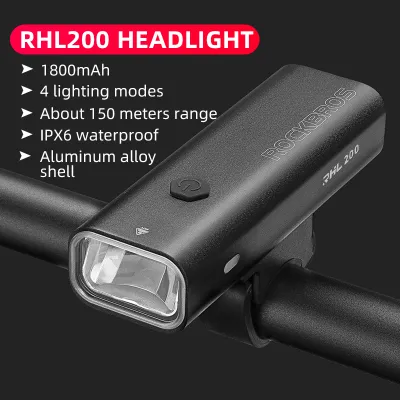
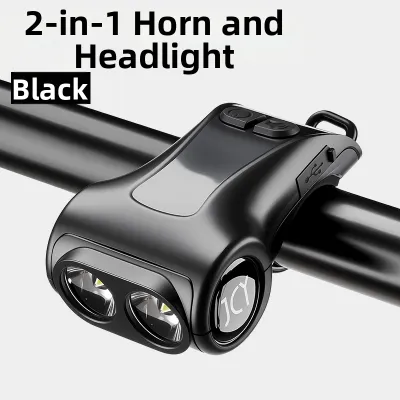
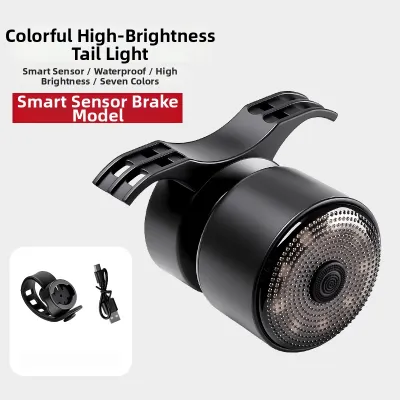
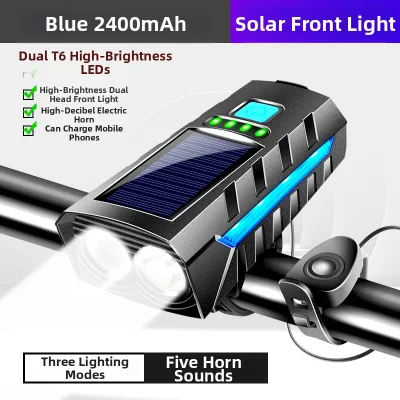
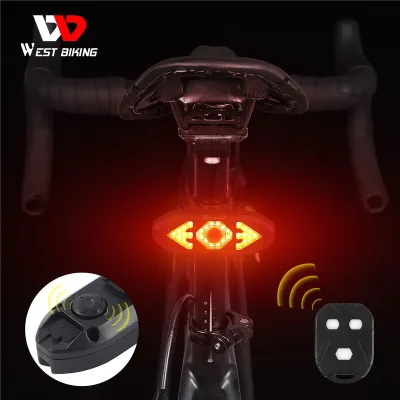
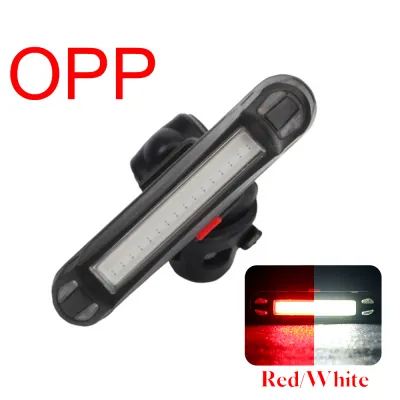
![[SG SELLER] USB Bicycle Taillight Multi Colour Rechargeable Cycling Rainproof LED Bike Lights](https://img.lazcdn.com/g/p/a224b523323d153f631ac09151faea27.jpg_400x400q80.jpg_.webp)
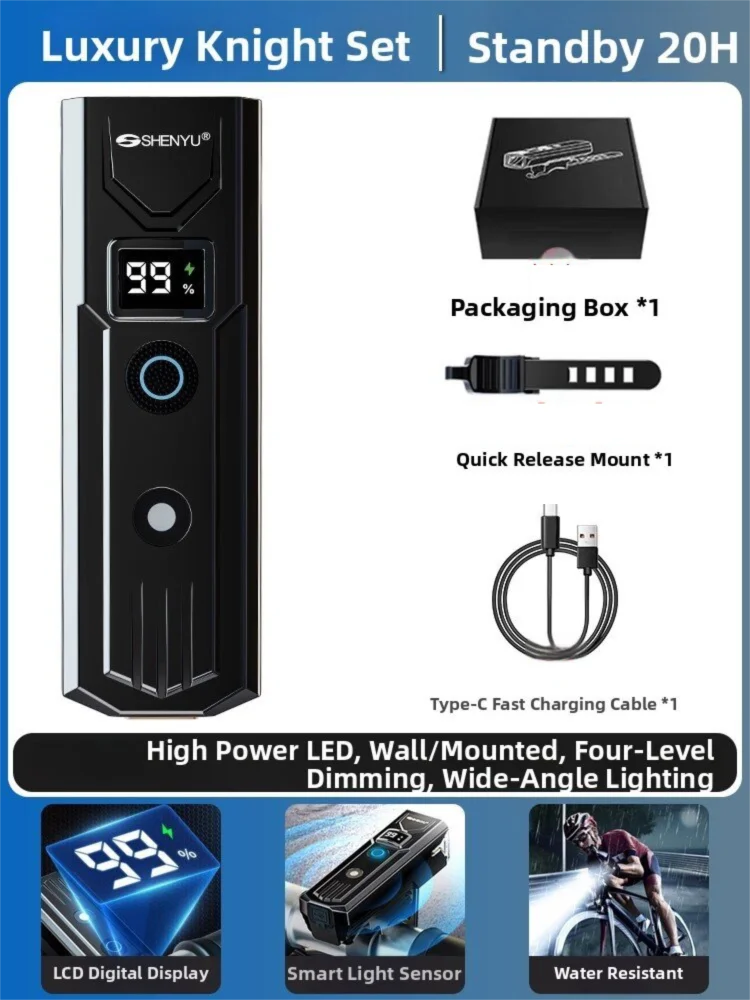
Prices are valid at publication and may change. Please refer to the product page for the latest price.
Lighting conditions can change dramatically within a single journey, transitioning from a brightly lit urban connector directly into an unlit stretch shaded by heavy tree canopies. These dark zones, particularly along coastal loops, offer zero ambient light, making a reliable active light source your only means of navigation.
Furthermore, the path surface presents hazards like tree roots lifting the asphalt, fallen leaves, twigs, and puddles from recent tropical showers that can compromise your traction. Spotting these changes early requires a light that casts a clear, wide beam directly onto the ground ahead.
Evaluating Lumen Output Based on Speed and Visibility
To determine the exact brightness you need, consider your riding speed and reaction time. At a typical recreational speed of 15 to 20 kilometers per hour, your light must project a beam far enough ahead to give you at least three to four seconds of reaction time to spot a hazard and stop safely.

For fully unlit sections, a light capable of a sustained 400 to 800 lumens is recommended to achieve this projection distance. On well-lit or dimly lit residential connectors, you can dial the output down to 150 to 300 lumens to conserve battery. Many lights feature adjustable modes, allowing you to toggle between high output for dark stretches and lower output for illuminated areas.
When shopping, verify the manufacturer’s specifications on the product packaging. Many brands advertise a high maximum lumen rating, but this peak output may only be sustainable for a few minutes before stepping down to prevent overheating. Look for specifications detailing sustained runtime at specific lumen levels to ensure the light maintains brightness for your entire ride.
Choosing a Beam Pattern That Prevents Glare on Shared Paths
The shape of the beam is as important as its brightness. Bicycle lights generally feature spot or flood beams. A spot beam projects a narrow, intense light far ahead, which is useful for high-speed road cycling but creates tunnel vision on narrow paths. A flood beam spreads light widely to illuminate path edges and shoulders, helping you spot pedestrians, though it may lack forward throw.
For shared paths, the ideal setup combines a wide peripheral flood with a controlled forward throw. Look for lights designed with a distinct cut-off line, often referred to as StVZO-compliant optics. These lenses direct light downward onto the pavement, preventing the upper beam from rising into the eyes of oncoming users.
Using a high-powered, symmetrical mountain bike light on a narrow connector can blind oncoming cyclists, leading to disorientation and potential collisions. Select a light that focuses its energy on the ground. Before purchasing, check the product description or lens design to verify the beam pattern minimizes upward glare.
Verifying Battery, Mount, and Weather Resistance
A reliable night-riding light must withstand local environmental conditions. Verify that the light’s runtime on your desired lumen setting exceeds your planned riding time by at least 50 percent. This safety margin ensures you are not left in darkness if your ride takes longer than expected or battery performance degrades.
Given frequent tropical downpours in Singapore, high weather resistance is essential. Check the product label for an Ingress Protection (IP) rating, aiming for at least IPX4 to protect against splashing water, or IPX6 to resist high-pressure streams. A properly sealed light prevents moisture from penetrating the housing and short-circuiting during a sudden storm.
Mount stability is another critical factor. A flimsy mount allows the light to bounce and vibrate over uneven pavement, causing the beam to flicker and disorient you. Look for sturdy mounting brackets made of composite materials or aluminum, ensuring they tighten securely to your handlebars without slipping.
Pre-Ride Light Alignment and Safety Checklist
Even the best bicycle light fails to perform safely if misaligned. When mounting your front light, angle the beam slightly downward so the brightest part strikes the ground approximately 5 to 10 meters ahead. This ensures excellent surface visibility while keeping the beam below the eye level of oncoming users.
A complete night-riding safety system also requires active rear lighting and passive reflective elements. A red rear light, set to steady or low-intensity pulse mode, makes you visible to riders approaching from behind. Adding reflective strips to your pedals, wheels, or clothing further enhances 360-degree visibility from any angle.
Before leaving, establish a quick pre-ride checklist to ensure all equipment functions perfectly. Verify that lights are fully charged, mounts are securely fastened, and mode switches function to easily toggle brightness levels on the go. Taking these few minutes to prepare guarantees you can focus entirely on enjoying a safe, smooth journey.
Frequently Asked Questions (FAQ)
Is a helmet-mounted light better than a handlebar light for PCN riding?
A handlebar-mounted light is generally the preferred primary light source for PCN riding because its lower mounting position casts longer shadows behind road hazards, making potholes and tree roots much easier to spot. A helmet-mounted light can be a highly effective secondary light source, as it directs the beam wherever you turn your head, which is incredibly useful for navigating sharp, unlit corners. However, using a helmet light as your sole light source on shared paths is not recommended, as you will inadvertently blind other path users whenever you look in their direction.
Should I use a flashing mode on completely unlit PCN sections?
No, you should not use a flashing mode on completely unlit sections of the path. A flashing light makes it extremely difficult for your eyes to judge depth, distance, and surface texture in total darkness, significantly increasing your risk of hitting an obstacle. Furthermore, high-lumen flashing lights are highly disorienting and blinding to oncoming cyclists and pedestrians in dark environments. Keep your front light on a steady, constant beam to illuminate your path safely, and reserve low-intensity flashing modes exclusively for daytime riding or well-lit urban roads where your main goal is simply to be seen.

Community discussion
Share your experience or ask a question. Comments are reviewed before publication.