
Selecting the right exercise elastic band for pull-up assistance and heavy lift support requires a clear understanding of tension mechanics, material design, and safety limits. Rather than relying on arbitrary color codes, you must match the band’s physical dimensions and resistance profile to your current strength, body weight, and the specific requirements of your lift. Using the correct band ensures you get the precise level of assistance needed to build strength progressively while protecting yourself from sudden equipment failure.
In strength training, these bands serve two primary purposes: reducing the effective load during bodyweight movements like pull-ups, or modifying the resistance curve of compound barbell lifts. Achieving these goals safely depends on selecting a continuous loop design that can withstand high stretch factors without tearing. By evaluating the physical specifications of the band and establishing a systematic setup routine, you can safely integrate elastic resistance into your home gym or local fitness corner.
Identifying the Correct Band Design for Assistance
To select the right tool, you must first distinguish between the various styles of resistance bands available on the market. Continuous flat loop bands, typically measuring 41 inches (approximately 104 centimeters) in lay-flat length, are the industry standard for pull-up assistance and barbell training. Their flat, wide surface area distributes pressure evenly across your feet, knees, or barbell shafts, preventing the band from rolling or slipping during high-tension phases of a lift. The multi-layered latex construction of these bands provides the structural integrity needed to support significant portions of a lifter’s body weight.
Products mentioned in this guide
![[SG] Long Resistance Power Band Sports Fitness Recovery Warm-Up Muscle Strength Pull Up Gym Set Yoga](https://img.lazcdn.com/g/p/4c21d7f6b75fa645506ff5371c3c00c2.png_400x400q80.png_.webp)
![[SG] Short Resistance Band Set Loop Yoga Pilates Exercise Recovery Fitness Workout Stretch Training](https://img.lazcdn.com/g/p/1f54bee59164de5095413f716347ad18.png_400x400q80.png_.webp)
Prices are valid at publication and may change. Please refer to the product page for the latest price.
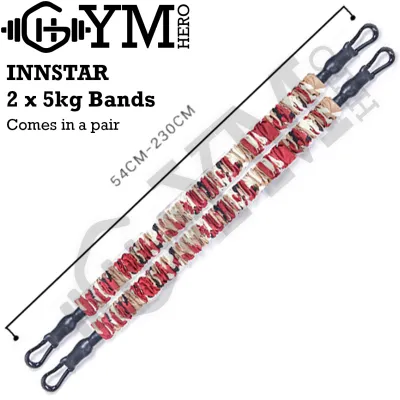
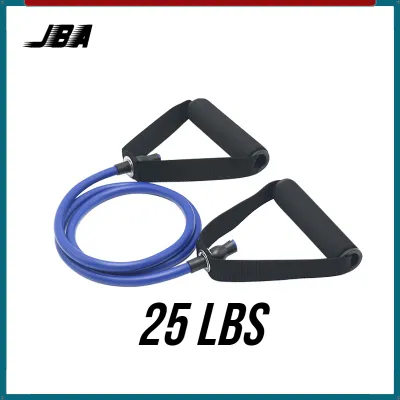
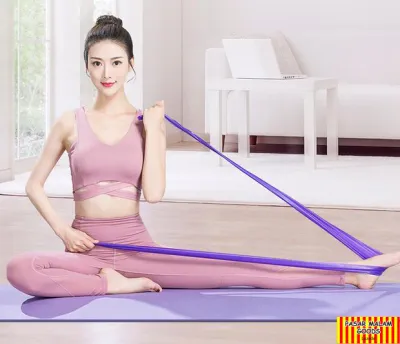
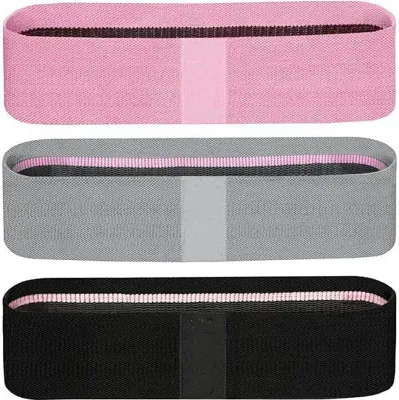
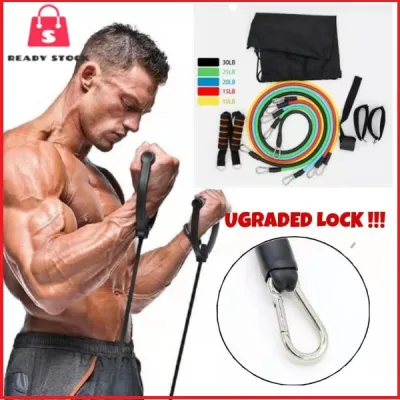
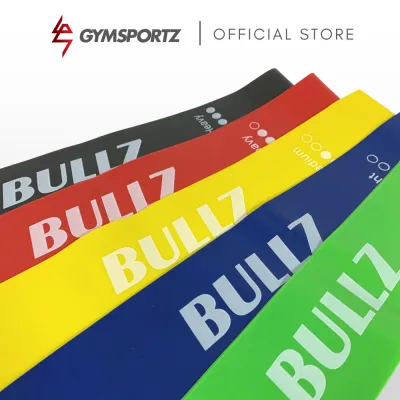
In contrast, other band designs are poorly suited for heavy assistance or compound lift support. Tube bands with plastic handles or metal clipping systems are designed primarily for isolation exercises; using them for pull-up assistance or anchoring them under heavy barbells risks snapping the tubing or breaking the plastic connectors. Similarly, thin therapy bands and small loop mini-bands lack the length and tensile strength required to span the distance of a full pull-up or squat range of motion. Attempting to stretch these smaller bands beyond their intended limits can result in immediate failure and severe snap-back injuries.
When shopping for a continuous flat loop exercise elastic band, never rely on color as an indicator of resistance level. There is no universal industry standard for band colors; a red band from one manufacturer might offer light resistance, while a red band from another brand could represent heavy tension. Always check the printed specifications on the band itself or the manufacturer’s packaging, which typically list the resistance range in kilograms or pounds. These ratings represent the tension generated at different stretch percentages, allowing you to make an accurate selection based on your specific training needs.
Calculating the Right Resistance Level for Pull-Ups
Choosing the correct resistance level for pull-up assistance involves calculating the gap between your current pulling strength and your total body weight. For example, if you weigh 80 kilograms and can currently perform a pull-up only when 20 kilograms of your weight is supported, you need a band that reliably provides around 20 kilograms of tension at its maximum stretch point. To determine this, look for bands rated with a tension range that encompasses your target assistance level, keeping in mind that the lower number usually represents the tension at slight stretch, while the higher number represents the tension at maximum safe elongation.

It is essential to understand how the tension profile of an exercise elastic band changes throughout the range of motion. A band provides its maximum assistance at the very bottom of the pull-up, where the rubber is stretched to its greatest length. As you pull yourself upward and the band contracts, the amount of assistance decreases, requiring your muscles to do more of the work near the top of the movement. This variable resistance profile helps you build strength where you are mechanically weakest, but it also means you must select a band that does not completely take over the movement at the start, allowing you to engage your back muscles actively throughout the entire lift.
Rather than purchasing a single thick band, investing in a set of two or three bands with varying resistance levels is highly recommended. A multi-band set allows you to adjust the level of assistance as your muscles fatigue during a workout, or as you progressively build strength over several weeks. For instance, you might start your workout with a medium band, switch to a heavier band as fatigue sets in to complete your target repetitions, and eventually transition to a lighter band as your unassisted pulling capacity improves. This step-by-step reduction in assistance is the most reliable way to transition to fully unassisted pull-ups.
Setting Up Bands for Heavy Lift Support
When integrating bands into compound barbell lifts like squats, bench presses, or deadlifts, you must distinguish between band-assisted lifting and accommodating resistance. Band-assisted lifting, often called “reverse banding,” involves hanging the bands from the top of a power rack to support the barbell. This setup reduces the weight of the bar at the bottom of the lift—such as the deepest part of a squat—and gradually transfers the full weight back to your muscles as you stand up. This is highly beneficial for lifters recovering from joint stress or training to handle heavier loads at the lockout phase.
Accommodating resistance, on the other hand, involves anchoring the bands at the bottom of the rack and looping them over the barbell. In this configuration, the bands add tension as you lift the bar upward, making the lockout phase significantly harder than the starting position. Whichever method you choose, the setup requires absolute stability. You must anchor the bands to secure, heavy-duty power rack pins, specialized band pegs integrated into the rack frame, or heavy dumbbells that are securely anchored to prevent shifting. Never loop bands around sharp metal edges or unstable objects that could move under high tension.
Before loading any weight onto the barbell, you must verify both the maximum stretch limit of the exercise elastic band and the structural integrity of your training rack. If a band is stretched beyond its rated limit, it can snap violently, potentially causing severe injury or causing you to drop the barbell. Additionally, the downward or lateral force exerted by heavy resistance bands can easily tip over a lightweight or unanchored power rack. Ensure your rack is bolted to the floor or weighted down with heavy plates before performing any banded lifts, and perform a slow, unweighted test rep to observe how the bands stretch and align throughout the movement.
Performing Safety Inspections and Recognizing Usage Limits
Because exercise elastic bands are subjected to extreme tension, establishing a strict safety inspection routine before every workout is critical to preventing snap-back injuries. Begin by running your fingers along the entire length of the band to feel for micro-tears, nicks, or deep scratches that might not be immediately visible. Pay close attention to the edges of the flat loop, as these are the most common sites for tears to initiate. Additionally, look for areas of permanent deformation, where the band remains stretched or thinned out even when relaxed, indicating that the internal latex structure has broken down.
Environmental factors and physical contact with gym equipment can accelerate the degradation of your bands. In warm, humid climates like Singapore, rubber is particularly susceptible to dry rot, which often manifests as a powdery white or chalky residue on the surface of the band, or a stiff, brittle texture. You should also inspect the band for surface abrasion caused by contact with the sharp knurling of barbells. If you observe any of these warning signs—or if the band exhibits uneven tension when stretched—you must retire the band immediately. Continuing to use a compromised band under high tension is an unnecessary risk.
To maximize the lifespan of your bands, always follow the manufacturer’s care and maintenance guidelines. Avoid exposing the bands to direct sunlight or leaving them in hot environments, such as a balcony or a car trunk, as UV rays and extreme heat rapidly degrade natural latex. When cleaning your bands, use only a damp cloth with mild soap and water; never apply harsh chemical cleaners, alcohol, or solvents, which can dissolve the protective outer layers of the rubber. Allow the bands to air dry completely in a shaded, well-ventilated area before storing them flat or hanging them on a smooth, blunt hook.
Frequently Asked Questions (FAQ)
Is it safe to stack multiple bands for heavier assistance?
Yes, stacking multiple bands is a common and effective way to customize your assistance level, but it requires careful alignment to ensure safety. When you combine two lighter bands, their combined tension adds up to provide a smoother progression than transitioning directly to a single, much thicker band. However, stacking increases the risk of the bands rubbing against each other or slipping off your feet or the barbell. To prevent this, ensure both bands are laid perfectly flat against each other without twisting, and verify that they are centered securely on your anchor point before initiating the exercise.
How should I store and clean elastic bands to prevent degradation?
Proper storage is essential for maintaining the elasticity and safety of your bands over time. After a sweaty workout, wipe the bands down with a damp cloth to remove sweat and skin oils, which can degrade latex if left on the surface. Store the bands in a cool, dry indoor space away from direct sunlight, moisture, and sharp objects. Avoid folding them tightly or tying them in knots for long periods, as this can create permanent crease lines that weaken the rubber and make it prone to tearing during future use.

Community discussion
Share your experience or ask a question. Comments are reviewed before publication.