
Navigating Singapore’s extensive Park Connector Network (PCN) after sunset requires a thoughtful approach to bicycle lighting. Unlike riding on open roads, cycling on shared paths demands a balance between seeing the path ahead and being seen by others without causing discomfort. The ideal bicycle light setup for the PCN provides sufficient illumination to spot sudden obstacles, remains highly visible from multiple angles, and features a beam shape that prevents blinding oncoming pedestrians, runners, and fellow cyclists.
To make an informed choice, you must evaluate the specific routes you frequent, understand key technical specifications like lumens and IP ratings, and select mounting systems that match your bicycle’s frame. By focusing on these practical factors, you can assemble a lighting system that enhances safety, complies with local expectations, and withstands the demands of a tropical climate.
Assessing Lighting Conditions on Singapore's Park Connectors
Singapore’s PCN is highly diverse, stretching across urbanized corridors, coastal loops, and dense green corridors. This variety means that lighting conditions can change dramatically within a single ride. Some sections, particularly those running through central residential estates or popular parks, are brightly lit by overhead streetlamps and ambient urban light. On these well-lit paths, your primary safety objective is visibility, ensuring that pedestrians stepping onto the path or slower cyclists ahead can easily spot your approach from a distance.
Products mentioned in this guide
![[SG SELLER] USB Bicycle Taillight Multi Colour Rechargeable Cycling Rainproof LED Bike Lights](https://img.lazcdn.com/g/p/a224b523323d153f631ac09151faea27.jpg_400x400q80.jpg_.webp)
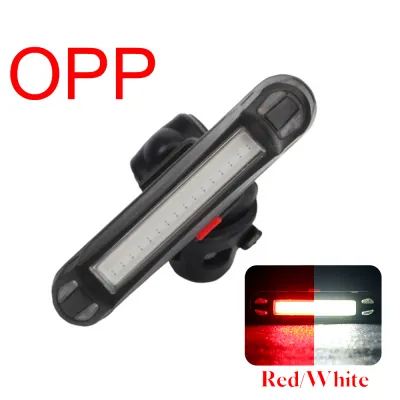
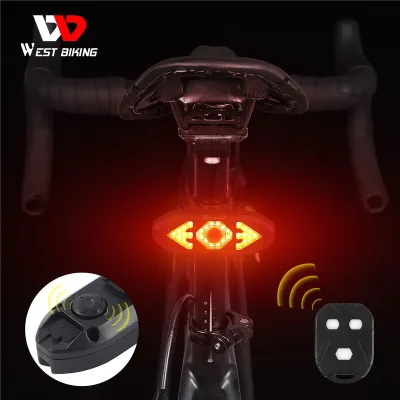
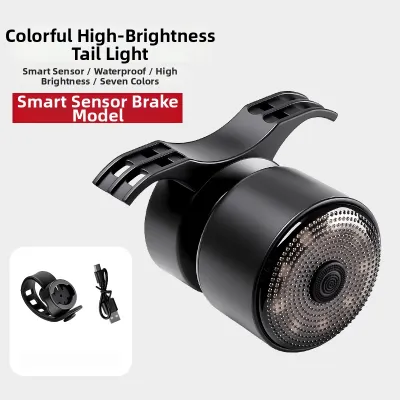
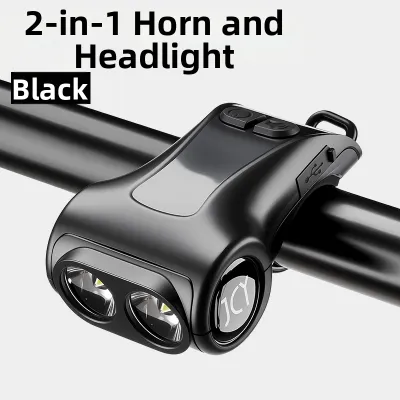
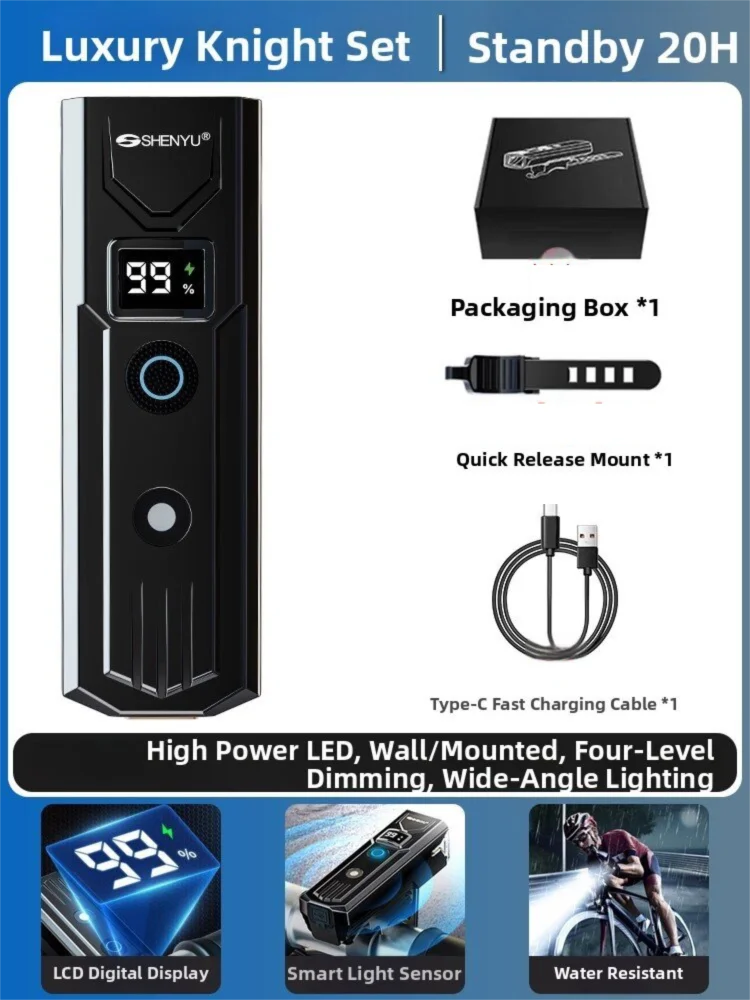
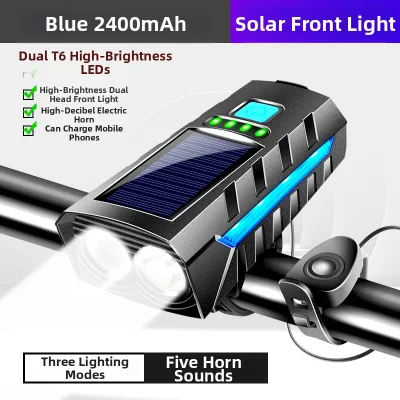
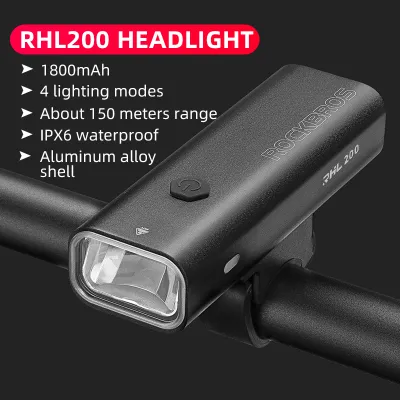
Prices are valid at publication and may change. Please refer to the product page for the latest price.
Conversely, other segments of the network present significant lighting challenges. Paths winding under major expressways, routes cutting through dense tree canopies, and remote stretches of the Round Island Route can be exceptionally dark. In these dimly lit or completely unlit areas, ambient light is virtually non-existent. Here, your front bicycle light must act as a primary illuminator, casting a clear beam far enough ahead to reveal uneven pavement, fallen branches, or wet patches before you reach them.
Because the PCN is a shared space, your lighting choices directly affect the safety of others. High-powered, poorly aimed lights can easily blind oncoming path users, creating temporary blind spots that increase the risk of collisions. Achieving the right balance means selecting a front light that projects its output downward onto the ground rather than upward into the eyes of oncoming traffic, allowing you to navigate dark zones safely while maintaining a polite and cooperative presence on shared paths.
Key Specifications to Evaluate for Night Cycling
When shopping for a bicycle light, understanding how to read and verify technical specifications on product packaging is crucial for finding a model that matches your riding habits. The most prominent specification you will encounter is the lumen rating, which measures the total amount of visible light emitted by the source. For well-lit urban paths, a front light offering 100 to 200 lumens is generally sufficient to make you visible to others. However, if your route includes unlit PCN sections, you should look for a front light capable of producing at least 400 to 800 lumens to adequately light up the ground ahead.

Equally important is the beam pattern, which determines how that light is distributed. A spot beam projects a narrow, concentrated stream of light far into the distance, which is useful for high-speed riding but can leave your immediate surroundings in darkness. A flood beam spreads the light widely, illuminating the edges of the path and helping you spot obstacles in your peripheral vision. For PCN cycling, a hybrid beam pattern or a wide flood beam is highly effective, as it provides a broad view of the shared path at moderate speeds.
Battery capacity and charging specifications require careful comparison against your typical riding duration. Manufacturers list run times for various brightness modes, and you should note that running a light on its highest lumen setting drains the battery much faster than using a low or flashing mode. If your average night ride lasts two hours, select a light that offers at least three to four hours of run time on your preferred steady brightness setting to provide a safe margin. Opting for lights with modern USB-C charging ports ensures convenient recharging using standard household cables or portable power banks between rides.
Given Singapore’s tropical climate, weather resistance is a non-negotiable specification. You should look for the Ingress Protection (IP) rating on the product label to verify how well the light’s housing seals against moisture. An IPX4 rating indicates resistance to splashing water from any direction, which is suitable for light drizzle. For reliable performance during sudden, heavy tropical downpours, look for an IPX6 rating, which certifies that the light can withstand high-pressure water sprays, protecting the internal electronics from water ingress and subsequent failure.
Configuring Front and Rear Lights for Shared Paths
A complete safety configuration consists of a distinct front light and a rear light, each serving a specific purpose on the shared path network. For the front light, the key to successful PCN cycling is managing the beam cutoff. Many modern bicycle lights feature shaped lenses or internal reflectors designed to direct the light downward onto the pavement, preventing the upper portion of the beam from rising into the eyes of oncoming path users. When mounting your front light, always angle it slightly downward so the brightest part of the beam hits the ground several meters ahead of your front wheel.
The rear light is your primary defense against rear-end collisions, particularly when the PCN intersects with public roads or driveway crossings. Rear lights must be red and should offer a wide visibility angle, ideally 180 degrees or more, so you remain visible to traffic approaching from the sides. While flashing modes are highly effective at drawing attention in urban areas, a steady red light or a gentle pulsing mode is often more comfortable for other cyclists following closely behind you on narrow park connector paths.
When acquiring your gear, you will face the choice of buying a pre-packaged front and rear combo set or purchasing individual specialized lights. Combo sets are often highly economical and ensure that both lights share similar charging interfaces and mounting styles, making them an excellent choice for recreational riders. However, if you frequently transition between dark trail sections and busy urban roads, buying individual lights allows you to customize your setup, such as pairing a high-output, wide-beam front light with a highly visible, multi-mode rear light tailored to your specific route.
Mounting Compatibility and Daily Commute Practicalities
A bicycle light is only as reliable as its mounting system. Before making a purchase, you must verify that the light’s mounting bracket is compatible with the physical dimensions of your bicycle. Handlebars come in various diameters, typically ranging from 22.2mm to 31.8mm or even 35mm on modern mountain bikes, while seatposts can also vary widely in shape and size, including aerodynamic profiles on road bikes. Check the manufacturer’s specifications to ensure the included mounting straps or brackets can accommodate your specific frame components without slipping.
For daily commuters and utility riders, the ease of detaching the lights is a major practical consideration. If you frequently park your bicycle in public spaces, such as MRT station bicycle bays or outside shopping malls, you will want a quick-release mounting system. These designs allow you to slide the light body off its bracket in seconds, leaving the mount secured to the handlebar while you carry the light with you to prevent theft. Conversely, tool-required mounts offer maximum security against vibration and rough terrain but are less convenient if you need to remove the lights frequently.
The materials used in the mounting hardware also affect long-term durability and ease of use. Flexible silicone or rubber strap mounts are highly versatile, allowing you to quickly transfer the light between different bicycles without tools, though they can degrade over time when exposed to intense sunlight and heat. Hard plastic brackets with screw-tightened clamps provide a more permanent, wobble-free attachment that keeps the light aligned over bumpy terrain, but they require precise sizing and are less adaptable to non-standard handlebar shapes.
Frequently Asked Questions (FAQ)
Are there specific legal requirements for bicycle lights in Singapore?
Yes, under local active mobility regulations, cyclists riding on public paths and roads during hours of darkness must equip their bicycles with functioning lights. You must display a front light that emits a visible white beam and a rear light that emits a visible red beam or reflector. It is important to check the latest guidelines from the Land Transport Authority (LTA) to ensure compliance with any updated rules regarding light visibility distances and permissible mounting positions. Additionally, when riding on shared paths, ensure your front light is angled downward to avoid blinding other path users, as maintaining a safe and considerate environment is a key aspect of local path-sharing etiquette.
How should I maintain my bicycle lights in a humid climate?
Operating electronic equipment in Singapore’s warm and highly humid environment requires regular maintenance to prevent moisture damage and corrosion. After riding in wet weather or high humidity, use a soft, dry cloth to wipe down the exterior of your lights and remove any road grit or moisture. Pay close attention to the silicone seals protecting the charging ports; ensure these covers are pressed firmly into place before every ride to maintain water resistance. Always allow the charging port to dry completely in a well-ventilated indoor space before plugging in a charging cable, as connecting power to a damp port can cause short circuits and permanently damage the internal battery. Finally, store your lights in a cool, dry, and ventilated environment away from direct sunlight when they are not in use.

Community discussion
Share your experience or ask a question. Comments are reviewed before publication.