
To choose the right ankle brace, you must match the equipment’s structural support to your specific activity’s movement patterns, your personal injury history, and your footwear. Balancing the need for joint stability against the required range of motion ensures your brace protects your ligaments without hindering your performance or altering your natural gait. By evaluating these key factors, you can find a supportive solution that keeps you active and safe.
Identify Your Support Needs Based on Activity and Injury History
Determining the appropriate level of ankle support begins with an honest assessment of your physical health and the demands of your chosen sport. If you are recovering from a recent injury, such as a lateral ligament sprain, your primary goal is rehabilitation and protection against reinjury. During this recovery phase, the joint is vulnerable to minor missteps, meaning you require a brace that physically limits excessive lateral rolling while the soft tissues heal.
For those without a recent injury who are seeking preventive support, the requirements are different. High-impact sports that involve frequent jumping, landing, and sudden changes of direction—such as netball, basketball, and volleyball—place immense stress on the ankle joint. In these scenarios, a preventive brace can provide valuable sensory feedback, helping your body recognize and correct unstable positions before an injury occurs.
Products mentioned in this guide
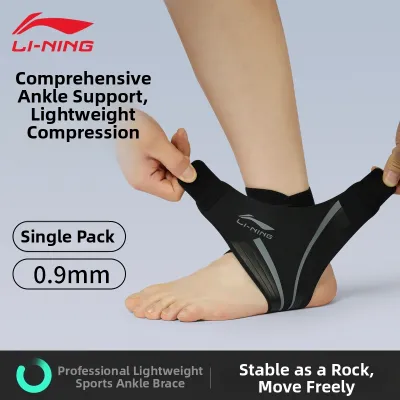
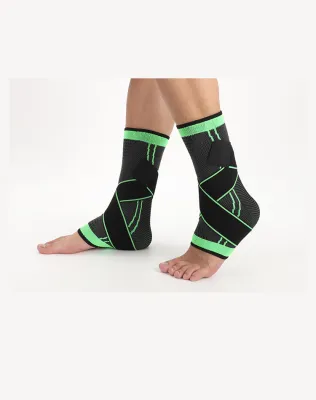
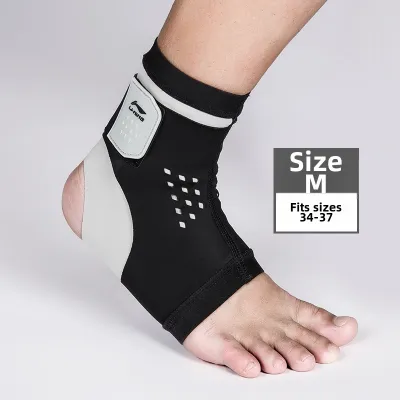
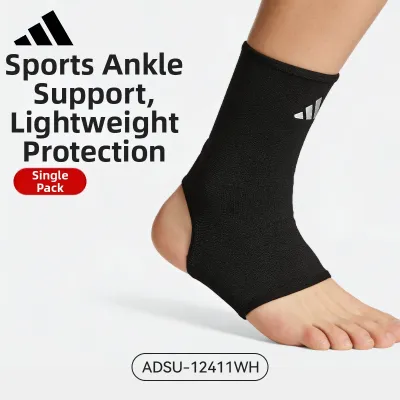
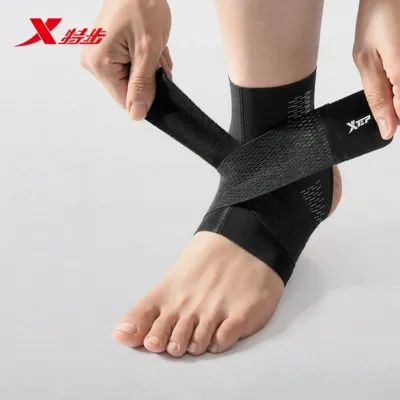
Prices are valid at publication and may change. Please refer to the product page for the latest price.
The specific movement patterns of your sport dictate the type of stability you need. Court sports require robust lateral support to prevent inversion injuries, where the ankle rolls outward. Conversely, activities like running or cycling primarily involve forward and backward motion, where excessive lateral restriction is unnecessary and can even hinder your performance. For these linear activities, lightweight compression that supports blood flow and joint awareness is often more beneficial than rigid structural bracing.
It is crucial to recognize the limits of self-treatment and know when to seek professional medical advice. If you experience severe swelling, bruising, an inability to bear weight on your foot, or persistent sharp pain, you should consult a doctor or physiotherapist before purchasing a brace. A professional evaluation ensures you are not masking a more serious issue, such as a fracture or a complete ligament tear, which requires specialized medical intervention rather than a standard retail support.
Compare Ankle Brace Types and Their Support Levels
Ankle braces are generally categorized into three main types based on the level of support they provide: mild, moderate, and maximum. Understanding the structural differences between these categories allows you to narrow down your options based on your specific activity and stability requirements.

Compression sleeves represent the mildest level of support and are typically made from elastic, knit fabrics, or neoprene. These sleeves slide over the foot and wrap snugly around the ankle joint, providing gentle compression that helps manage minor swelling and keeps the surrounding muscles warm. Because they lack rigid structural elements, compression sleeves offer minimal physical protection against rolling, but they excel at improving proprioception—your brain’s awareness of the joint’s position in space. This makes them ideal for runners, gym-goers, or individuals recovering from minor stiffness who still require full, unrestricted range of motion.
Lace-up and strap braces offer moderate, highly customizable support. These models typically feature a lace-up front that allows you to adjust the tightness along the entire length of the foot and ankle, combined with figure-eight straps that wrap around the joint to mimic professional athletic taping. The straps are designed to lock the heel in place and resist lateral rolling while still allowing you to bend your foot up and down. This balance of mobility and lateral stability makes strap braces the go-to choice for athletes participating in dynamic, multi-directional sports like tennis, badminton, and football.
Rigid and hinged braces provide maximum support and are engineered to restrict movement significantly. These braces incorporate hard plastic or composite shells on the sides of the ankle, often connected by a hinge near the ankle bone. The hinge allows for normal forward and backward bending while completely blocking side-to-side movement. This level of restriction is highly beneficial during the early stages of returning to sport after a severe sprain, or for individuals dealing with chronic joint instability who require absolute protection against rolling.
Evaluate Material, Fit, and Shoe Compatibility
Once you have determined the style of brace you need, you must evaluate the materials and fit to ensure long-term comfort and compatibility with your athletic footwear. A brace that is too bulky or made from uncomfortable materials will quickly end up left in your gear bag rather than protecting your joint on the field.
In warm and humid climates, such as Singapore’s year-round tropical weather, breathability and moisture management are paramount. Neoprene is a popular material because of its durability and excellent heat retention, which can help soothe aching joints. However, solid neoprene traps sweat against the skin, which can lead to chafing, skin irritation, and unpleasant odors during intense workouts. If you opt for neoprene, look for perforated versions, or choose advanced synthetic knits and moisture-wicking fabrics that actively draw sweat away from your skin to keep your foot dry and comfortable.
Achieving a precise fit is essential for both safety and effectiveness. A brace that is too loose will fail to provide the necessary stabilization, while one that is too tight can restrict blood circulation and pinch nerves. Avoid relying on your standard shoe size to select a brace, as sizing standards vary significantly between manufacturers. Instead, use a flexible measuring tape to measure your ankle circumference—typically around the narrowest part of your lower leg just above the ankle bones—and compare this measurement to the manufacturer’s specific sizing chart.
You must also consider how the brace interacts with your athletic shoes. Highly supportive lace-up or rigid braces add noticeable bulk to your foot, which can make sliding your foot into your shoe difficult. If a brace forces you to loosen your laces excessively or stretches the upper material of your shoe, it can alter your foot’s position and compromise your natural biomechanics. When shopping for a brace, always test it while wearing the exact socks and athletic shoes you plan to use during your sport to ensure a seamless, comfortable fit.
Check Safety Boundaries and Usage Limits
While an ankle brace is an invaluable tool for injury prevention and rehabilitation, it is important to understand its limitations and use it safely to avoid secondary physical issues. Braces are designed to assist your body, not to replace its natural structural support systems.
An ankle brace should never be used as a permanent substitute for targeted physical therapy and strengthening exercises. Relying solely on an external support for extended periods can lead to muscle weakness and joint stiffness, as the surrounding muscles do not have to work as hard to stabilize the ankle. To maintain long-term joint health, combine your brace usage with a dedicated rehabilitation program that includes balance training, calf stretches, and ankle strengthening exercises guided by a professional.
Paying attention to physical warning signs is crucial when wearing any supportive device. If you experience increased pain, numbness, tingling, coldness in your toes, or visible skin discoloration while wearing your brace, these are clear indicators that the brace is fitted too tightly or is restricting blood flow. If any of these symptoms occur, stop your activity immediately, remove the brace, and allow your circulation to return to normal before attempting to readjust the fit.
Finally, always adhere to the manufacturer’s care instructions and recognize when a brace has reached the end of its functional lifespan. Over time, elastic materials stretch out, hook-and-loop fasteners lose their grip, and plastic components can crack or warp. Inspect your brace regularly for signs of wear and tear, and wash it according to the official guidelines—usually hand washing in cold water with mild detergent and air drying—to preserve its structural integrity and hygienic condition.
Step-by-Step Guide to Fitting and Testing Your Ankle Brace
Correctly applying your ankle brace is just as important as choosing the right model. Proper alignment ensures that the structural elements of the brace support your ligaments effectively without causing painful pressure points.
First, prepare your foot by putting on a clean, dry athletic sock. The sock acts as a protective barrier, reducing friction between your skin and the brace to prevent blisters. Slide your foot into the brace, ensuring your heel is seated firmly and squarely in the designated heel opening or pocket. The side stabilizers, plastic inserts, or padded zones must align precisely with the bony protrusions on either side of your ankle.
Second, secure the primary fastening system. If your brace has laces, tighten them from the bottom near the toes upward toward the shin, maintaining even tension throughout so the brace hugs the contours of your foot. If your brace features crossing straps, pull them snugly across the top of your foot, wrap them under your arch, and secure them around the ankle in a figure-eight pattern. The straps should be tight enough to limit lateral movement but not so tight that they pinch your skin or restrict your breathing.
Third, perform a quick functional test before starting your workout or match. Stand up and walk a few paces to assess the overall comfort and tension. Next, perform a slow, controlled squat to check if the brace allows for comfortable forward ankle bending. Finally, try a few light, controlled jumps or gentle side-to-side steps. If you feel any pinching, rubbing, or excessive restriction that forces you to alter your natural movement, sit down and adjust the straps or laces until you achieve a secure, comfortable balance of support and mobility.
Frequently Asked Questions (FAQ)
Can I wear an ankle brace all day for prevention?
Wearing a highly supportive or rigid ankle brace all day for preventive purposes is generally not recommended unless specifically advised by a healthcare professional. Continuous use of a restrictive brace can cause the muscles and ligaments surrounding your ankle to become reliant on the external support, potentially leading to muscle weakness and reduced joint mobility over time. It is best to wear supportive braces primarily during high-risk physical activities or sports, while focusing on daily balance and strengthening exercises to build natural joint stability.
Should I wear the brace over or under my sock?
You should almost always wear your ankle brace over a sock rather than directly against your bare skin. Wearing a sock underneath the brace provides a crucial layer of protection that absorbs sweat, reduces friction, and prevents painful blisters or skin chafing. Additionally, using a moisture-wicking athletic sock helps manage sweat buildup, keeping your foot dry and comfortable while protecting the materials of your brace from direct contact with skin oils and bacteria.

Community discussion
Share your experience or ask a question. Comments are reviewed before publication.