
To choose the right bike lamp for Singapore’s Park Connector Network (PCN), you need a setup that balances your own path visibility with the safety of other path users. Because the PCN is a shared space used by cyclists, runners, and pedestrians, a blindingly bright light can be just as hazardous as no light at all. The ideal choice is a highly adjustable, weather-resistant front lamp that can transition between low-glare urban modes and brighter beams for unlit stretches, paired with a reliable rear safety light.
Understanding PCN Lighting and Shared Path Constraints
The Park Connector Network spans hundreds of kilometers across Singapore, offering a mix of highly urbanized, well-lit pathways and darker, more secluded coastal or forest segments. When you ride from a brightly lit residential connector into a dimly lit park section, your eyes require time to adjust to the sudden drop in ambient light. A single, fixed-intensity light rarely performs well across these changing environments.
Furthermore, the PCN is not an exclusive cycling track. You will share these paths with families, joggers, pets, and personal mobility device users. High-intensity, unshielded lights can temporarily blind oncoming path users, leading to collisions or sudden veering. Your primary goal is to see the path directly ahead of your wheel while remaining visible to others, without causing discomfort or glare.
Products mentioned in this guide
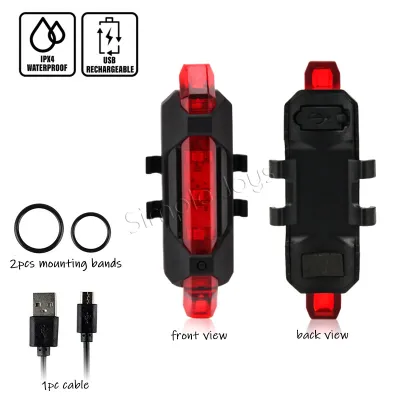
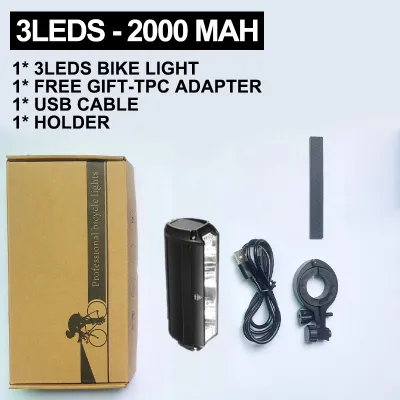
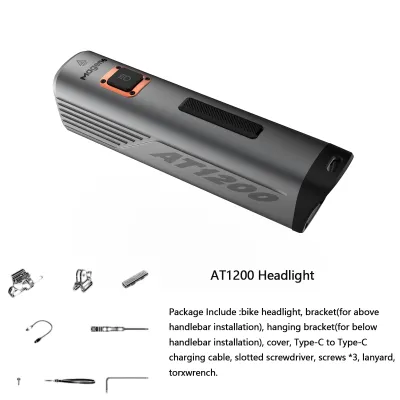
![[SG SELLER] ROCKBROS Bicycle Tail Light MTB Road Bike Light Night Safe Warning LED Light Cycling Running Helmet Tail Light](https://img.lazcdn.com/g/p/d003ac17d6d35ed71f589b6be06fa52b.jpg_400x400q80.jpg_.webp)
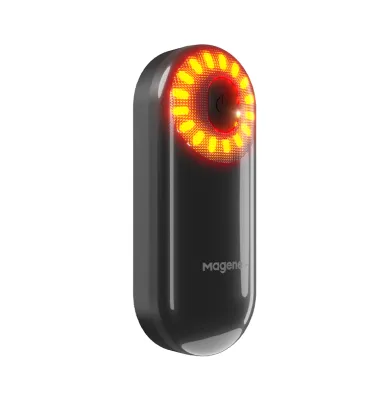
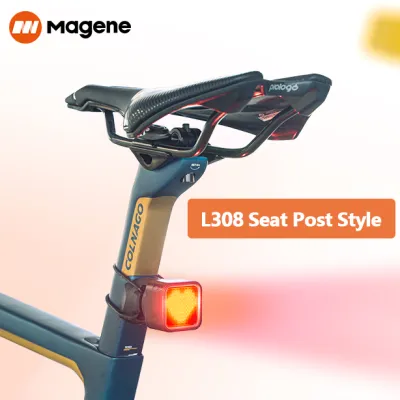
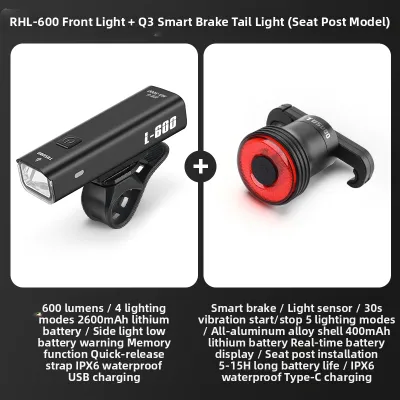
Prices are valid at publication and may change. Please refer to the product page for the latest price.
Evaluating Brightness and Beam Patterns for Shared Paths
When shopping for a bike lamp, you will encounter manufacturer lumen ratings, which measure the total amount of light emitted. For well-lit urban PCN routes, a front lamp operating around 100 to 200 lumens is generally sufficient to make you visible to others. For unlit or canopy-covered stretches, you may need a lamp capable of producing 400 to 800 lumens to clearly illuminate obstacles, potholes, or wet patches on the ground.

However, raw brightness is only half the story; the beam pattern is what determines where that light actually goes. Many standard flashlight-style bike lamps project a symmetrical, round beam that scatters light upward into the eyes of oncoming pedestrians. Look for lamps designed with a shaped or cut-off beam pattern, which directs the light downward onto the pavement.
To handle the transition between different PCN segments, select a lamp that offers multiple adjustable brightness modes. A quick-press button allows you to drop the brightness when entering a busy, well-lit neighborhood, and then boost the output when entering a dark park connector. This adaptability preserves your battery life and respects the vision of fellow path users.
Selecting Front, Rear, and Side Visibility Options
A complete visibility setup requires distinct solutions for the front, rear, and sides of your bicycle. Your front lamp serves a dual purpose: it illuminates your path and alerts oncoming traffic to your presence. In contrast, your rear lamp is purely a safety beacon designed to help overtaking cyclists and pedestrians spot you from a distance.
For rear lamps, look for models that offer both steady and flashing modes. While a flashing mode is highly effective at catching attention in busy urban areas, a steady mode makes it much easier for others to judge your exact distance and speed on darker, quieter paths. Many riders prefer to use a low-intensity flash or a steady pulse mode on shared paths to avoid causing visual fatigue to those riding directly behind them.
Side visibility is another critical factor, especially when crossing roads or navigating intersections where the PCN meets public streets. Some bike lamps feature side cut-outs or amber side-marker lights that allow light to spill laterally. You can also supplement your setup with spoke reflectors or small, frame-mounted safety lights to ensure you are visible from a 360-degree angle.
Verifying Weather Resistance and Power Sources
Singapore’s tropical climate brings sudden, heavy downpours and high humidity, making weather resistance a non-negotiable feature for any bike accessory. When evaluating a bike lamp, check the manufacturer’s specifications for an Ingress Protection (IP) rating. A rating of IPX4 indicates resistance to splashing water from any direction, while IPX6 or higher offers protection against powerful water jets, which is ideal for riding through intense tropical storms.
Power sources generally fall into two categories: USB-rechargeable lithium-ion batteries and replaceable alkaline batteries. Rechargeable setups are highly convenient for regular commuters, allowing you to top up the battery at your desk or home. If you choose a rechargeable model, verify the estimated runtime on your preferred brightness setting to ensure it comfortably outlasts your longest planned ride.
Finally, inspect the mounting mechanism of the lamp. The mount must hold the light securely on your handlebars or seatpost without slipping when you ride over bumps, curbs, or tactile paving. Quick-release mounts are highly recommended for urban riding, allowing you to easily detach the lamp and take it with you when parking your bike in public areas to prevent theft.
Building Your PCN Lighting Checklist
Before heading out on your next evening ride, take a few minutes to evaluate your current bicycle setup and identify any potential lighting gaps. Ensure that your front and rear lights are mounted at the correct heights and are not obstructed by baskets, bags, saddlebags, or loose clothing.
Use this practical checklist when selecting and setting up your bike lamps:
- Verify that the front lamp has a downward-angled or cut-off beam pattern to prevent glare.
- Check that the IP rating is suitable for wet weather (minimum IPX4 recommended).
- Confirm the mount is compatible with your handlebar and seatpost diameters.
- Test the battery runtime on your desired brightness setting before embarking on long rides.
- Ensure the mounting bracket holds the light firmly in place over rough terrain.
- Check local retail options for warranty terms that cover water damage or battery degradation.
Once your lamps are mounted, test the setup in a safe, flat area before entering the PCN. Stand a few meters in front of your bicycle at eye level to verify that the beam does not shine directly into your eyes, and adjust the angle downward if necessary.
Frequently Asked Questions (FAQ)
Are there specific legal requirements for bike lamps in Singapore?
Yes, active mobility regulations in Singapore require cyclists to use a front white light and a rear red light or reflector when riding on public paths and roads during hours of darkness. You should check the latest guidelines from the Land Transport Authority (LTA) or the Active Mobility Act to ensure your equipment complies with current standards. Using compliant lighting is not only a legal obligation but also a fundamental safety practice for shared path harmony.
How should I angle my front lamp to avoid blinding others?
To avoid blinding oncoming pedestrians and cyclists, mount your front lamp so that the brightest part of the beam strikes the ground approximately three to five meters ahead of your front wheel. This keeps the light focused on the path surface where you need to spot obstacles, rather than projecting horizontally into the eyes of others. Always re-check and tighten your mount after riding over rough terrain, as vibrations can cause the lamp to slip and point upward.

Community discussion
Share your experience or ask a question. Comments are reviewed before publication.