
Selecting the right exercise band with handles involves matching the equipment’s physical design and tension levels to your current physical capabilities, workout environment, and specific training goals. Rather than relying on arbitrary color codes or generic weight ratings, finding the ideal band requires evaluating your strength baseline, understanding handle materials, and choosing between tube and flat constructions. Making an informed choice ensures your workouts remain both challenging and safe, whether you train at home, in a local park, or while traveling.
Identify Your Strength Baseline and Training Goals
Before purchasing any resistance equipment, you must assess your current physical conditioning and define what you want to achieve. Your daily activity levels, prior experience with strength training, and any existing joint limitations dictate the level of resistance you can safely manage. For instance, someone recovering from an injury or starting a fitness routine after a long hiatus has different equipment needs than an active individual accustomed to lifting weights. Equipment cannot replace proper training or physical judgment, so starting conservatively is always the safest approach.
Your primary training objective also shapes this decision. If your focus is on warm-up routines, joint mobility, or physical therapy, you will require a highly pliable band that offers minimal resistance. For muscular endurance or high-repetition cardiovascular conditioning, a moderate tension level is more appropriate. Those aiming for muscle hypertrophy or strength development will need heavier bands that can challenge larger muscle groups like the back and legs.
Products mentioned in this guide
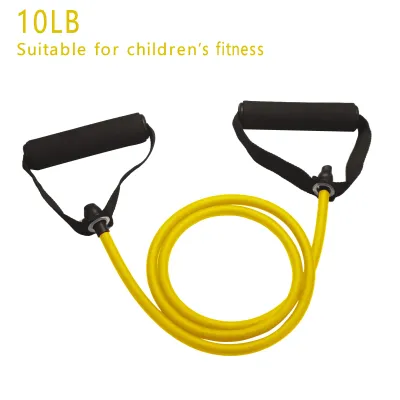
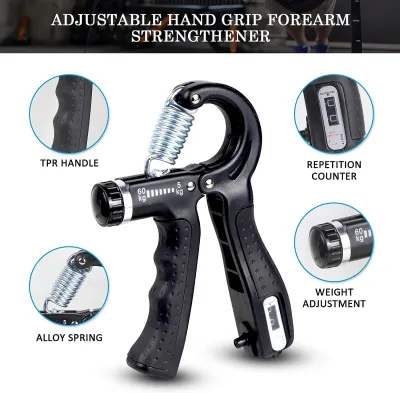
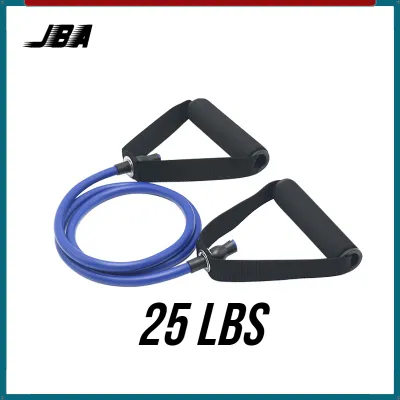
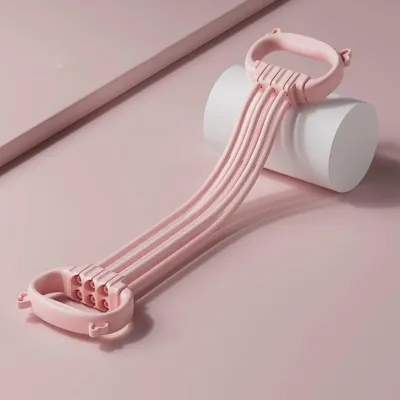

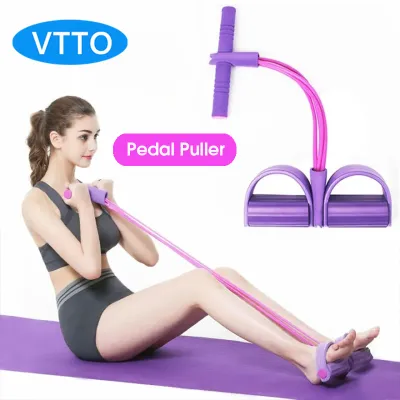
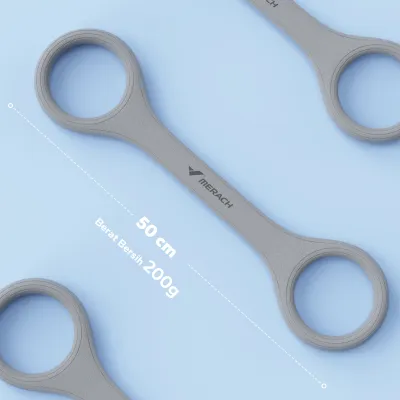
Prices are valid at publication and may change. Please refer to the product page for the latest price.
Rather than looking for exact weight equivalents, which vary significantly between manufacturers, map your fitness level to broad resistance categories. Beginners should start with light resistance bands to master proper form without straining their joints. Intermediate users who have some experience with bodyweight exercises or light weights can typically handle medium resistance. Advanced trainers will benefit from heavy or extra-heavy bands, or customizable systems that allow for progressive overload.
Decode Resistance Levels and Perform a Safe Tension Test
When shopping for an exercise band with handles, you will quickly notice that manufacturers use various color-coding systems to indicate tension levels. However, there is no universal standardization across the fitness industry; a red band from one brand might represent medium tension, while a red band from another could be heavy. Always read the product specifications or packaging labels carefully to verify the specific brand’s rating system and load capacity.

To avoid injury, perform a controlled, low-risk stretching test before using a new band in a full workout. Secure one end of the band under a stable, flat-soled shoe or attach it to a verified anchor point at chest height. Slowly pull the handle to about half of its maximum stretch capacity, paying close attention to how the tension builds. If the resistance causes your posture to collapse, makes your joints click, or feels uncontrollable, stop immediately; the band is too heavy for that specific movement.
If you want a scalable progression path without buying multiple individual bands, consider adjustable designs or stackable band sets. Some systems feature removable handles with carabiners, allowing you to clip multiple resistance tubes to a single pair of grips. This setup lets you gradually increase the tension as your strength improves, mimicking the progressive weight adjustments of traditional gym equipment. Always check the manufacturer’s manual to verify the maximum load capacity of the carabiners and handles before stacking.
Select the Right Handle Material for Your Grip and Environment
The handle is your primary point of contact with the resistance band, making its material and construction critical for comfort and safety. Foam handles are highly popular because they offer a soft, cushioned grip that minimizes hand fatigue during high-repetition pulling or pushing movements. However, foam tends to absorb sweat, which can lead to hygiene issues over time and cause the material to degrade quickly if used in humid environments or stored in damp gym bags.
For a more durable and hygienic option, look for hard plastic or textured rubber handles. These materials do not absorb moisture, making them easy to wipe clean after a sweaty workout, and they offer excellent weather resistance if you train outdoors. While they provide excellent tactile feedback and durability, they can feel harsh on sensitive hands during heavy pulling exercises, so you may need to verify if the texture suits your skin sensitivity. Nylon webbing handles offer a flexible, lightweight alternative that is highly packable for travel, though they require strong hand grip strength to prevent the strap from pinching your fingers.
Regardless of the handle material, inspect the connection points where the resistance tube meets the grip. High-quality bands feature reinforced structures, such as heavy-duty nylon stitching, protective sleeves, or metal D-rings. Avoid designs where the tube is simply knotted inside a plastic handle without any reinforcement, as these connection points are prone to sudden failure under high tension.
Choose Between Tube and Flat Band Designs for Your Exercises
Resistance bands with handles generally come in two physical shapes: cylindrical tubes and flat bands. Tubular bands are highly effective for mimicking traditional cable machine exercises, such as chest presses, rows, and bicep curls. The round shape provides consistent tension throughout the movement and fits neatly into door anchors or around stable posts, making them incredibly versatile for upper-body workouts.
However, tubular bands carry specific physical risks if stretched beyond their intended limits. If a tube is overstretched or rubs against a sharp surface, it can snap back violently, potentially causing bruising or eye injuries. Additionally, because of their round profile, tubular bands can roll or slide when placed under the arches of your feet, which can disrupt your balance during lower-body exercises like squats or lunges.
Flat band constructions, by contrast, offer a wider surface area that distributes pressure more evenly across your body. This makes them highly suitable for lower-body movements, lateral walks, and physical therapy exercises where the band must remain flat against your thighs or shins. While flat bands are less likely to roll, they are more susceptible to tearing if they come into contact with rough outdoor surfaces or abrasive shoe soles, so they are best reserved for indoor use or smooth surfaces.
Perform Pre-Workout Safety Checks and Recognize Wear Signs
To prevent sudden snaps and potential injuries, establish a mandatory pre-use inspection routine before every single workout. Begin by visually inspecting the entire length of the band under good lighting. Look for any signs of discoloration, fading, or dry rot, which indicate that the material has lost its structural integrity. Gently stretch the band in small sections to check for micro-tears, tiny cracks, or nicks along the edges.
Pay close attention to the high-stress connection points where the band attaches to the handles or anchors. Check for any fraying in the nylon webbing, loose stitching, or cracks in the plastic components. If you notice any of these wear signs, or if the band feels unusually soft and lacks its original elasticity, retire the equipment immediately. Never attempt to knot a torn band or tape a damaged handle, as the material will fail under tension.
Proper storage is essential for preserving the lifespan of your exercise bands. Store them in a cool, dry place away from direct sunlight, extreme heat, and moisture, as ultraviolet rays and temperature fluctuations accelerate the breakdown of latex and rubber. Avoid wrapping the bands tightly around sharp metal objects or storing them in a compressed state, which can create permanent weak points in the material.
Frequently Asked Questions (FAQ)
Can I combine multiple bands to increase resistance?
Yes, if your equipment is specifically designed for stacking. Many modular resistance band sets feature heavy-duty carabiners that allow you to clip multiple tubes onto a single handle. Before doing this, verify that the handle’s connection points and the carabiners are rated to support the combined tension. Ensure the bands are aligned evenly so that the load is distributed symmetrically, preventing one band from taking the brunt of the force and snapping.
Are exercise bands with handles suitable for rehabilitation?
While handled resistance bands are excellent tools for physical therapy, their suitability depends entirely on your specific recovery stage and injury type. The handles provide a secure grip, which can be helpful if you have limited hand strength. However, because rehabilitation requires precise tension control, you should consult a qualified physical therapist or medical professional before starting. They can recommend the correct resistance level and specific movements to ensure you do not re-injure yourself.

Community discussion
Share your experience or ask a question. Comments are reviewed before publication.