
To choose the right exercise resistance band level, you must match the band’s tension to your current physical strength, the specific muscle groups you are targeting, and your training objectives. Because there is no universal industry standard for color-coding or tension ratings, selecting the correct band involves verifying the manufacturer’s specifications and testing the resistance through controlled movement. The ideal band allows you to complete your target repetition range with strict form while feeling significant muscular engagement on the final few repetitions.
Resistance bands offer a highly versatile, portable, and joint-friendly alternative to traditional weights. However, their unique elastic properties mean that tension is dynamic rather than static, increasing as the band stretches. Understanding how to navigate this dynamic resistance is key to avoiding injury and ensuring your muscles receive an adequate stimulus to adapt and grow.
Selecting a band is not a one-time decision but an ongoing process of assessment and adjustment. As you progress through different exercises, your body’s mechanical advantages change, requiring you to adapt your equipment choices. This guide provides a systematic framework to help you select, test, and progress your resistance band levels safely.
Products mentioned in this guide


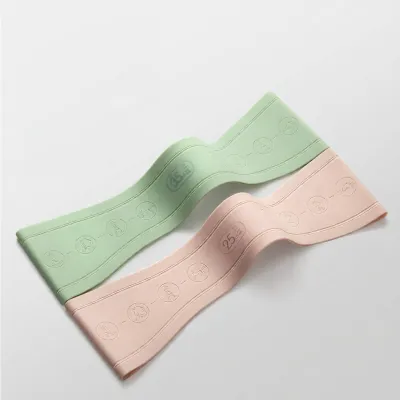
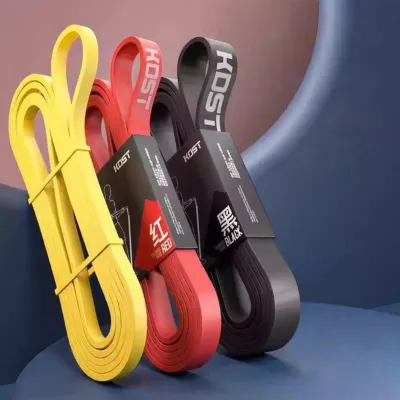
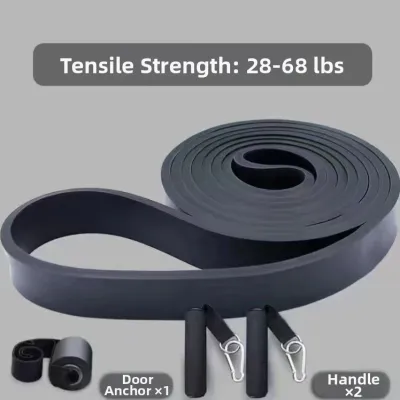
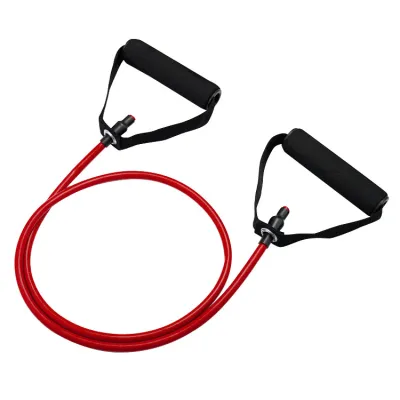

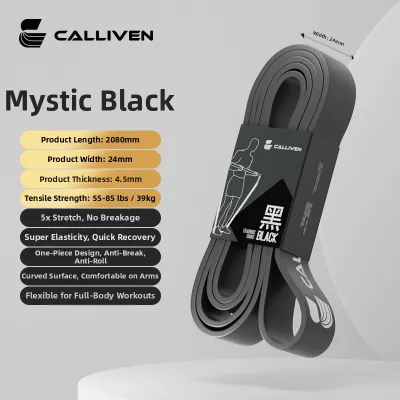
Prices are valid at publication and may change. Please refer to the product page for the latest price.
Understand Manufacturer Strength Labels and Color Codes
When shopping for an exercise resistance band, it is crucial to understand that color-coding systems are highly brand-dependent. While many manufacturers use a progression from lighter colors to darker colors to indicate increasing tension, this is not a universal rule. Always consult the specific manufacturer’s packaging, product tags, or official specifications rather than assuming a color matches your previous equipment.
The tension of a band is primarily determined by its material thickness, width, and overall construction. Flat latex or fabric loop bands, tube bands with handles, and heavy-duty pull-up assist bands all have different physical profiles. A light tube band may feel completely different from a light fabric loop band due to these structural variations and the inherent elasticity of the materials used.
Manufacturers often provide a tension range, which represents the resistance felt at different stages of stretch. This rating typically reflects the force required to stretch the band to a specific percentage of its resting length, often 100% or 200% elongation. Understanding these ranges helps you compare different products and select a band that aligns with your current strength levels.
Before using any band, you must verify its maximum stretch capacity and elasticity limits. Overstretching a band beyond its designed limit—usually more than three times its resting length—not only degrades the material rapidly but also increases the risk of sudden snapping. Checking these specifications ensures you use the equipment within safe operational boundaries.
Assess Your Current Fitness Level and Training Goals
Your starting point should be based on your current physical baseline and familiarity with resistance training. If you are a beginner or are returning to exercise after a long break, your primary focus should be on mastering movement patterns and building joint stability. Starting with an extra-light or light band allows you to perform exercises with high control, minimizing the risk of connective tissue strain.

Intermediate users who can perform basic bodyweight exercises like push-ups and squats with ease can typically start with medium bands for upper-body movements and heavy bands for lower-body exercises. Advanced trainees who regularly lift weights will require heavy or extra-heavy bands to provide a sufficient stimulus, especially for compound movements that involve large muscle groups.
Your specific fitness objectives dictate the ideal resistance level. For rehabilitation, mobility work, or dynamic warm-ups, light resistance is essential to isolate small stabilizing muscles without overloading them. If your goal is muscular endurance, select a band that allows you to complete 15 to 20 repetitions before reaching fatigue. For hypertrophy, choose a band that challenges you within the 8 to 12 repetition range, while maximum strength training requires heavy bands that limit you to 5 to 8 controlled repetitions.
Regardless of your goals, the correct resistance level is always defined by your ability to maintain strict form. If you must swing your body, shrug your shoulders, or shorten the range of motion to complete a repetition, the band is too heavy. True progressive overload comes from challenging the muscle through a full, controlled range of motion, not from forcing a high-tension band with poor technique.
Match Band Resistance to Specific Muscle Groups and Movements
Different muscle groups possess vastly different force-production capabilities. Large, powerful muscle groups like the glutes, hamstrings, and quadriceps require substantial resistance to trigger adaptation, making heavy or extra-heavy bands necessary for exercises like squats or glute bridges. In contrast, smaller upper-body muscles like the lateral deltoids, biceps, and rotator cuff muscles require much lighter bands to prevent compensation from larger surrounding muscles.
The tension of an exercise resistance band is dynamic, meaning it increases as the band is stretched. This is fundamentally different from free weights, where the resistance remains constant. You must consider the range of motion of the specific exercise and the distance from your anchor point; if the band is completely slack at the start of the movement, you lose resistance during the initial phase, whereas if it is highly stretched before you begin, the tension at the end may be too high to manage safely.
Because of these biomechanical variations, a single resistance band is never sufficient for a full-body workout. Keeping a diverse set of bands—ranging from light to extra-heavy—allows you to select the precise tension needed for each specific movement. It also enables you to drop down to a lighter band during a workout if your muscles become fatigued, ensuring you can maintain high-quality movement patterns even when tired.
Test Your Selection Safely and Verify Proper Form
Safety is paramount when training with elastic resistance. Before every session, perform a thorough visual and tactile inspection of your bands. Look for micro-tears, small punctures, discoloration, or areas where the material has become thin or brittle. If you detect any signs of wear, discard the band immediately, as a snapping band can cause severe impact injuries to your face, eyes, or body.
When setting up your exercise, ensure the band is anchored to a completely stable, non-moving object. If using a door anchor, place it on the side of the door that closes away from you so that pulling the band pulls the door shut rather than open. Maintain a secure grip or ensure the band is firmly positioned under the arches of your feet to prevent it from slipping and snapping back toward you during use.
To verify if you have chosen the correct resistance, perform a brief test set of 3 to 5 slow, controlled repetitions. If your technique begins to fail before you reach your target repetition range, this is a clear indicator that the band is too heavy. Common signs of excessive resistance include joint shrugging, arching the lower back, or using momentum to jerk the band. Conversely, if you complete your set and feel no muscular fatigue or challenge, the band is too light and will not stimulate physical adaptation.
You must stop the exercise immediately if you experience sharp joint pain, hear or feel a snapping sensation, or notice the anchor point shifting. Never attempt to push through a repetition if the band begins to slip or deform visibly. Prioritizing safety and equipment integrity is essential to prevent acute injuries and maintain a consistent, long-term training routine.
Progress Your Training and Combine Bands for Heavier Loads
You do not always need to purchase a new, heavier band to increase the difficulty of your workouts. You can progress your training by increasing the total number of repetitions, slowing down the eccentric phase of the movement, or shortening the working length of the band. For example, when performing a standing bicep curl or squat, stepping your feet wider apart stretches the band more at the starting position, increasing the baseline tension without needing to switch to a completely different band.
When your strength outgrows your heaviest single band, you can combine or stack multiple bands together to create a custom resistance level. For instance, using a light band and a medium band simultaneously provides a combined tension that bridges the gap to a heavy band. When stacking, ensure both bands are aligned perfectly, anchored securely, and that neither band is stretched beyond its individual safety limit.
While resistance bands are highly effective for joint-friendly training and mobility, they have inherent limitations for absolute strength development. Because the resistance is lowest at the beginning of the movement, it can be challenging to overload the muscles in their fully stretched position. If your primary goal is to maximize absolute strength or power, transitioning to traditional free weights, such as dumbbells or barbells, or cable machines may eventually be necessary to ensure continuous progressive overload.
Frequently Asked Questions (FAQ)
Can I use the same resistance band for every exercise?
No, using a single resistance band for every exercise is highly inefficient and can increase your risk of injury. Your body’s muscle groups vary significantly in size and strength; for example, your legs and glutes are capable of moving much heavier loads than your shoulders and arms. A band that is heavy enough to challenge your lower body will likely be too stiff for safe upper-body movements, leading to poor form or joint strain.
To achieve a balanced, full-body workout, it is highly recommended to invest in a multi-band set. Having access to light, medium, and heavy options ensures you can match the appropriate tension to each specific movement pattern. This variety allows you to target smaller stabilizing muscles safely while still providing enough resistance to challenge your larger muscle groups.
How do I know when it is time to replace my resistance band?
You should replace your resistance band at the first sign of material degradation. Inspect your bands regularly for physical indicators such as fading color, loss of elasticity, micro-tears, fraying edges, or a sticky surface texture. These signs indicate that the latex or synthetic rubber is breaking down, which significantly increases the risk of the band snapping unexpectedly during a workout.
To prolong the usable lifespan of your bands, store them properly when not in use. Keep them in a cool, dry place away from direct sunlight, extreme temperatures, and sharp objects. Avoid leaving them stretched around anchor points for extended periods, and clean them occasionally with a damp cloth and mild soap, avoiding harsh chemicals that can degrade the material.

Community discussion
Share your experience or ask a question. Comments are reviewed before publication.