
Selecting the correct gym elastic band tension requires matching the band’s resistance characteristics to your specific exercise goals, current strength level, and the mechanics of the movement. Unlike traditional free weights that provide a constant gravitational pull, elastic bands deliver variable resistance that changes throughout the range of motion. To find the right tension, you must first determine whether the band is meant to assist your body weight—such as in pull-ups or dips—or to add resistance to an existing lift, like a squat or bench press. By evaluating your physical capabilities and understanding how elastic materials behave under tension, you can select a band that optimizes your training stimulus while protecting your joints from unnecessary strain.
Understanding Elastic Band Tension and Resistance Curves
To make an informed choice, it is essential to understand the physics of a gym elastic band. Traditional weights, such as dumbbells and barbells, rely on gravity to create a constant downward force. In contrast, elastic bands operate on the principle of linear variable resistance. This means that as the band is stretched further, the tension increases proportionally. The resistance is lowest at the beginning of the movement when the band is slack or minimally stretched, and reaches its peak at the end of the movement where the band is fully extended. This dynamic matches the human strength curve for many compound exercises, where you are typically stronger at the end of the movement (the lockout phase) than at the beginning.
When selecting a band, you will notice that manufacturers use color-coding, thickness, and width to indicate different tension levels. However, there is no universal industry standard for these colors. A red band from one brand might offer light resistance, while a red band from another could represent medium or heavy tension. Because of this variation, you must always consult the manufacturer’s specific product chart, which typically lists the estimated load range in kilograms or pounds at specific stretch percentages (such as 100% or 200% elongation). Generally, wider and thicker bands offer higher resistance levels, while thinner bands are designed for lighter work or rehabilitation.
Products mentioned in this guide
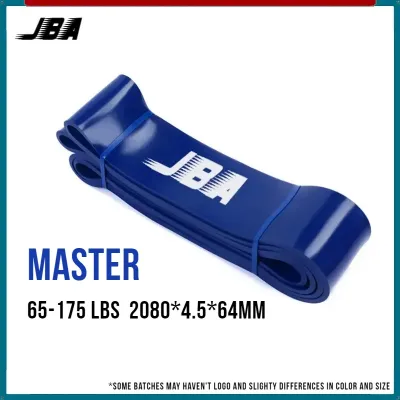
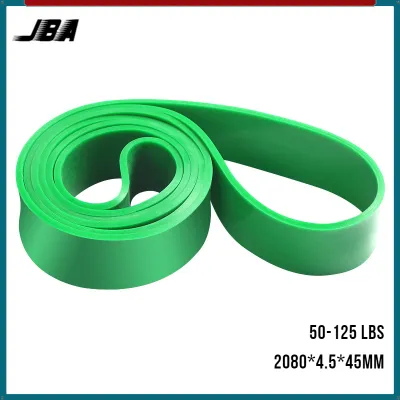
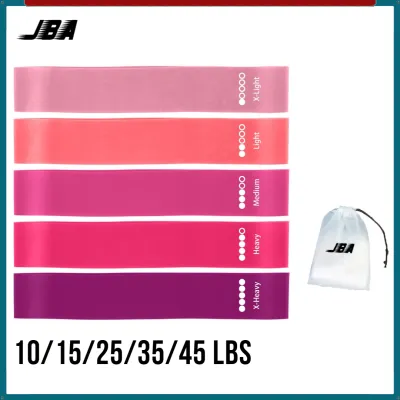
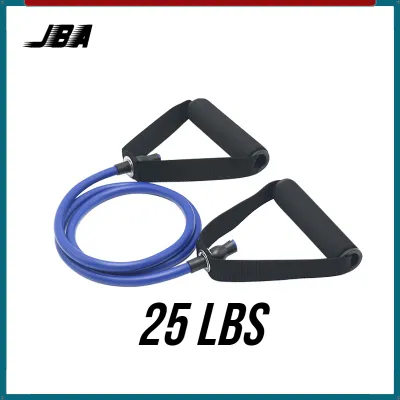
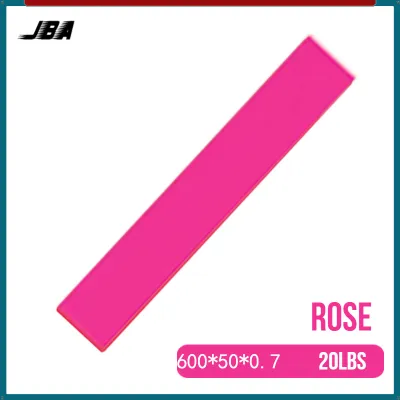
![[RECEIVE IN 3 DAYS] Looped Resistance Exercise Yoga Bands](https://img.lazcdn.com/g/p/478c71011ff76f1dc2636e7c42012a8d.jpg_400x400q80.jpg_.webp)
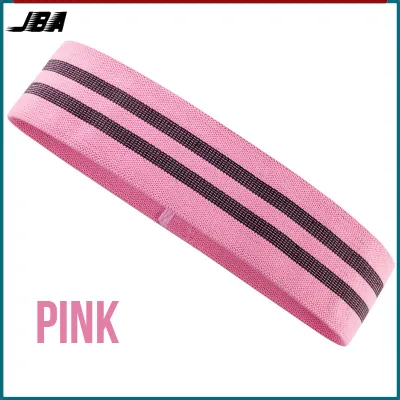
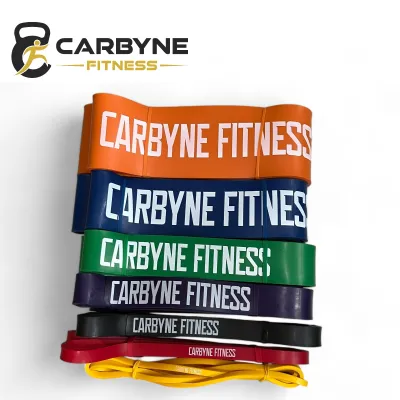
Prices are valid at publication and may change. Please refer to the product page for the latest price.
The physical structure of the band also dictates its suitability for different gym lifts. Loop bands, which are continuous flat bands, are the most versatile for heavy strength training, powerlifting, and pull-up assistance because they can be easily anchored to barbells, power racks, or your own feet. Tube bands, which feature hollow cylindrical rubber with handles attached to the ends, are better suited for isolation exercises like bicep curls, chest flies, or shoulder presses where a comfortable grip is paramount. Therapy bands are thin, flat, non-loop sheets of latex or synthetic rubber; these are primarily used for physical therapy, joint mobilization, and light muscle activation rather than heavy compound lifts.
Matching Band Tension to Specific Lifts
The strategy for choosing a band tension changes fundamentally based on your training intent. You must decide whether you are using the band to make an exercise easier by offsetting your body weight, or harder by adding accommodating resistance to a lift. This distinction determines not only the thickness of the band you select but also how you anchor it and calculate the total load on your body.

Using Bands for Assistance (e.g., Pull-Ups, Dips)
When using a gym elastic band for assistance exercises like pull-ups or chest dips, the band acts as a counterweight to help you complete repetitions that you cannot yet perform with your full body weight. To choose the right tension, start by estimating how much assistance you need. For example, if you weigh 80 kg and can perform three clean bodyweight pull-ups, but your target is a set of eight, you need a band that offsets roughly 15 kg to 25 kg of tension at the bottom of the movement. Most manufacturers provide an assistance chart that maps your body weight and current strength level to the recommended band thickness.
The mechanical behavior of the band during assistance lifts is highly specific. During a pull-up, the band is stretched to its maximum length when your arms are fully extended at the bottom of the movement. Because the band is at its longest, it provides the greatest amount of assistance at this exact point, which is mechanically the hardest part of the lift for most people. As you pull yourself up, the band contracts, and the assistance decreases. At the top of the pull-up, where the stretch is minimal, the band provides the least amount of help, forcing your muscles to work harder to complete the lockout. Thicker, heavier bands provide substantial assistance at the bottom, making them ideal for beginners, while thinner bands offer less help, requiring more effort from the lifter.
As your strength improves over time, you must adjust your band selection to maintain progressive overload. Continuing to use a thick band when you have grown stronger will stall your progress because the band is doing too much of the work. Transition to a thinner band that provides less assistance, forcing your muscles to adapt to carrying more of your actual body weight. You can track your progress by moving down the manufacturer’s color-coded resistance levels until you can perform the exercise completely unassisted.
Using Bands for Added Resistance (e.g., Squats, Bench Press)
When adding bands to traditional barbell lifts like squats, deadlifts, or bench presses, the goal is to create accommodating resistance. This technique overloads the top portion of the lift where you are mechanically strongest. For instance, in a squat, the lift is hardest at the bottom (the hole) and easiest at the top (lockout). By anchoring a band to the bottom of a power rack and looping it over the barbell, the resistance increases as you stand up, matching your natural strength curve and forcing your muscles to accelerate through the entire range of motion.
To select the correct band tension for added resistance, you must match the band’s tension to your sticking point and lockout phase without compromising your joint safety. A common mistake is using bands that are too heavy, which can overload the joints at the top of the movement or pull you out of proper alignment. For general strength training, the band tension at the peak of the stretch should typically constitute about 20% to 35% of your total target load, with the remaining weight coming from free-weight plates. If your target squat is 100 kg, you might use 75 kg of barbell weight combined with bands that provide approximately 25 kg of tension at the top of the lift.
It is crucial to ensure that the bands do not alter your natural bar path. If the bands are anchored incorrectly—such as too far forward or backward relative to the barbell—they will pull the bar horizontally, disrupting your balance and putting unnecessary shear stress on your spine or shoulders. Always anchor the bands directly in line with the vertical path of the barbell. Additionally, verify that the bands are stretched evenly on both sides of the bar; uneven tension can cause the barbell to tilt, leading to muscle imbalances or acute injury during heavy sets.
How to Test and Verify Band Tension Before Use
Before incorporating any gym elastic band into a heavy training session, you must perform a series of safety and tension checks. Never assume a band’s resistance based solely on its color or previous use, as material wear and environmental factors can significantly alter how the band behaves under load.
First, check the manufacturer’s specifications for the maximum stretch limit and safe working load of the band. Most high-quality gym elastic bands are designed to stretch up to 200% to 250% of their original resting length safely. Exceeding this limit dramatically increases the risk of the band snapping or losing its elasticity permanently. If you are tall or using a high anchor point that requires a long stretch, measure the distance to ensure you will not exceed the safe elongation limit at the peak of your movement.
Next, perform a manual physical stretch test before loading the band with weights or using it for bodyweight assistance. Anchor the band securely to a stable, non-moving structure at waist height. Take a few steps back to stretch the band slightly, and perform a few controlled pulls to feel the resistance. This allows you to gauge whether the tension feels appropriate for your target exercise and ensures there are no sudden drops in resistance, which could indicate internal structural damage to the rubber.
Finally, conduct a thorough visual and tactile inspection of the entire band. Run your fingers along the edges and surfaces of the elastic material, looking for micro-tears, small cuts, discoloration, or dry patches. Pay close attention to the areas that contact anchor points, as friction can cause rapid wear. If you feel any nicks or notice that the material has become brittle or sticky, do not use the band. A compromised band can snap violently under tension, potentially causing severe facial, eye, or soft-tissue injuries.
Adjusting Tension for Progressive Overload and Safety
You do not always need to purchase a new gym elastic band to adjust the resistance of your exercises. You can modify the tension of your existing bands by altering their setup. To increase the resistance of a loop band, you can shorten its active length by choking it around an anchor point, doubling it over, or widening your stance or grip. For example, when performing band-resisted deadlifts, stepping wider on the band increases the pre-stretch tension, making the exercise harder from the very start. Conversely, to decrease tension, allow more slack in the band or use a longer anchor distance.
Safe anchoring techniques are paramount to preventing snap-back injuries. Always anchor your bands to heavy, stable objects that cannot slide or tip over, such as a bolted power rack, a heavy dumbbell, or a dedicated anchor peg. Avoid anchoring bands to sharp metal edges, threaded barbell sleeves, or rough wooden surfaces that can cut the material under tension. When wrapping a band around an anchor, ensure it is flat and secure so it cannot slip off mid-exercise. Always maintain spatial awareness during your workout; keep your face and sensitive body parts out of the direct line of a potential snap-back.
Knowing when to retire a gym elastic band is critical for maintaining a safe training environment. Over time, all elastic materials experience fatigue and lose their original tension. If a band feels noticeably softer, fails to return to its original resting length, or shows visible signs of cracking, it has reached the end of its functional lifespan. Environmental factors accelerate this degradation. In warm, humid climates, exposure to sweat, body oils, and direct sunlight can break down latex and rubber rapidly. Store your bands in a cool, dry place away from direct sunlight, and clean them occasionally with a damp cloth to remove sweat residue, avoiding harsh chemical cleaners that can degrade the material.
Frequently Asked Questions (FAQ)
Can I use multiple gym elastic bands together for more tension?
Yes, you can stack multiple gym elastic bands together to increase the total resistance or assistance. When you combine bands, their individual tension levels add together, allowing you to customize the resistance curve more precisely than you could with a single band. For example, combining a light band and a medium band can bridge the gap when you are transitioning to a heavier workload.
However, stacking bands increases the stress on your anchor points and requires extra safety precautions. Ensure that all bands are aligned perfectly parallel to each other and are anchored securely to prevent them from rubbing against one another, which can cause friction wear. Check that both bands stretch evenly throughout the movement; if one band reaches its maximum elongation before the other, it may snap or pull the load unevenly, compromising your form.
Do gym elastic bands lose their tension over time?
Yes, gym elastic bands naturally lose their tension and elasticity over time due to material fatigue and environmental exposure. The rubber or latex polymers break down gradually as they are repeatedly stretched and contracted during workouts. This degradation is accelerated by environmental factors such as ultraviolet (UV) light, extreme heat, sweat, and high humidity, which can cause the material to become brittle, sticky, or prone to cracking.
To maximize the lifespan of your bands, inspect them regularly for tactile changes, such as a loss of snapback or a chalky residue on the surface. Store them in a temperature-controlled environment away from direct sunlight and moisture. If you notice that a band no longer provides the same level of resistance at a given stretch, or if it exhibits visible micro-cracks, retire it immediately to prevent sudden failure during a lift.

Community discussion
Share your experience or ask a question. Comments are reviewed before publication.