
To choose the right resistance level for an elastic exercise band, you must match the band’s tension to your current strength, the targeted muscle group, and your training goals. A band that is too light will not stimulate muscle growth or endurance, while one that is too heavy will compromise your form and increase the risk of injury. The ideal band allows you to complete your target repetitions with controlled technique, leaving only one or two challenging repetitions in reserve.
Understanding Resistance Levels and Color Codes
When shopping for an elastic exercise band, the first thing you will notice is the variety of colors available. While many manufacturers use a color-coded system to indicate tension levels—often starting with lighter shades like yellow for light resistance and ending with darker shades like black for heavy resistance—these systems are not universally standardized. A red band from one manufacturer might offer the same tension as a green band from another.
To make an accurate selection, check the specific tension range printed on the packaging, product label, or manufacturer’s website. This tension is typically measured in kilograms or pounds, representing the force required to stretch the band to a specific percentage of its length. Relying on these numerical specifications ensures you get the exact resistance you need, regardless of the brand.
Products mentioned in this guide
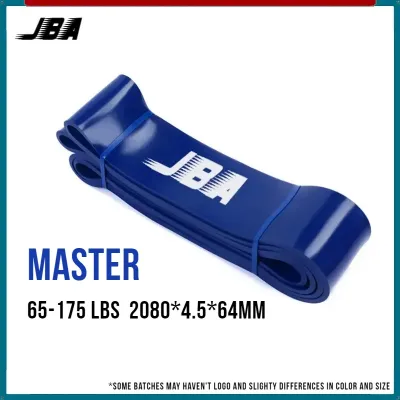
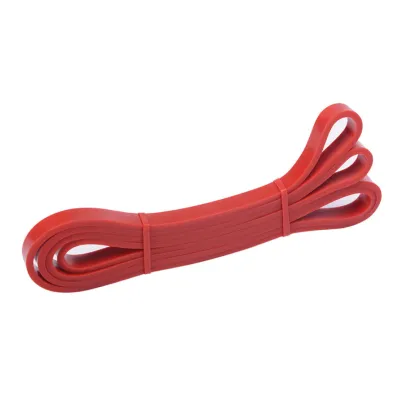
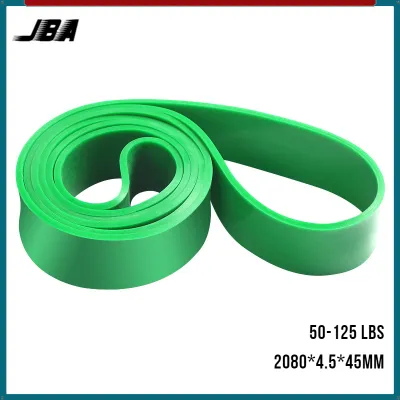
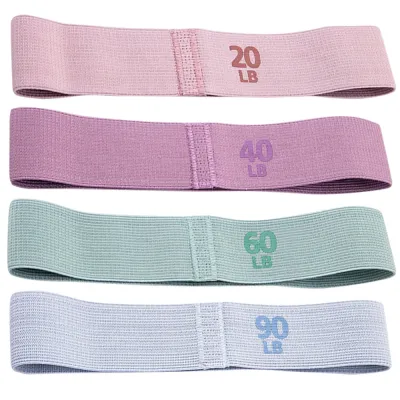
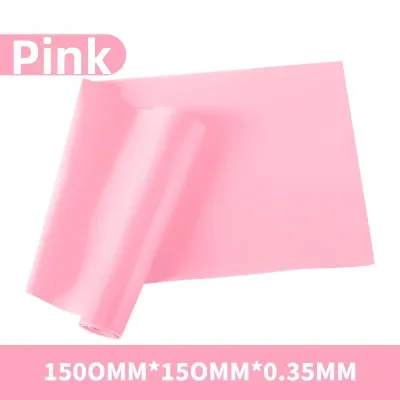


Prices are valid at publication and may change. Please refer to the product page for the latest price.
Additionally, the physical design of the band alters how that resistance is delivered. Flat loop bands are long, continuous loops highly suited for full-body movements, pull-up assistance, or lower-body exercises. Tube bands with handles feature clip-on attachments and are designed to mimic cable machine exercises, offering a comfortable grip for upper-body training. Mini bands are much shorter, wider loops designed specifically to be placed around the thighs or ankles to target the glutes and hip abductors during lateral movements.
Matching Resistance to Your Fitness Level and Goals
Your current physical strength and training objectives dictate the baseline resistance level you should choose. If you are a beginner, your primary focus should be on mastering proper exercise form and establishing a strong mind-muscle connection. Selecting a light resistance band allows you to perform movements slowly and deliberately, preventing stronger muscle groups from compensating for weaker ones.

For intermediate fitness enthusiasts aiming for muscle hypertrophy or muscular endurance, medium resistance bands are generally the most effective. These bands provide enough tension to stimulate muscle growth while still allowing you to complete moderate-to-high repetition ranges. Advanced lifters focusing on maximum strength or explosive power will require heavy or extra-heavy bands to sufficiently challenge their well-conditioned muscles.
To determine if a band’s resistance is appropriate, utilize the “repetitions in reserve” (RIR) framework. If your training plan calls for a set of twelve repetitions, the eleventh and twelfth repetitions should feel highly challenging to complete, yet you should still be able to maintain perfect form. If you finish the twelfth repetition feeling as though you could easily complete five more, the resistance is too light; conversely, if your technique falters by the eighth repetition, the band is too heavy.
It is also important to align the resistance level with the phase of your workout. Lighter bands are excellent tools for dynamic warm-ups, joint mobility drills, and physical rehabilitation, as they gently increase blood flow without fatiguing the muscles. Heavier bands should be reserved for your primary strength movements, where the goal is to apply progressive overload.
Selecting the Right Band for Specific Exercises
The human body consists of muscle groups of vastly different sizes and leverage capabilities, meaning a single resistance level cannot accommodate every exercise. Smaller, isolated muscle groups, such as the lateral deltoids in the shoulders or the biceps in the arms, have a lower capacity for force production. Attempting to use a heavy band for lateral raises or bicep curls will quickly lead to poor form, joint strain, and momentum-driven movements.
In contrast, large compound muscle groups, such as the glutes, quadriceps, and the latissimus dorsi in the back, are built to handle substantial loads. Exercises like squats, glute bridges, and bent-over rows require much heavier resistance bands to trigger any meaningful muscular adaptation. Using a band that is too light for these powerful muscle groups will result in an under-stimulating workout that yields minimal fitness progress.
You must also account for how the range of motion of an exercise interacts with the band’s elasticity. Unlike free weights, which provide a relatively constant resistance throughout a movement, elastic exercise bands deliver progressive resistance; the further the band stretches, the more tension it generates. For example, during an overhead press, the band is stretched to its maximum length at the top of the movement, making the peak of the exercise significantly harder than the start.
If you find yourself between resistance levels, you can customize your tension by stacking multiple lighter bands together. Combining a light band and a medium band creates an intermediate resistance level that bridges the gap perfectly. This stacking method provides a highly cost-effective way to progress your workouts without needing to purchase an entirely new set of heavy equipment.
How to Test and Adjust Your Band Resistance
Before starting a full workout session, performing a quick pre-workout test is essential for both safety and effectiveness. Begin by executing two or three slow, controlled trial repetitions of your planned exercise. Ensure that you can move through the entire range of motion smoothly, without needing to jerk your body, arch your back, or shorten the movement path to complete the repetition.
Safety should always be your top priority when training with elastic materials. Before every single use, thoroughly inspect your elastic exercise band for any signs of wear and tear. Look closely for tiny micro-tears along the edges, small punctures, white stress marks where the rubber has been overstretched, or any loss of overall elasticity. A compromised band can snap violently under tension, potentially causing painful snaps against your skin or loss of balance.
Always establish clear stop conditions for your exercises to prevent injury. If your form begins to break down, if you find yourself relying on momentum rather than muscle control, or if you experience any joint discomfort, stop the exercise immediately. In these situations, equipment cannot replace sound physical judgment; always step down to a lighter band or reduce the stretch distance to protect your joints and maintain proper movement mechanics.
Frequently Asked Questions (FAQ)
Can I use the same resistance band for all exercises?
No, using a single resistance band for your entire workout routine is highly inefficient and can limit your progress. Different exercises target muscles of varying sizes and leverage points, meaning a band that is challenging enough for squats will be far too stiff for shoulder exercises. To ensure a safe, balanced, and effective workout, it is highly recommended to purchase a set containing multiple bands of varying resistance levels.
How do I know when it is time to move up to a heavier band?
You will know it is time to transition to a heavier band when you can easily complete all your target repetitions and sets with perfect form and minimal muscle fatigue. If the final repetitions of your set no longer feel challenging and your heart rate or muscle burn remains low, your body has adapted to the current workload. To continue making progress through progressive overload, move up to the next color level or stack an additional light band onto your current setup.

Community discussion
Share your experience or ask a question. Comments are reviewed before publication.