
Selecting the correct resistance level for an elastic exercise band is the foundation of a safe, effective home or gym workout. To find the ideal tension, you must match the band’s resistance to your current physical strength, the specific exercise you are performing, and your target repetition range. Choosing a band that is too light leads to undertraining and stalled progress, while selecting one that is too heavy compromises your form and increases the risk of joint strain or acute injury. By systematically evaluating your baseline capabilities and understanding how elastic tension behaves under load, you can optimize your training sessions and progress safely over time.
Assess Your Current Fitness Level and Training Goals
To select the right starting point, you must first establish an accurate picture of your current physical strength. If you have experience with free weights, you can use your typical dumbbell or barbell loads as a practical reference point. For example, if you struggle to perform ten repetitions of a shoulder press with light dumbbells, you will require a low-tension band for similar upper-body movements. If you are new to resistance training entirely, your performance in basic bodyweight exercises—such as squats, push-ups, or lunges—will serve as your baseline. Individuals who find bodyweight squats challenging should start with light to medium bands, while those who can easily complete twenty bodyweight squats can safely opt for medium to heavy bands to add external load.
Your primary training objective directly dictates the amount of tension your elastic exercise band should provide. If your goal is muscular endurance or cardiovascular conditioning, you should select a lighter band that allows you to complete fifteen to twenty-five repetitions per set with controlled form. For hypertrophy or general strength building, you need a moderate to high-resistance band that creates significant muscle fatigue within a lower range of eight to twelve repetitions. Attempting to build raw strength with a band that is too light will require excessively long sets that test cardiovascular endurance rather than muscular capacity.
Products mentioned in this guide
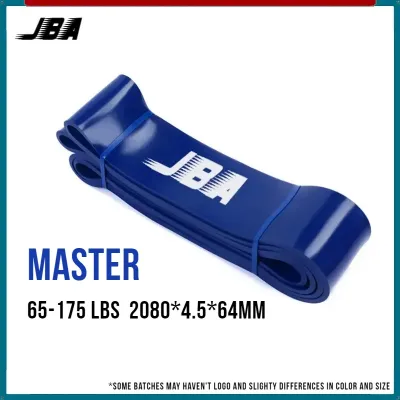
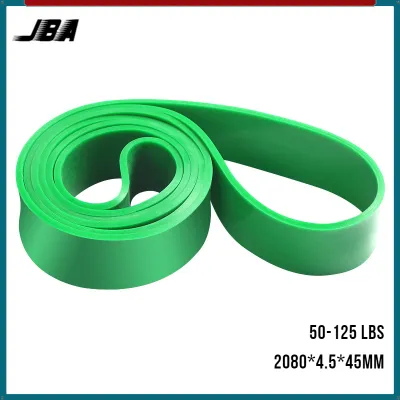
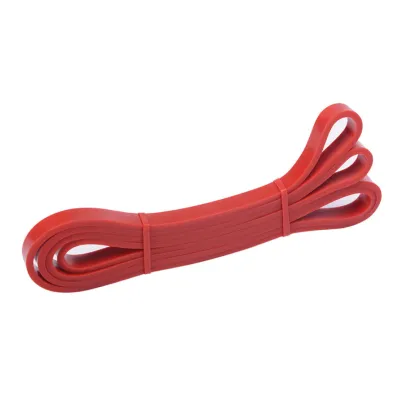
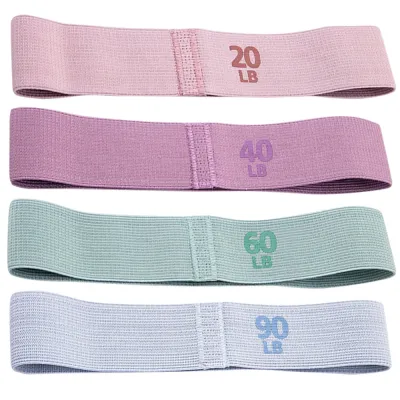
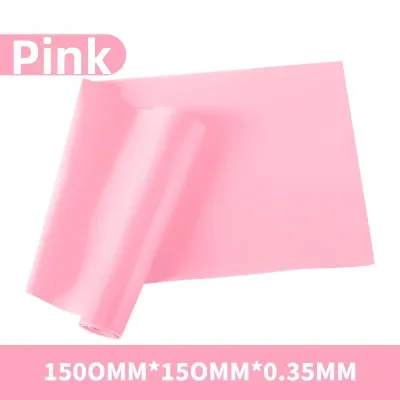
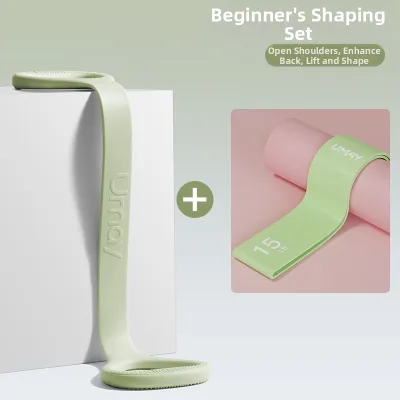

Prices are valid at publication and may change. Please refer to the product page for the latest price.
It is also essential to recognize that different muscle groups require vastly different resistance levels during a single workout session. Large, powerful muscle groups like the glutes, hamstrings, and quadriceps naturally handle much higher tension levels and will require thicker, heavier bands to trigger adaptation. Conversely, smaller muscle groups such as the shoulders, biceps, and triceps are easily overloaded and require thinner, lighter bands to prevent compensatory movements. Attempting to use a single band level for an entire full-body routine will inevitably leave your lower body undertrained or your upper body overstrained.
Decode Resistance Band Color Codes and Tension Ratings
A common pitfall when purchasing an elastic exercise band is assuming that color codes are standardized across the fitness industry. While many manufacturers use a progression from yellow and red for light resistance to blue and black for heavy resistance, there is no universal regulatory standard governing these colors. A red band from one brand might offer the same tension as a green band from another. To avoid purchasing the wrong equipment, you must always verify the specific manufacturer’s tension chart, product packaging, or official specifications before making a selection.

Understanding how tension ratings are calculated is crucial for realistic training expectations. Unlike free weights, which exert a constant gravitational pull throughout an exercise, an elastic exercise band provides dynamic, progressive resistance. This means the tension increases continuously as the band is stretched further from its resting length. Manufacturers typically list tension ratings as a range, representing the resistance at partial stretch versus maximum safe elongation. You must evaluate whether your target exercises will stretch the band sufficiently to reach the desired working tension.
When reviewing official brand specifications, look for detailed tension metrics rather than vague labels like “medium” or “heavy.” High-quality manufacturers provide clear charts indicating the estimated resistance at specific stretch percentages, such as 100% or 200% elongation. Relying on these precise metrics allows you to map the band’s performance to your specific height and limb length. If you are taller or have a wider stance, you will naturally stretch the band further during use, meaning you may need to opt for a slightly lower nominal rating to avoid excessive tension at the peak of your movements.
Test and Adjust the Resistance During Your Workout
Once you have selected a candidate band, you must physically test its suitability by performing a controlled trial set of your target exercise. Begin by executing three to five slow, deliberate repetitions of the movement, focusing entirely on your range of motion and joint alignment. If you cannot complete the full range of motion—such as failing to reach full extension in a bicep curl or failing to stand completely upright in a banded squat—the resistance is too high. Your form must remain pristine from the first repetition to the last; if you find your torso swaying or your joints collapsing to complete a movement, stop immediately and reduce the tension.
Before switching to a completely different band, you can dynamically adjust the resistance of your current band by altering your setup. For loop bands or tube bands with handles, shortening your grip or stepping wider to increase the band’s pre-stretch length will instantly elevate the starting tension. Conversely, narrowing your stance or lengthening the anchor point distance reduces the initial stretch, making the exercise easier to perform. These minor physical adjustments allow you to fine-tune the resistance mid-set to match your immediate fatigue levels without interrupting your workout flow.
Safety must always remain your top priority when working with elastic materials under high tension. Before every single workout session, perform a thorough visual and tactile inspection of your elastic exercise band, checking for micro-tears, discoloration, small punctures, or structural degradation near the handles or anchor points. Even minor surface scratches can rapidly develop into catastrophic tears when the band is stretched to its limit, leading to sudden snaps that can cause severe facial or bodily injury. If you detect any signs of wear, discard the band immediately and do not attempt to stretch it under load.
Signs You Need to Change Your Resistance Level
Recognizing when your current elastic exercise band is no longer providing an effective training stimulus is key to avoiding plateaus. The most obvious sign of undertraining is the ability to easily complete your target repetition range without experiencing muscular fatigue or a drop in movement speed. If you find yourself performing thirty repetitions of an exercise when your goal was twelve, or if you must constantly choke up on the band to feel any resistance at all, the band has become too light. Your muscles adapt quickly to consistent training, meaning a band that felt challenging last month may now serve only as a warm-up tool.
Conversely, you must be highly sensitive to the warning signs of excessive resistance to prevent acute or chronic injuries. If you experience sharp joint discomfort, tendon strain, or find yourself unable to complete the concentric phase of an exercise, the band is too heavy. Another critical warning sign is an inability to control the eccentric phase of the movement, where the band snaps back uncontrollably rather than allowing a slow, resisted return to the starting position. Forcing your body to work against excessive tension compromises your neurological control, leading to poor movement patterns that can persist long after your workout.
To progress safely, implement a structured transition strategy when moving to a heavier band. When you can comfortably complete two additional repetitions beyond your target goal for two consecutive workouts while maintaining perfect form, you are ready to advance. When transitioning to a higher tension rating, perform your first set with the new band at a reduced range of motion or with a wider grip to gauge your body’s response. Alternatively, you can perform your initial warm-up sets with the heavier band and complete the high-volume working sets with your previous band until your joints and connective tissues adapt to the increased load.
Frequently Asked Questions (FAQ)
Can I combine multiple elastic exercise bands to increase resistance?
Yes, you can stack multiple elastic exercise bands together to increase the total tension of an exercise, provided they are of the same type, material, and brand. Combining two medium bands is an excellent way to create a heavy resistance level without purchasing a new product. However, you must avoid stacking bands with vastly different stretch limits, age, or materials, as this causes uneven tension distribution during the movement. The older or less elastic band may reach its maximum stretch capacity prematurely, leading to sudden failure, snapping, and potential injury.
How often should I re-evaluate my resistance band level?
You should re-evaluate your resistance band level every four to six weeks of consistent training. This timeframe aligns with typical neuromuscular adaptations, where your brain and muscles become more efficient at producing force. If you train consistently three to four times a week, you will likely notice that exercises which initially felt challenging now require less effort. Use this periodic check to assess whether you can safely transition to a higher tension rating, or if you need to adjust your grip and stance to maintain an effective training stimulus.

Community discussion
Share your experience or ask a question. Comments are reviewed before publication.