
Selecting the right bicycle illumination is one of the most practical decisions you can make to ensure your safety and comfort on the road. ROCKBROS has established a diverse lineup of lighting accessories, ranging from compact safety flashers to high-intensity trail lights. However, finding the ideal model requires looking beyond basic aesthetic appeal or generic brightness claims. The right choice depends heavily on your specific riding environment, average travel speed, and the ambient lighting conditions of your routes. By evaluating your typical cycling habits and understanding how to read product specifications, you can identify a model that provides the exact balance of visibility, battery life, and durability you need. This guide establishes a clear framework to help you analyze your options and select the ideal setup for your daily rides.
Understanding Your Riding Scenario and Lighting Needs
To choose the correct light, you must first distinguish between two primary safety functions: “seeing” and “being seen.” If your route consists entirely of well-lit urban streets or brightly illuminated park connectors, your primary goal is to alert other road users to your presence. In these environments, a compact, highly visible light with distinct flashing modes is often sufficient to keep you safe without requiring massive battery reserves.
Conversely, if your rides take you through unlit paths, rural roads, or dense park connector networks after dark, your priority shifts to “seeing.” You need a light that actively projects a strong, focused beam onto the ground ahead to reveal potholes, debris, and sudden obstacles.
Products mentioned in this guide
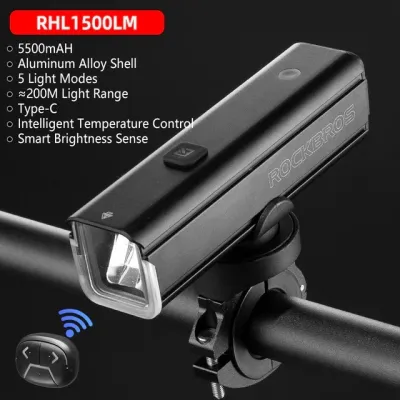
![[SG Stock] ROCKBROS 400 Lumens USB Rechargeable Bikes Bicycles MTB LED Headlight](https://img.lazcdn.com/g/p/ce328cf22e52ed8d0e2bba287847096e.jpg_400x400q80.jpg_.webp)
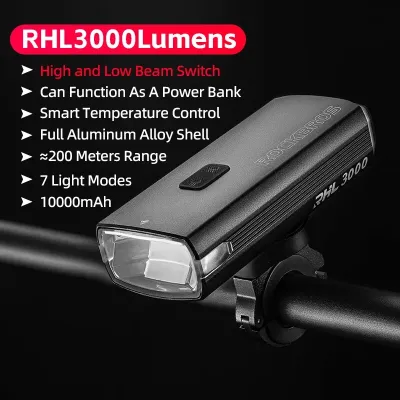
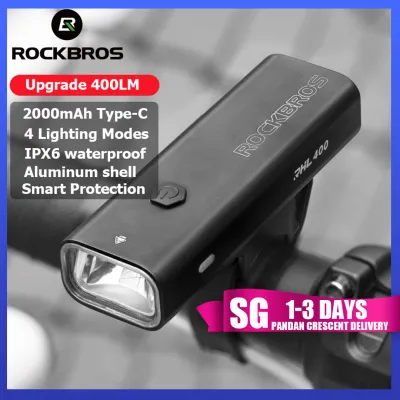
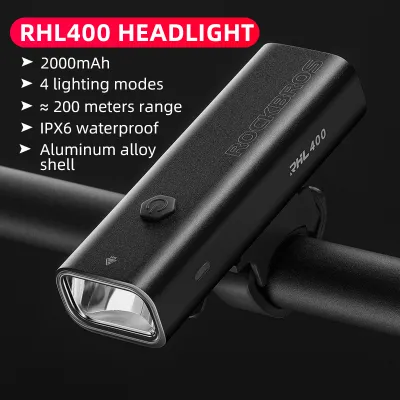
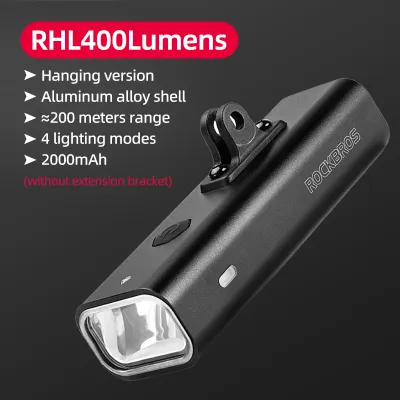
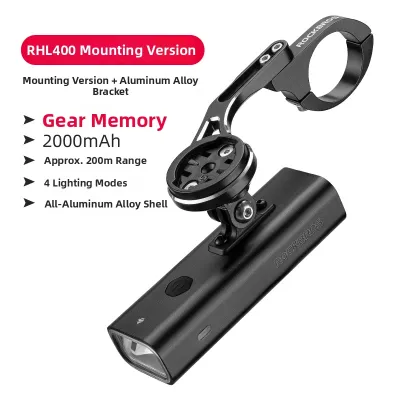
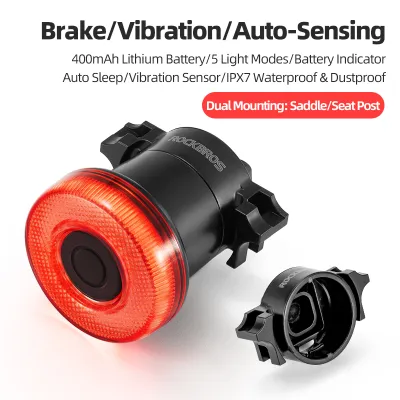
Prices are valid at publication and may change. Please refer to the product page for the latest price.
Riding speed also dictates your lighting requirements because faster travel reduces your reaction time. A cyclist cruising at 15 km/h on a shared path needs only a short, wide beam to navigate safely. In contrast, a road cyclist traveling at 30 km/h or faster requires a long-range beam that illuminates the path far ahead, allowing ample time to brake or steer around hazards. Assessing these environmental factors before browsing ensures you do not end up with an underpowered light for dark trails or an overly bright, heavy unit for simple city commuting.
Key Specifications to Check on ROCKBROS Product Labels
When evaluating ROCKBROS models on online marketplaces, understanding technical specifications is crucial. Many riders focus solely on the lumen rating, which measures total light output. However, high lumens do not guarantee a useful beam if the light is poorly focused. Look for the lux rating, which measures light intensity concentrated on a specific surface. A well-designed light with lower lumens but efficient optics often illuminates paths better than a high-lumen light with a scattered beam.

The beam pattern is another critical specification to verify on the product packaging. Wide flood beams are excellent for off-road trails because they illuminate the sides of the path, helping you spot low-hanging branches or sudden turns. Focused spot beams project light far into the distance, making them ideal for high-speed road cycling. For urban commuting, look for models that feature a cut-off beam pattern. These German-standard inspired designs shape the beam so that the top of the light path is flat, preventing the light from shining directly into the eyes of oncoming cyclists, pedestrians, or motorists.
Battery capacity, typically measured in milliampere-hours (mAh), directly influences both runtime and physical weight. High-capacity batteries allow the light to run at maximum brightness for extended periods, but they also make the unit heavier and bulkier. When checking specifications, look for a detailed runtime chart that shows how long the light lasts in each mode, such as high, medium, low, and flashing. Keep in mind that battery performance can gradually degrade over time and may vary depending on external temperatures, so choosing a model with a slight runtime buffer is always a sensible approach.
Finally, always verify the Ingress Protection (IP) rating printed on the box to ensure the light can withstand local weather conditions. In tropical climates prone to sudden, heavy downpours, an IPX4 rating is the bare minimum required to protect against splashing water from any direction. For reliable year-round riding, look for models rated IPX6 or higher, which can withstand high-pressure water sprays and prevent moisture from damaging the internal electronics during intense rainstorms.
Matching Light Features to Cycling Disciplines
Different cycling styles demand distinct equipment characteristics, and bike lights are no exception. To simplify your selection process, it helps to categorize your riding into one of three primary disciplines: urban commuting, road cycling, or mountain biking. Each category requires a unique balance of weight, aerodynamic profile, beam shape, and battery capacity to deliver optimal performance without adding unnecessary bulk to your bicycle.
Urban Commuting and Park Connector Networks
Commuting through busy city streets and navigating Singapore’s Park Connector Network requires a considerate approach. On shared paths, blinding oncoming pedestrians and cyclists is a common hazard. To prevent this, prioritize ROCKBROS models that feature anti-glare lenses or distinct cut-off beam patterns. These designs direct the light downward onto the pavement where it is needed, rather than dispersing it upward into the eyes of others.
Security is another major consideration for daily commuters who park their bikes in public areas, transit hubs, or office racks. Choosing a light with a quick-release mounting bracket allows you to detach the unit in seconds and slip it into your bag, eliminating the risk of opportunistic theft. Look for compact, lightweight models that do not feel cumbersome to carry around when you are off the bike.
For daytime riding in heavy traffic, visibility is just as important as it is at night. Select a model that offers a dedicated daytime running light mode or a highly visible flashing pattern. These modes use rapid, irregular pulses of light to catch the attention of distracted drivers and pedestrians, significantly reducing the likelihood of side-impact collisions at intersections or driveways.
Road Cycling and Group Rides
Road cyclists in fast-paced training sessions or long-distance group rides prioritize minimizing aerodynamic drag and keeping overall bike weight low. Look for sleek, low-profile front lights that can be mounted cleanly underneath an out-front computer mount. This integration keeps your handlebars clutter-free and maintains the aerodynamic efficiency of your cockpit setup.
Long weekend rides that start before dawn or extend late into the evening require substantial battery life. Since road cyclists travel at higher speeds, they must run their lights at higher brightness levels to maintain a safe stopping distance. To support this, look for models with high-capacity internal batteries or those that support charging while in use, allowing you to connect an external power bank during ultra-endurance rides.
Rear visibility is equally critical during group rides to protect you from vehicles approaching from behind and to alert riders drafting in your paceline. A high-quality rear light should feature a wide-angle dispersion lens, ensuring you are visible from the side as well as from directly behind. Opt for models with low-intensity flashing or pulsing modes for group settings, as overly bright, sharp flashes can distract or blind the cyclists riding directly behind you.
Mountain Biking and Off-Road Trails
Riding off-road trails or dark forest paths at night presents demanding conditions. The absence of ambient street lighting means relying entirely on your equipment to reveal the terrain. For this discipline, you need a high-output front light that combines a powerful center spot with a very wide flood beam. This combination allows you to see far down the trail while simultaneously illuminating trail edges, low-hanging obstacles, and sharp corners.
The physical demands of trail riding also require an exceptionally robust mounting system. Constant vibrations, drops, and sudden impacts can easily cause a weak mount to slip, pointing your light at the sky or the front tire at a critical moment. Look for heavy-duty aluminum brackets or secure screw-on clamps that lock the light firmly to your handlebars. Many trail riders also choose to run a dual-light setup, placing one wide-beam light on the handlebars and a second, highly focused spot light on their helmet to illuminate exactly where they are looking.
Off-road environments expose your gear to mud, dirt, and heavy moisture. To ensure your light survives these harsh conditions, verify that the model has a high IP rating, such as IPX6 or IPX7. This level of protection ensures that mud splatters, gritty trail dust, and heavy rain will not penetrate the housing or compromise the power switch and charging port during your ride.
Battery, Mounting, and Weather Resistance Checks
Before purchasing, evaluate the physical usability and construction of your shortlisted ROCKBROS models. Start by examining the charging interface. Modern USB-C ports are highly recommended because they offer faster charging times and allow you to use the same cable as your phone or other cycling electronics. Additionally, consider whether you prefer an integrated rechargeable battery or a model with replaceable cells, keeping in mind that integrated batteries offer better weather sealing but cannot be swapped out mid-ride.
Next, carefully inspect the mounting hardware included with the light. Handlebars come in various diameters, ranging from standard 22.2 mm commuter bars to oversized 31.8 mm or 35 mm road and mountain bike bars. Some modern road bikes also feature integrated carbon handlebars with flat, aerodynamic profiles that do not accept standard round clamps. Ensure the mounting strap or bracket supplied with the light is compatible with your specific handlebar shape, or check if aftermarket adapters are available.
The ease of installation and removal is another factor that directly affects your daily experience. Tool-free mounting systems that utilize durable silicone straps or quick-release levers are highly convenient for riders who frequently swap lights between different bicycles. However, if you plan to leave the light permanently attached to a dedicated commuter bike, a semi-permanent mount secured with a hex bolt may offer better stability and deter casual theft.
Building Your Shortlist: A Step-by-Step Selection Guide
Follow this step-by-step selection workflow to structure your final decision.
First, define your primary scenario and calculate the minimum runtime needed per charge. If your daily commute takes 45 minutes each way and you charge once a week, look for a model offering at least 4.5 hours of runtime in your preferred mode.
Second, filter the available ROCKBROS models based on their beam pattern and IP rating. If you ride primarily on shared paths, eliminate any models that lack an anti-glare lens or a cut-off beam. If you ride in all weather conditions, narrow your list to models with an IPX6 rating or higher.
Third, cross-reference the mounting specifications of the remaining models with your bicycle’s handlebar setup. Ensure the light can be positioned centrally without interfering with your brake cables, gear shifters, or GPS computer.
Fourth, establish your budget in S$ and compare your final candidates against the official manufacturer specifications. Avoid purchasing from unverified third-party sellers who make unrealistic performance claims, and instead rely on the official product documentation to make your final purchase.
Frequently Asked Questions (FAQ)
Can I use a single ROCKBROS light for both commuting and mountain biking?
While it is physically possible to use one light for both activities, doing so requires several compromises. A light designed for mountain biking typically features a very wide, high-output beam and a robust, heavy battery, which can be unnecessarily bulky and blind other users during a simple city commute. Conversely, a compact commuter light with a cut-off beam will not provide the wide-angle trail illumination or the vibration resistance needed for safe off-road riding. If you must use a single light, look for a versatile model with adjustable brightness levels and a removable anti-glare shroud, but be prepared to adjust your riding speed and style to match the equipment’s limitations.
How should I maintain the charging port to prevent water damage?
To protect the sensitive electronic components inside your light, always ensure the rubber protective cover over the charging port is fully and securely pressed into place before every ride, especially in damp or dusty conditions. After riding in the rain or through muddy terrain, gently wipe away any dirt or moisture from around the port cover using a clean, dry microfiber cloth. Never plug a charging cable into a wet or dirty port; instead, allow the light to sit in a well-ventilated indoor area until it is completely dry before connecting it to a power source.
Do I need a rear light if my front light is very bright?
Yes, a bright front light does not replace the need for a dedicated rear light. Front lights are designed to illuminate the path ahead and make you visible to oncoming traffic, but they do not help motorists or other cyclists approaching you from behind. A red rear light is essential for defining your position, direction of travel, and relative speed to traffic behind you. In many regions, including Singapore, riding without both a functioning front white light and a rear red light during hours of darkness is a legal offense, making a complete front-and-rear setup a necessity for both safety and compliance.

Community discussion
Share your experience or ask a question. Comments are reviewed before publication.