
Using an exercise elastic band after a run provides a controlled, highly adjustable way to restore length to tight muscles and support overall recovery. Unlike static stretching where you rely solely on your body weight or reach, a band acts as an extension of your limbs, allowing you to ease into deep stretches without straining your lower back or forcing joints into unnatural angles. By integrating these bands into your post-run routine, you can systematically target fatigued muscle groups, improve your flexibility over time, and transition your body from high-impact exertion to a relaxed, restorative state. This guide outlines how to select the right band, prepare safely, and execute a targeted stretching routine designed specifically for runners.
Why Use an Exercise Elastic Band for Post-Run Recovery
Running involves repetitive, high-impact movements that cause muscles like the hamstrings, calves, and quadriceps to contract repeatedly. Over time, this constant contraction can lead to persistent tightness and a restricted range of motion. An exercise elastic band serves as a valuable tool because it provides progressive, adjustable tension. Instead of forcing a stretch by pulling on your toes or twisting your spine, you can use the band to gently guide your limbs to the exact point where you feel a mild, productive release.
This method leverages proprioceptive feedback to help your nervous system relax. When you stretch with a band, you can maintain a stable, comfortable position, signaling to your brain that the body is safe. This reduces the stretch reflex—the involuntary muscle contraction that occurs when a muscle is stretched too quickly or too far.
Products mentioned in this guide
![[SG] Short Resistance Band Set Loop Yoga Pilates Exercise Recovery Fitness Workout Stretch Training](https://img.lazcdn.com/g/p/1f54bee59164de5095413f716347ad18.png_400x400q80.png_.webp)
![[SG] Long Resistance Power Band Sports Fitness Recovery Warm-Up Muscle Strength Pull Up Gym Set Yoga](https://img.lazcdn.com/g/p/4c21d7f6b75fa645506ff5371c3c00c2.png_400x400q80.png_.webp)
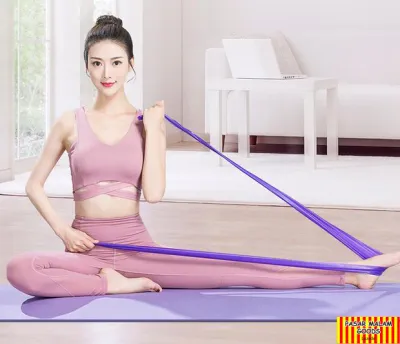
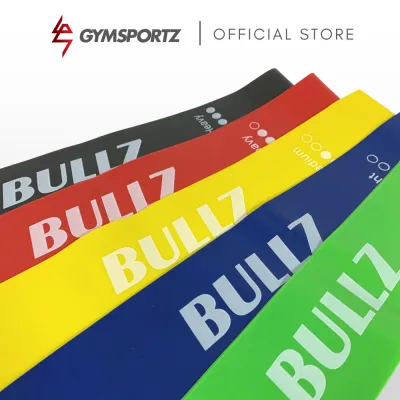
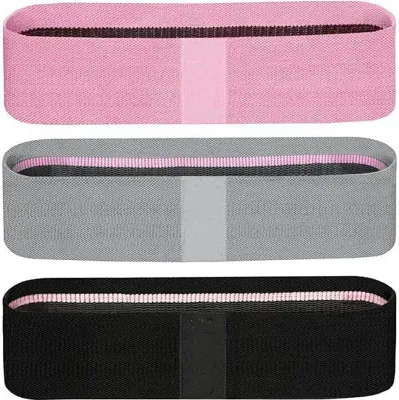
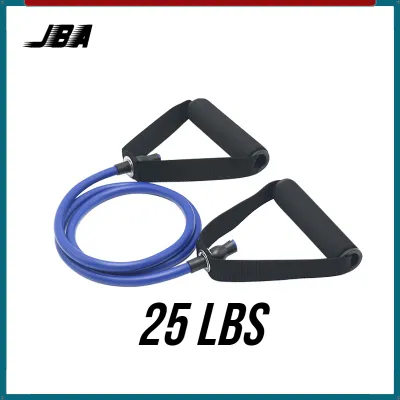
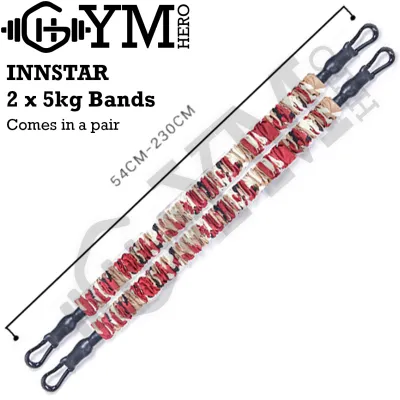

Prices are valid at publication and may change. Please refer to the product page for the latest price.
It is important to distinguish between using bands for active strength training and passive post-run recovery. During strength workouts, you use heavy resistance to challenge muscles. For post-run recovery, you use light, flexible bands to support the weight of your limbs, allowing the targeted muscles to lengthen and relax without active resistance.
Selecting the Right Band for Stretching
Choosing the correct type of exercise elastic band is essential for a safe and effective recovery session. The two most common styles are continuous loop bands (often called pull-up assist bands or flat therapy bands) and tube bands with plastic handles. For stretching, flat therapy bands or long, continuous loop bands are generally the most practical. They lie flat against the sole of your shoe or the arch of your foot, distributing pressure evenly and reducing the risk of the band rolling or slipping mid-stretch.

When evaluating resistance levels, always opt for lighter bands. Manufacturers typically color-code their bands, with lighter colors like yellow, green, or red representing light to medium resistance. For stretching, you want a band that stretches easily and offers minimal resistance. A band that is too stiff will force you to use excessive upper-body strength to hold the position, which defeats the purpose of a relaxing recovery routine.
Pay close attention to the length and width of the band. A band measuring at least 1.5 to 2 meters in length is ideal for runners, as it provides enough slack to wrap securely around your foot while keeping your shoulders and upper back relaxed on the floor. A wider band is also preferable because it offers a larger surface area, making it less likely to slide off your foot during supine stretches.
Pre-Stretch Safety and Preparation
Before you begin stretching, your body needs to transition out of high-intensity exercise. Jumping straight into deep static stretches immediately after crossing your finish line can shock your system. Spend five to ten minutes walking slowly or performing light, dynamic movements to allow your heart rate to drop gradually and your breathing to stabilize. Stretching muscles that are warm but no longer under acute cardiovascular stress is the safest way to encourage tissue relaxation.
Next, perform a quick visual and tactile inspection of your exercise elastic band. Over time, exposure to sweat, dirt, and friction can cause micro-tears, small punctures, or fraying along the edges of the latex or fabric. Gently stretch the band in your hands to check for any weakened areas. If you notice any signs of wear, replace the band immediately, as a band snapping under tension can cause painful welts or facial injuries.
Finally, prepare your stretching environment. Find a flat, non-slip surface, such as a high-grip yoga mat or a carpeted floor, to prevent your body from sliding during the routine. If your stretching routine involves anchoring the band to a fixed object, ensure the anchor point is completely stable, such as a heavy piece of furniture. Never attach a band to a door handle or any object that could move or detach under tension.
Step-by-Step Post-Run Stretching Routine
A structured post-run routine should follow a logical progression, starting from the lower legs and moving upward toward the hips, thighs, and glutes. This systematic approach ensures that every major muscle group involved in the running gait receives attention. As you move through each stretch, focus on deep, diaphragmatic breathing, inhaling slowly through your nose and exhaling fully through your mouth.
Use your breath to guide the depth of each stretch. On every exhalation, allow your muscles to release slightly deeper into the position, but never force the movement. The band should act as a gentle guide, not a winch. Because your flexibility can vary daily based on your running volume, hydration, and fatigue levels, always adjust the band tension to match how your body feels in the present moment rather than trying to reach a past benchmark.
Calves and Achilles Tendon
To stretch your calves and Achilles tendon, sit on the floor with your legs extended straight in front of you. Loop the exercise elastic band securely around the ball of your right foot, ensuring the band is flat and wide to prevent it from rolling down. Hold one end of the band in each hand, keeping your spine tall and your shoulders relaxed.
Gently pull the ends of the band toward your torso to flex your foot, drawing your toes toward your shin. To target the gastrocnemius—the larger, upper calf muscle—keep your knee completely straight. To target the deeper soleus muscle and the Achilles tendon, allow a slight bend in your knee while maintaining the upward pull on your foot. If you feel a sharp pinch in the front of your ankle or a burning sensation in the back of your heel, reduce the tension immediately by loosening your grip on the band.
Hamstrings and Glutes
Lie flat on your back on your mat, keeping your spine in a neutral position. Loop the band around the arch of your right foot, holding the ends of the band in both hands. Keep your left leg flat on the floor to stabilize your pelvis, or bend your left knee and place your left foot flat on the ground if you experience any lower back discomfort.
Slowly raise your right leg toward the ceiling, using the band to support the weight of your leg. Keep a micro-bend in your right knee to protect the joint and prevent hyperextension. Guide the leg upward until you feel a gentle stretch along the back of your thigh. Do not pull the leg so far that your lower back lifts off the floor or your hips tilt. Hold this position, using the band to maintain steady, effortless support while your hamstrings gradually release.
Quadriceps and Hip Flexors
To target the front of your thighs and hips, lie on your left side with your legs stacked. Loop the band around your right ankle or the top of your right foot, and pass the ends of the band over your right shoulder, holding them securely in front of your chest. This setup is particularly helpful if limited shoulder mobility makes it difficult to reach back and grab your ankle directly.
Gently pull the band forward to draw your right heel toward your glutes. Keep your knees aligned and your pelvis tucked slightly forward to prevent your lower back from arching excessively. If you feel any discomfort or pinching in your knee joint, ease off the tension and widen the angle between your thigh and calf. The band allows you to customize the angle of flexion, making it easy to find a comfortable position that stretches the quadriceps without straining the knee.
Common Mistakes and When to Stop
One of the most common mistakes when using an exercise elastic band for recovery is bouncing or pulsing during the stretch. This dynamic movement, known as ballistic stretching, can trigger the stretch reflex, causing the muscle to contract violently to protect itself. This contraction increases the risk of micro-tears in the muscle fibers. Instead, maintain a steady, static hold, allowing the elastic properties of the band to provide consistent, gentle support.
Another frequent error is holding your breath or breathing shallowly. When you restrict your oxygen intake, your body enters a mild stress response, which increases overall muscle tension and makes stretching less effective. Focus on maintaining a slow, rhythmic breathing pattern to encourage your parasympathetic nervous system to take over, promoting deep muscle relaxation.
You must stop the stretching routine immediately if you experience sharp or stabbing joint pain, numbness, tingling, or a sensation of pins and needles. These symptoms often indicate nerve compression or joint strain rather than muscular tightness. Additionally, if you feel the band beginning to slip or lose its grip on your foot, release the tension slowly and reset your position; never let go of a fully stretched band abruptly. If you experience persistent, localized pain that does not improve with rest, consult a physical therapist or sports medicine professional rather than attempting to stretch through the discomfort.
Care and Maintenance of Elastic Bands
Proper care of your exercise elastic band is vital to ensure its longevity and maintain its structural integrity. After a run, your hands and feet transfer sweat, body oils, and outdoor dirt to the band. Over time, these substances can degrade the latex or synthetic polymers, making the material brittle. Wipe the band down after every use with a clean, damp cloth. Avoid using harsh chemical cleaners, alcohol-based sanitizers, or abrasive scrubs, as these can break down the elastic fibers.
Store your bands away from direct sunlight, moisture, and extreme heat. Leaving a band in a hot car or on a sunny balcony in Singapore’s humid climate will accelerate the degradation of the material, causing it to become sticky, dry, or prone to snapping. Once the band is completely dry, store it loosely coiled in a cool, dry drawer or a dedicated breathable pouch. Keep it away from sharp objects, keys, or heavy gear that could puncture or pinch the material.
Frequently Asked Questions (FAQ)
Can I use an exercise elastic band if I have a recent muscle strain?
No, you should avoid using an exercise elastic band to stretch an acutely strained muscle. It is important to distinguish between delayed onset muscle soreness (DOMS), which is a general, dull ache that occurs a day or two after a hard run, and an acute strain, which is characterized by sharp, sudden pain, swelling, or bruising. Static stretching on a freshly torn or strained muscle fiber can worsen the injury and delay the healing process. If you suspect you have a muscle strain, rest the area and seek professional medical clearance before resuming any banded stretching or recovery routines.
How long should I hold each banded stretch after a run?
For post-run recovery, aim to hold each static banded stretch until you feel the initial tension in the muscle begin to release. This typically occurs within a comfortable timeframe of steady breathing, rather than a rigid, timed count. You can use your breath cycles as a natural guide, aiming for five to six deep, slow breaths per stretch. Always adjust the duration based on your personal comfort and fatigue levels. If a stretch begins to feel uncomfortable or if your muscle starts to quiver, gently release the tension and transition out of the pose.

Community discussion
Share your experience or ask a question. Comments are reviewed before publication.