
Using stretch bands for post-run recovery is one of the most effective ways to restore muscle length, alleviate tightness, and improve joint mobility after a demanding workout. After logging kilometers on the pavement or trail, your muscles naturally contract and tighten. A stretch band acts as a supportive extension of your limbs, allowing you to gently guide your body into deeper, more controlled static stretches without straining your lower back, neck, or shoulders.
By providing adjustable tension, these bands help you target specific muscle groups with precision. This manual control makes it easier to respect your body’s current limits while still achieving the necessary release to kickstart the recovery process. Whether you are a marathon runner or a casual jogger, integrating a structured band routine into your post-run habit can significantly ease muscle stiffness and prepare your body for your next session.
Preparing for Your Stretch Band Routine
Selecting the right band is the first step toward a safe and productive recovery session. Post-run stretching is designed to promote relaxation and tissue lengthening, not to build strength or force a joint past its natural range of motion. For this reason, you should always opt for a light to medium resistance band rather than a heavy, high-tension option. High resistance can cause your muscles to guard or contract defensively, which completely defeats the purpose of a recovery stretch.
Products mentioned in this guide
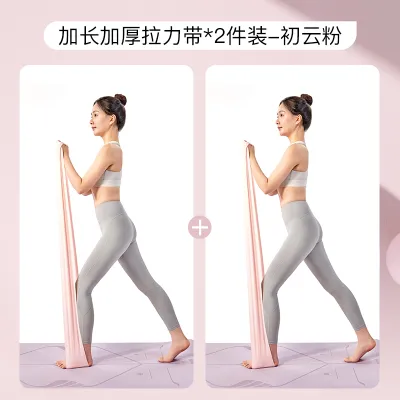
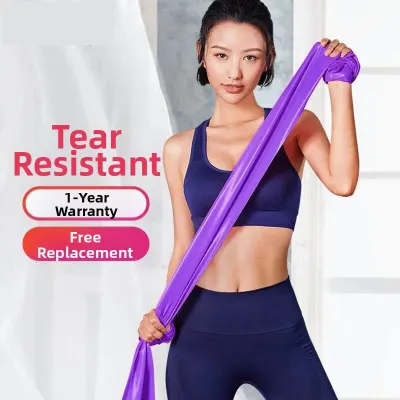
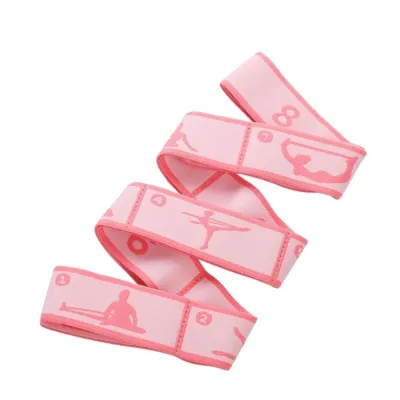

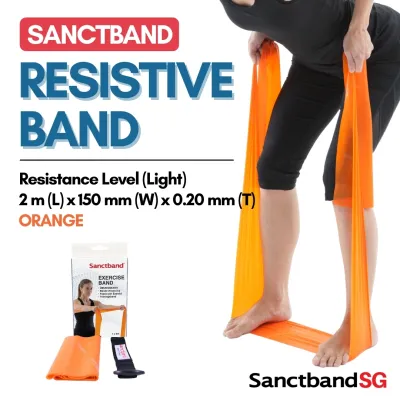
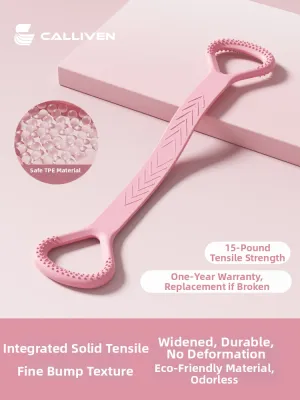
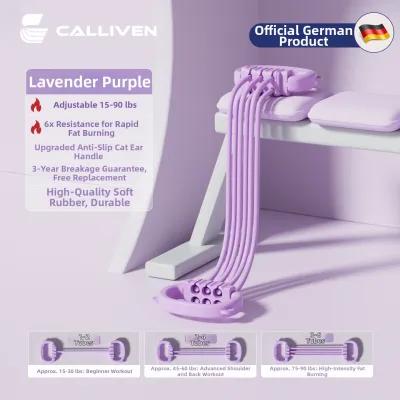

Prices are valid at publication and may change. Please refer to the product page for the latest price.
Before you begin, perform a quick safety inspection of your equipment. Stretch bands made of latex or thermoplastic elastomers (TPE) can degrade over time, especially when exposed to sweat, body oils, and environmental humidity. Hold the band up to the light and stretch it gently to check for micro-tears, small punctures, discoloration, or areas that have lost their elasticity. Using a compromised band risks a sudden snap, which can cause painful welts or facial injuries.
It is also important to distinguish between pre-run and post-run routines. Pre-run preparation should focus on dynamic movements—such as leg swings and gentle lunges—to increase blood flow and joint lubrication. Post-run recovery, however, is the ideal time for static stretching with a band. Because your muscles are already warm and pliable from your run, they are highly receptive to gentle, sustained holds that help restore their resting length.
Essential Stretch Band Exercises for Runners
To get the most out of your stretch band exercises, you must prioritize proper form, controlled breathing, and steady positioning. Always avoid bouncing or pulsing during a stretch, a practice known as ballistic stretching. Bouncing triggers the stretch reflex, a protective mechanism that causes the muscle to contract to prevent tearing, which increases tightness and elevates your risk of injury.

Instead, focus on slow, diaphragmatic breathing. Inhale deeply through your nose, and as you exhale slowly through your mouth, gently invite the muscle to release a fraction of an inch further into the stretch. When transitioning between different exercises, move slowly and maintain a light, continuous tension on the band. Smooth transitions keep your nervous system in a calm, parasympathetic state, which is essential for optimal muscle recovery.
Lower Leg and Calf Stretches
To target your calves and Achilles tendons, begin by sitting on a comfortable exercise mat with your legs extended straight in front of you. Loop the middle of the stretch band securely around the ball of your right foot, ensuring it does not slip down to the arch or slide off the toes. Hold one end of the band in each hand, keeping your spine tall and your shoulders relaxed away from your ears.
Gently pull the ends of the band toward your torso to flex your foot, drawing your toes toward your shin. To target the gastrocnemius, which is the larger, outer calf muscle, keep your knee completely straight. After holding this position, unlock your knee and maintain a very slight bend while continuing to pull the band. This subtle adjustment shifts the stretch deeper into the soleus muscle and the lower portion of the Achilles tendon.
Pay close attention to the sensations in your lower leg during this exercise. You should feel a broad, warm stretch throughout the calf muscle belly. If you experience a sharp, localized pain near the heel, sudden cramping in the arch of your foot, or numbness and tingling in your toes, release the tension immediately and return your foot to a neutral position.
Hamstring and Glute Stretches
To stretch your posterior chain, lie flat on your back in a supine position. Loop the band around the arch or ball of your right foot, holding the ends of the band with both hands. Keep your left leg flat on the floor to challenge your flexibility, or bend your left knee and place your left foot flat on the mat if you need to protect your lower back from arching.
Slowly raise your right leg toward the ceiling, keeping your knee as straight as comfortably possible while pulling gently on the band. It is vital to keep your pelvis neutral and your tailbone heavy on the floor throughout this movement. Avoid the common mistake of pulling your leg so far back that your lower back rounds or your hips lift off the mat, as this transfers the stretch away from the hamstring and into the lumbar spine.
To transition into a glute and outer hip stretch, slightly lower your raised leg and guide it across the midline of your body toward the left side. Keep both of your shoulders pressed firmly into the mat to isolate the stretch to your outer thigh, iliotibial (IT) band area, and gluteal muscles. Hold this position with a relaxed grip on the band, ensuring your breath remains steady.
Hip Flexor and Quad Stretches
To relieve tightness in the front of your thighs and hips, transition to a prone position, lying flat on your stomach. Loop the stretch band around your right ankle or the top of your right foot. Bring the ends of the band over your right shoulder, holding them firmly with both hands to create a pulley system.
Gently pull the band forward over your shoulder to draw your right heel toward your glutes. To protect your lower back from hyperextending, actively engage your core muscles and press your pubic bone down into the mat. This pelvic tilt is crucial, as it prevents your lower back from arching and ensures the stretch is concentrated directly on the quadriceps and hip flexors.
As you hold this position, monitor where you feel the physical sensation. The stretch should be felt as a deep, lengthening sensation in the muscle belly on the front of your thigh. If you feel a pinching sensation, sharp pressure, or discomfort inside the knee joint itself, reduce the tension on the band immediately or adjust the angle of your leg to avoid joint strain.
Building a Safe and Effective Recovery Routine
For a post-run recovery routine to be effective, consistency and patience are far more important than intensity. Hold each static stretch for 20 to 30 seconds, which is the optimal timeframe for the nervous system to allow the muscle fibers to relax and lengthen. Repeat each stretch 2 to 3 times per side, ensuring you balance the time spent on both your left and right legs.
It is essential to learn how to distinguish between normal stretching discomfort and pain that indicates an impending injury. A safe stretch should feel like a mild, dull pull or a warm, releasing sensation in the target muscle. If you experience sharp, stabbing, burning, or radiating pain, your body is warning you of a potential strain or joint impingement.
Never force your body through sharp pain in the pursuit of flexibility. If a particular stretch consistently causes joint discomfort or lingering soreness that persists long after your session, stop performing that exercise. If you experience persistent pain, swelling, or joint instability, consult a qualified physiotherapist or sports medicine professional to receive a personalized assessment.
Maintaining and Storing Your Stretch Bands
Proper maintenance of your stretch bands is essential to preserve their elasticity and prevent sudden, dangerous snaps. After a sweaty outdoor run, especially in humid climates, your bands will accumulate salt, body oils, and moisture. Wipe them down after every use with a clean, damp cloth. Avoid using harsh chemical cleaners, alcohol, or dish soaps, as these substances strip the moisture from latex and synthetic rubber, causing them to dry out and crack.
Once clean, allow the bands to air dry completely in a shaded area before storing them. Store your bands in a cool, dry drawer or a dedicated gear bag, keeping them away from direct sunlight and extreme heat. Ultraviolet (UV) rays break down the elastic polymers rapidly, making the material brittle and prone to tearing. Additionally, ensure they are stored away from sharp objects like keys, zippers, or jewelry that could nick the edges.
Make a habit of performing a tactile check every few weeks. Run your fingers along the entire length of the band, feeling for any thin spots, rough textures, or loss of snapback. If the band feels sticky, brittle, or shows visible cracks, discard it and replace it with a new one to ensure your recovery sessions remain safe and effective.
Frequently Asked Questions (FAQ)
Can I use stretch bands if I have a recent muscle strain?
No, you should avoid using stretch bands to stretch a recently strained muscle during the acute inflammatory phase, which typically lasts for the first 48 to 72 hours after an injury. Stretching a freshly torn muscle fiber can worsen the tear, increase internal bleeding, and significantly delay your overall recovery. During this initial phase, prioritize rest, compression, and elevation, and seek professional medical clearance before resuming any band-assisted stretching.
It is also important to differentiate between delayed onset muscle soreness (DOMS) and an acute muscle strain. DOMS typically presents as a dull, bilateral ache that peaks 24 to 48 hours after an intense run and responds well to gentle, light stretching. An acute strain, however, usually involves a sudden, sharp, localized pain that occurs during activity and is often accompanied by swelling or bruising. If you suspect a strain, hold off on stretching until a healthcare professional has evaluated the injury.
How do stretch bands compare to foam rollers for recovery?
Stretch bands and foam rollers serve different, complementary roles in a runner’s recovery toolkit. Stretch bands are designed for assisted static stretching, which helps lengthen tight muscle fibers, improve joint range of motion, and calm the nervous system. They are highly effective for targeting specific neural pathways that govern muscle tension, allowing you to gently reset your resting muscle length after repetitive running strides.
Foam rollers, on the other hand, focus on myofascial release. They use localized pressure to address trigger points, improve local blood circulation, and smooth out restrictions in the fascia surrounding your muscles. Rather than choosing one over the other, you can combine them for an optimal recovery routine: use a foam roller first to roll out localized tight spots, and follow up with a stretch band to gently lengthen the relaxed muscle tissue.

Community discussion
Share your experience or ask a question. Comments are reviewed before publication.