
Wrapping your hands for Muay Thai is a fundamental skill that provides structural support to the bones, joints, and soft tissues of your hands and wrists. Unlike standard boxing, Muay Thai involves catching kicks, parrying strikes, clinching, and defending against elbow strikes, subjecting your hands to multi-directional forces. A proper wrap secures the wrist, stabilizes the thumb, and pads the knuckles, reducing the risk of hyperextension and impact injuries. However, hand wraps are not a substitute for proper striking technique, controlled training, and professional instruction.
Why Muay Thai Requires Specific Hand Wrapping
Muay Thai, often referred to as the “Art of Eight Limbs,” demands a highly versatile approach to hand protection. In traditional boxing, the hands are primarily used for punching, meaning the wraps are designed to absorb linear impact forces. In Muay Thai, your hands must perform a wider variety of tasks. You will use them to catch incoming kicks, parry elbow strikes, and engage in active clinching, which requires a high degree of manual dexterity.
Because of these diverse movements, a Muay Thai wrap must strike a delicate balance. It needs to provide robust wrist support to prevent hyperextension when blocking heavy kicks, while still allowing enough finger and palm mobility to grab an opponent’s neck during a clinch. If your wraps are too rigid, you will struggle to close your fist or secure a grip, which can leave you vulnerable during sparring.
Products mentioned in this guide
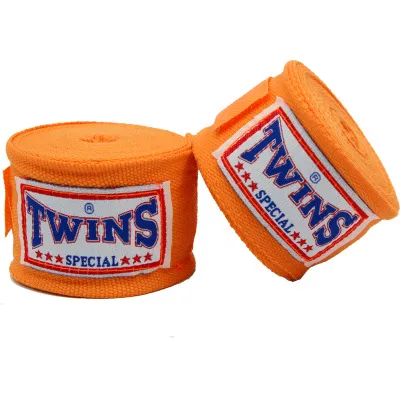
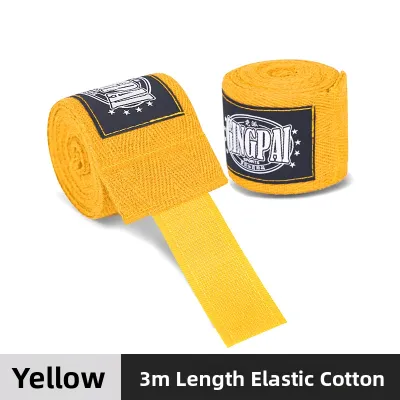
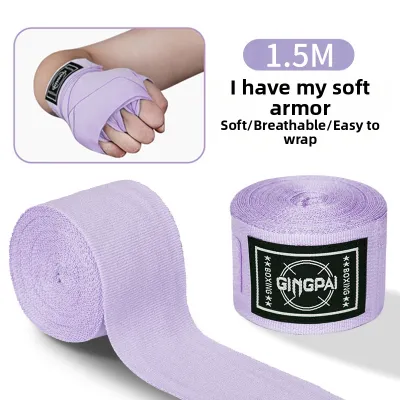
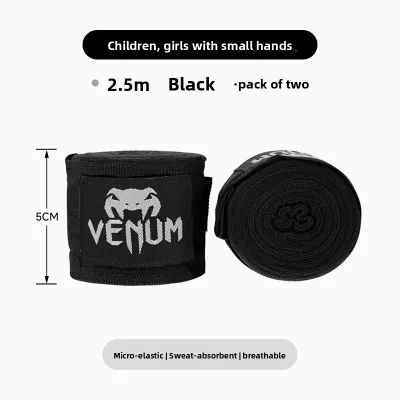
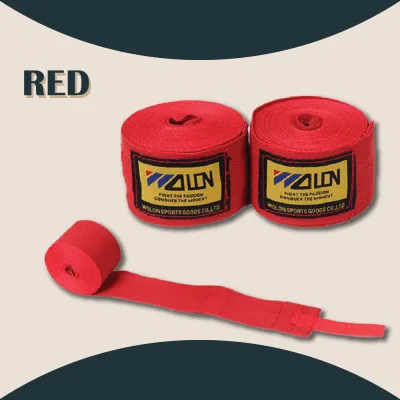
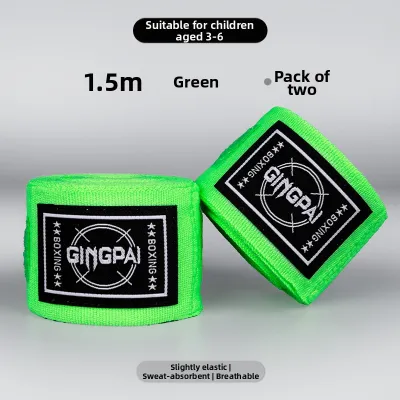
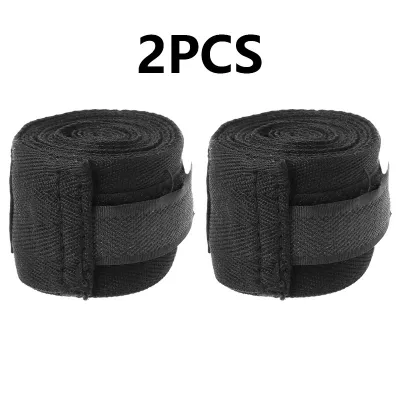
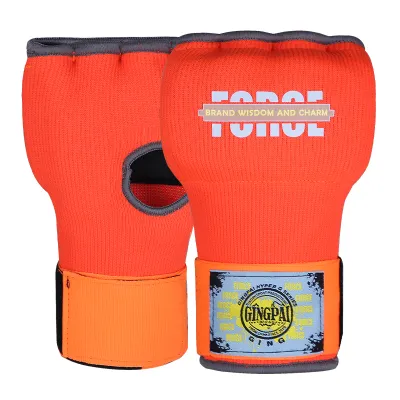
Prices are valid at publication and may change. Please refer to the product page for the latest price.
Furthermore, the angle of impact in Muay Thai is highly variable. Strikes can come from punches, but your hands also absorb shock when blocking roundhouse kicks or catching push kicks. If at any point during your training you feel your wraps slipping, bunching up, or failing to support these movements, you must stop immediately to re-wrap your hands.
Preparing Your Hands and Equipment
Before you begin wrapping, you must select the appropriate equipment. For most adults, a standard wrap length of 180 inches (approximately 4.5 meters) is highly recommended. This length provides sufficient material to cover the wrist, knuckles, and individual fingers while leaving enough fabric to secure a stable anchor. Shorter wraps, such as 120-inch options, often fail to provide adequate layering for the complex demands of Muay Thai.

When choosing materials, look for semi-elastic wraps, often labeled as “Mexican-style” wraps. These wraps blend cotton and spandex, allowing them to conform to the contours of your hand more effectively than rigid, non-elastic cotton wraps. Always check the manufacturer’s label to verify the material composition and care instructions before your first use.
Next, prepare your hands. Inspect your skin for any open cuts, scrapes, or swelling from previous sessions. Ensure your hands are completely dry; excess moisture can cause the wrap to slip or lead to skin chafing inside your gloves.
Step-by-Step Hand Wrapping Technique
Achieving a secure wrap requires a systematic physical flow. You will start by anchoring the wrap at your thumb and wrist, move up to pad the knuckles, weave through the fingers to secure the structure, and finally lock everything down at the wrist. Throughout this process, it is vital to maintain a neutral, relaxed wrist position to ensure the wrap conforms to your hand’s natural shape.
As you guide the fabric through each step, continuously monitor the tension. The wrap should feel snug and supportive, but never tight enough to restrict blood flow.
Anchoring the Thumb and Wrist Base
To begin, slip your thumb through the designated loop at the end of the wrap. Ensure the loop sits flat against the base of your thumb without twisting, and make sure the “this side down” indicator (if present on the fabric) faces your skin. This ensures that the Velcro closure at the opposite end will face the correct direction when you finish wrapping.
Keep your wrist straight, neutral, and relaxed. Do not bend your wrist forward or backward, as wrapping a bent joint will lock it into an unstable position. Guide the wrap down from the thumb and wrap it around your wrist two to three times. This creates a solid, stable foundation that supports the joint against the rotational forces encountered during clinching and blocking. Keep your fingers spread slightly during this step to prevent the wrap from becoming too tight.
Padding the Knuckles and Palm
Once the wrist base is secure, bring the wrap diagonally across the back of your hand, starting from the thumb side of the wrist up to the pinky side of your knuckles. Wrap across the front of your knuckles two to three times, keeping your fingers slightly spread. This builds a protective cushion over your primary striking surface, which helps absorb the impact of punches and blocks.
After padding the knuckles, guide the wrap diagonally back down across the palm to the opposite side of your wrist, creating an “X” pattern on the back of your hand. This cross-hand pattern is crucial for structural integrity, as it binds the knuckle padding to the wrist anchor, preventing the wrap from shifting during high-impact movements.
Depending on your hand size and the fit of your boxing gloves, you can add an extra pass over the knuckles or run the wrap between your fingers to secure the knuckle pad.
Locking the Wrist and Securing the Finish
With the knuckles and fingers secured, bring the remaining length of the wrap back down to your wrist. Wrap the wrist another two to three times to lock all the previous layers in place and provide final stabilization to the joint. This step ensures that the entire hand structure acts as a single, cohesive unit when absorbing impact.
Fasten the Velcro or tie closure securely around your wrist. Avoid wrapping the closure too high up on your forearm, as this reduces the support provided directly to the wrist joint and can restrict forearm muscle expansion during training. The closure should sit firmly over the wrist bones.
Once secured, check that the Velcro does not dig into your skin or protrude in a way that could catch on the inner lining of your boxing gloves.
How to Verify Your Wrap is Safe and Effective
Before you put on your boxing gloves and step onto the mats, you must verify that your wraps are safe and functional. The first test is the fist-clench test. Open your hand completely, then slowly clench it into a tight fist. When your hand is open, the wrap should feel relatively relaxed and comfortable; when you clench your fist, the wrap should tighten up, providing a firm, solid layer of support across your knuckles and a rigid structure around your wrist.
Next, perform a circulation check. Look closely at your fingers for any signs of restricted blood flow, such as numbness, tingling, a cold sensation, or a pale or bluish skin tone. If you experience any of these symptoms, your wraps are too tight. You must unwrap your hands immediately and start over with less tension to avoid nerve compression or vascular restriction.
Finally, conduct a mobility check. Gently flex your wrist forward and backward. You should feel a clear limit to your range of motion, protecting your joint against hyperextension, but you should still be able to move your wrist slightly to facilitate clinching and catching.
Common Wrapping Mistakes to Avoid
One of the most common mistakes beginners make is wrapping their hands too tightly. While it is tempting to pull the fabric as tight as possible for maximum support, this quickly cuts off circulation, leading to rapid hand fatigue, cramping, and a loss of sensation during training. The wrap should rely on the layering of the fabric, rather than extreme tension, to provide structural support.
Conversely, leaving gaps over the knuckles or wrist joints significantly reduces the wrap’s protective capabilities. If the fabric is loose or unevenly distributed, the impact forces from your strikes will not be absorbed correctly, increasing the risk of joint sprains or bone bruising. Ensure each pass overlaps cleanly and covers the target areas completely.
Twisting the fabric during the wrapping process is another frequent error. Twisted wraps create thick, uneven ridges that press painfully into your skin once your hand is compressed inside a tight boxing glove. Take the time to flatten the wrap as you go. Additionally, using wraps that are too short—such as standard 120-inch wraps—will force you to sacrifice either wrist support or knuckle padding.
Maintaining and Washing Your Hand Wraps
Proper maintenance is essential to keep your hand wraps hygienic and functional. After every training session, do not leave your damp wraps crumpled inside your gym bag. The warm, humid climate of Singapore provides an ideal environment for bacteria and mold to thrive, which leads to persistent odors and skin infections. Hang your wraps up to air-dry completely in a well-ventilated area immediately after you get home.
When it comes to washing, always follow the manufacturer’s care instructions on the label. To prevent your wraps from tangling into a giant knot or damaging other clothing in the washing machine, place them inside a mesh laundry bag before washing. Use a gentle cycle with mild detergent, and avoid using bleach or fabric softeners, which can degrade the elastic fibers over time.
Regularly inspect your wraps for signs of wear and tear. Over time, the elastic fibers will break down, causing the wraps to lose their supportive stretch. If your wraps feel stretched out, thin, or fail to stay fastened, it is time to replace them. Investing in a new pair of wraps, which typically cost around S$15 to S$25, is a simple and cost-effective way to ensure your hands remain protected.
Frequently Asked Questions (FAQ)
How tight should Muay Thai hand wraps be?
Muay Thai hand wraps should feel snug and supportive, but not restrictive. A good rule of thumb is that the wraps should feel comfortable when your hand is open and relaxed, and tighten up to form a solid, protective glove when you clench your fist. If you feel any tingling, numbness, or coldness in your fingers, or if your skin begins to change color, the wraps are too tight and must be loosened immediately. Keep in mind that your hands will naturally swell slightly as your heart rate rises and blood flow increases during intense training, so leaving a small amount of give is essential to accommodate this natural expansion.
Can I use shorter wraps for Muay Thai?
For most adults, shorter wraps—such as those measuring 120 inches—are not recommended for Muay Thai. The multi-directional impacts of catching kicks, clinching, and punching require comprehensive coverage that only a longer 180-inch wrap can provide. Shorter wraps force you to compromise, leaving either your wrists or your knuckles under-protected. However, shorter wraps may be suitable for children, teenagers, or individuals with exceptionally small hands who do not require the full volume of a 180-inch wrap. Always consult the manufacturer’s sizing guidelines to ensure you select a wrap length that matches your hand size and training needs.

Community discussion
Share your experience or ask a question. Comments are reviewed before publication.