
Finding a sports mixer bottle that keeps your protein shakes, pre-workouts, or recovery drinks ice-cold during an extended workout is more than a matter of convenience. In warm, humid climates like Singapore, a lukewarm protein shake can quickly become unpalatable and encourage rapid bacterial growth. While many brands claim exceptional temperature retention, the actual performance of any mixer bottle depends on its structural engineering, material quality, and sealing mechanisms rather than the logo printed on the outside.
To make an informed choice, you must look beyond marketing buzzwords and evaluate the physical properties of the bottle. A high-quality insulated shaker relies on specific thermal principles to block heat transfer from the surrounding environment. By understanding how these bottles are constructed and how different design elements affect temperature retention, you can select a mixer bottle that maintains refreshing, cold temperatures from your first warm-up set to your final cool-down stretch.
What Actually Keeps Drinks Cold in a Mixer Bottle?
The primary mechanism behind long-lasting cold retention is double-wall vacuum insulation. Unlike single-wall plastic or metal bottles, which allow heat to pass freely through the container material, a vacuum-insulated bottle features an inner and an outer wall, usually made of stainless steel. During manufacturing, the air between these two walls is completely evacuated, creating a vacuum. Because heat requires a physical medium (like air molecules) to travel via conduction or convection, this empty space acts as a highly efficient barrier, preventing external heat from warming your cold beverage.
Products mentioned in this guide
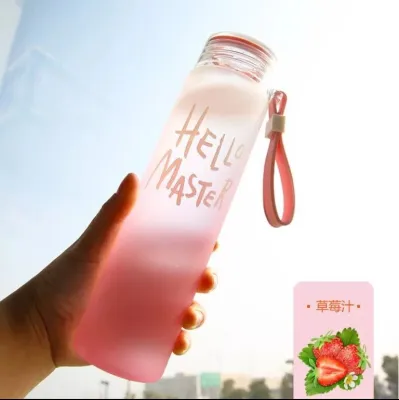
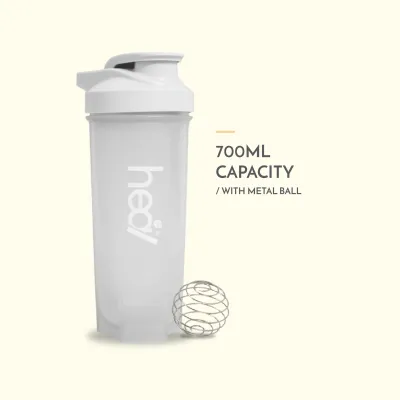
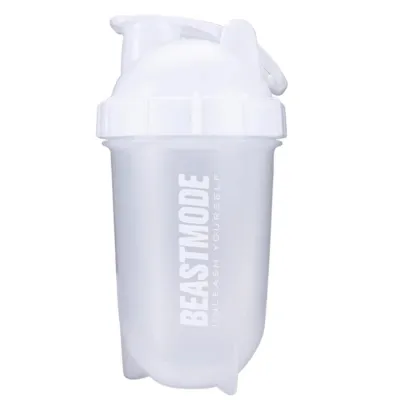
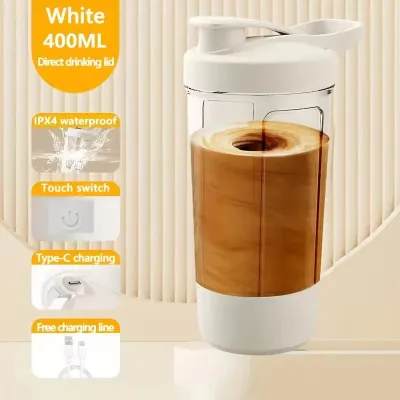
![[SG STOCK] Auto Electric Shaker Bottle Portable Protein Shaker Mixer Cup Automatic Mixer Stirrling Cup Blender Bottle](https://img.lazcdn.com/g/p/1309d61282eb75e22ebe857f00bd83c2.jpg_400x400q80.jpg_.webp)
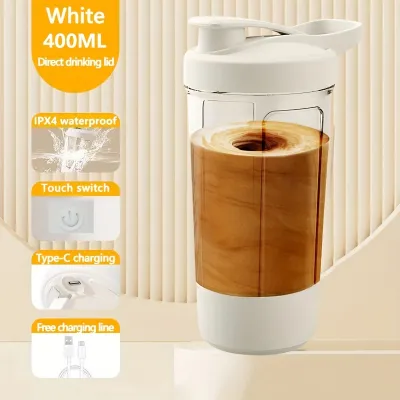
Prices are valid at publication and may change. Please refer to the product page for the latest price.
Conduction occurs when heat moves through a solid material, such as the metal walls of a bottle. Convection involves the movement of heat through fluids or gases, such as the air surrounding the bottle. Radiation is the transfer of heat through electromagnetic waves. A double-wall vacuum insulation system is highly efficient because it addresses both conduction and convection. By removing the air between the two stainless steel walls, there are no molecules to conduct heat or facilitate convective currents. To combat radiation, some insulated bottles feature a thin copper plating on the outer surface of the inner wall, which reflects thermal radiation away from the cold liquid inside.
In contrast, single-wall bottles or those utilizing gel-lined sleeves offer significantly less thermal protection. Single-wall containers rely entirely on the ambient air temperature and the thermal conductivity of the material itself, meaning your drink will reach room temperature within an hour. Gel-lined bottles, which require freezing before use, can keep drinks cold for a short period, but they add substantial weight and bulk to your gym bag. Once the frozen gel absorbs enough ambient heat, its cooling capacity drops rapidly, making it less suitable for workouts lasting longer than ninety minutes.
Another critical factor in temperature retention is the bottle’s capacity and its surface-area-to-volume ratio. Larger bottles that hold more liquid tend to stay cold longer than smaller ones, assuming both are filled to capacity with cold liquid. This is because a larger volume of cold liquid possesses more thermal mass, making it more resistant to temperature changes. Additionally, a bottle that is only half-filled will contain a large pocket of warm air, which accelerates the warming process. To maximize cold retention, it is best to fill your insulated mixer bottle as close to its maximum capacity as safely possible.
Finally, the lid design and sealing mechanisms serve as the primary points of heat transfer in any insulated bottle. While the stainless steel body blocks heat exceptionally well, the lid is almost always made of plastic, which has a much higher thermal conductivity. Every time you open the flip-cap or unscrew the lid to take a sip, warm air enters the bottle. A lid with thick, high-density plastic construction, a robust silicone gasket, and a secure locking mechanism will minimize this thermal exchange, keeping the internal environment sealed off from the outside heat.
How to Read and Verify Insulation Specs Before Buying
When shopping for an insulated mixer bottle, verifying the material specifications is the first step to ensuring durability and performance. Look for bottles constructed from food-grade 18/8 stainless steel, also known as 304 stainless steel. This material is highly resistant to rust, does not retain flavors from previous protein shakes, and is durable enough to withstand the occasional drop on a gym floor. Some premium bottles feature an electropolished interior, which creates an ultra-smooth surface that resists bacterial buildup and makes cleaning much easier.

When evaluating material specifications, look for certifications such as BPA-free and phthalate-free plastics for the lid and mixing components. This ensures that no harmful chemicals leach into your drinks, especially when exposed to acidic pre-workout formulas or left in a warm car. Additionally, some manufacturers use lower-grade stainless steel (such as 201 stainless steel) to cut costs. While 201 stainless steel looks similar to 18/8, it is much more susceptible to corrosion and rust when exposed to moisture and the salts found in sports drinks. Verifying that the bottle is made of premium 304 or 18/8 stainless steel is crucial for long-term durability and hygiene.
It is also important to scrutinize the temperature retention claims made by manufacturers. Phrases like “keeps cold for 24 hours” are common, but these ratings are typically established under ideal laboratory conditions. These tests often involve filling the bottle completely with solid ice and leaving it undisturbed in a temperature-controlled room without opening the lid. In real-world training scenarios, where you open the bottle frequently and expose it to outdoor heat, the actual cold retention time will be shorter. Look for brands that provide realistic performance guidelines or specify the initial liquid temperature used during their testing.
The mixing mechanism itself can also influence the bottle’s long-term insulation performance. Traditional shaker bottles use a free-floating stainless steel wire whisk ball to blend powders. While effective, a heavy metal ball repeatedly striking the inner walls of a stainless steel bottle can cause minor scratches over time. If the bottle has an internal protective coating, these impacts can chip the lining, creating crevices where bacteria can grow. Alternatively, some bottles feature built-in mixing grids or stationary agitators attached directly to the lid, which eliminate internal impact while still providing a smooth blend.
Before making a purchase, inspect the quality of the seals and gaskets. A high-quality mixer bottle should feature a thick, food-grade silicone gasket that fits snugly inside the lid. This gasket prevents leaks when shaking your drink and acts as an additional thermal barrier. If the gasket is thin, loose, or easily warped, it will fail to create an airtight seal, allowing cold air to escape and warm air to seep in, which rapidly degrades the bottle’s insulation performance.
Which Insulated Mixer Bottle Fits Your Training Routine?
Selecting the right insulated mixer bottle requires matching the bottle’s design to your specific training environment and workout duration. If your routine consists of outdoor training, long runs, or field sports in hot climates, you will benefit most from a high-capacity double-wall vacuum insulated bottle. A capacity of 700ml to 1L ensures you have enough cold hydration to last through a grueling session. For these environments, look for a bottle with a durable powder-coated exterior, which prevents condensation from making the bottle slippery and provides a secure grip when your hands are sweaty.
For high-intensity indoor workouts, such as HIIT classes or weightlifting sessions where your bottle is frequently tossed into a gym bag or onto the floor, a compact and highly secure design is paramount. A bottle ranging from 500ml to 700ml is easier to transport and fits comfortably in standard cup holders. In this scenario, prioritize a bottle with a secure flip-lock lid or a double-locking bail mechanism. This ensures that even if the bottle is knocked over or squeezed inside a packed gym bag, the lid will not pop open and spill sticky protein shake over your gear.
When choosing a mixing mechanism, consider how it affects the overall usability of the bottle. Wire whisk balls are highly efficient at breaking up stubborn clumps of protein powder, but they can be noisy during shaking and can scratch the interior. Built-in plastic grids or top-mounted agitators are virtually silent and cannot scratch the metal, but they may require more vigorous shaking to achieve the same level of smoothness. Some advanced bottles feature a removable center rod with a built-in blade system that mimics a blender, providing excellent mixing performance without touching the bottle’s inner walls. Evaluate your tolerance for noise, the types of powders you use, and how easy the mechanism is to clean before making your decision.
Hygiene and ease of maintenance should also dictate your choice. Protein powders and pre-workout supplements leave behind residues that can quickly spoil and create unpleasant odors. When evaluating different models, verify if the mixing mechanism—whether a wire whisk, a plastic grid, or a central rod—is completely removable. A removable mixing element allows you to clean every corner of the bottle and lid thoroughly, preventing bacterial buildup near the insulation layer and ensuring your drinks always taste fresh.
If a bottle lacks a clear statement regarding its vacuum seal integrity or uses a single-wall design with a simple plastic sleeve, it is unlikely to meet the demands of long workouts. Avoid bottles where the mixing compartment or storage cups screw directly into the bottom of the insulated chamber in a way that compromises the vacuum barrier. A continuous, uninterrupted double-wall construction is essential for maintaining the thermal barrier required to keep your drinks cold for hours.
How to Clean and Maintain Your Bottle Without Ruining the Insulation
To ensure your insulated mixer bottle continues to perform optimally, proper cleaning and maintenance are essential. The most critical rule of caring for a vacuum-insulated bottle is to avoid the dishwasher unless the manufacturer explicitly states that the entire bottle is dishwasher-safe. The extreme heat of a dishwasher’s wash and dry cycles can cause the metal walls of the bottle to expand and contract at different rates. This thermal stress can rupture the weld that seals the vacuum gap, allowing air to enter and permanently destroying the bottle’s insulation capabilities.
Instead, hand washing is the most reliable and effective method. Use warm water, a mild dish soap, and a soft-bristled bottle brush to clean the interior walls without scratching the stainless steel. Pay close attention to the threads around the neck of the bottle and the crevices inside the lid, as these are common areas for protein residue to accumulate. For stubborn odors or stains, a mixture of warm water and baking soda left to soak for a few hours can work wonders without damaging the metal or plastic components.
Proper drying is just as important as washing. After cleaning, disassemble all removable parts, including the mixing mechanism and the silicone gaskets. Allow all components to dry completely in a well-ventilated area before reassembling or storing the bottle. Storing an insulated bottle with the lid tightly closed while it is still damp creates a dark, humid environment that is highly conducive to mold and mildew growth, which can ruin the rubber seals and create persistent odors.
Finally, be aware of the physical signs that indicate your bottle’s insulation has failed. If you notice condensation forming on the outside of the stainless steel body when filled with ice water—a phenomenon known as “sweating”—the vacuum seal has been compromised. This means air has entered the insulation chamber, and the bottle will no longer keep your drinks cold. Additionally, deep dents from dropping the bottle can cause the inner and outer walls to touch, creating a thermal bridge that bypasses the vacuum and rapidly transfers heat into your drink.
Frequently Asked Questions (FAQ)
Can I put boiling water in an insulated mixer bottle to sterilize it?
No, you should not pour boiling water into a vacuum-insulated mixer bottle. The extreme heat can damage the silicone gaskets and warp plastic lids or mixing components, compromising the bottle’s leak-proof seal. Furthermore, pouring boiling water into a sealed insulated container can cause rapid pressure buildup as the air inside expands, which can lead to hot liquid spraying out when the lid is opened. To sanitize your bottle safely, use warm water with mild dish soap, or utilize manufacturer-approved cleaning tablets designed specifically for stainless steel drinkware.
Does the metal whisk ball damage the inside of a stainless steel mixer bottle?
Under normal usage conditions, a high-quality stainless steel wire whisk ball will not cause structural damage to the interior of an 18/8 stainless steel mixer bottle. Because both the ball and the bottle are made of durable metals, the whisk may cause minor cosmetic scuffing or scratching on the inner surface over time, but this does not affect the vacuum insulation or the safety of the bottle. However, if your bottle features a delicate internal non-stick or ceramic coating, aggressive shaking with a metal whisk can chip the lining. If you prefer to avoid interior scuffing, consider choosing a bottle with a top-mounted plastic mixing grid or a stationary agitator.

Community discussion
Share your experience or ask a question. Comments are reviewed before publication.