
Jig fishing is a highly active and rewarding angling method that relies on vertical or near-vertical presentation to target predatory fish throughout the water column. Unlike passive bait fishing, jigging requires you to actively manipulate a weighted lure, known as a jig, to mimic the erratic movements of injured or fleeing prey. This hands-on technique allows you to explore different depths systematically, making it an incredibly versatile approach for both saltwater and freshwater environments. To start jig fishing successfully, you need to understand the fundamental mechanics of the technique and select a balanced rod, reel, and tackle setup tailored to your target environment and skill level.
Understanding Jig Fishing: The Basics and Mechanics
At its core, jig fishing is defined by its vertical nature. Instead of casting a lure far across the water and retrieving it horizontally, you typically drop a weighted jig directly beneath a boat, kayak, or deep-water structure like a jetty. This vertical presentation keeps your lure in the strike zone longer, allowing you to target specific depths where fish are actively feeding or holding. The primary motion involves a rhythmic “lift and drop” action. As you lift the rod tip, the jig darts upward rapidly; as you lower the rod tip and retrieve line, the jig flutters or drops back down. This sudden change in direction and speed triggers the predatory instincts of nearby fish, which often strike the lure as it falls.
Beginners will encounter two primary styles of vertical jigging: fast jigging (often called speed jigging or high-pitch jigging) and slow-pitch jigging. Fast jigging involves rapid, aggressive rod lifts combined with quick reel turns, sending the jig darting upward in a straight, fast trajectory. This style is highly effective for active, fast-moving pelagic species that respond to high-speed chases. In contrast, slow-pitch jigging utilizes specialized, highly elastic rods and asymmetrical jigs designed to flutter horizontally on the drop. The goal of slow-pitch jigging is to keep the lure in a specific depth zone longer, mimicking a dying baitfish. This slower, highly erratic action is ideal for targeting bottom-dwelling species or fish that are less inclined to chase fast-moving prey. Understanding these styles helps you choose the right gear and adapt your technique to the behavior of your target species.
Products mentioned in this guide
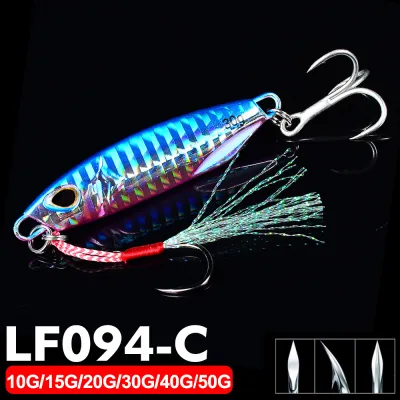
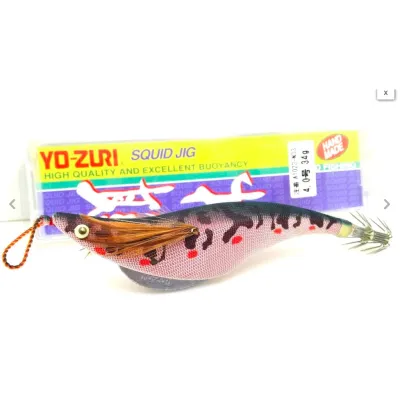
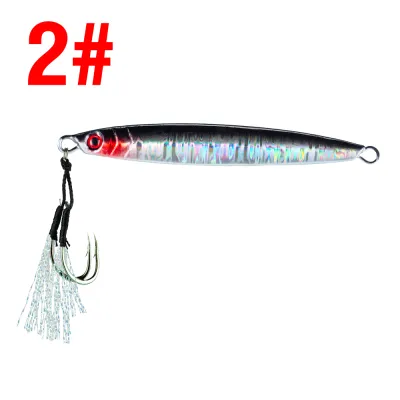
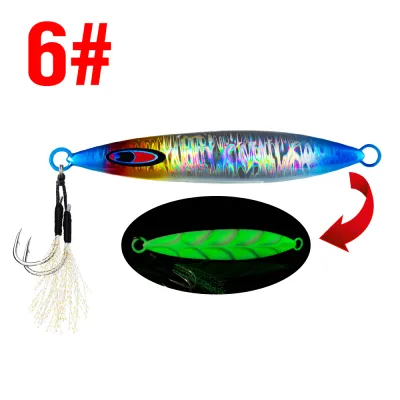
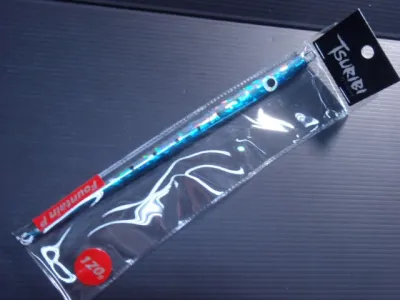
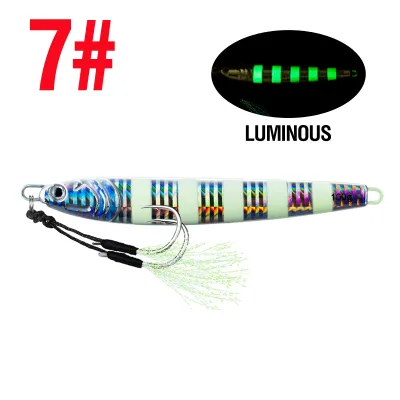
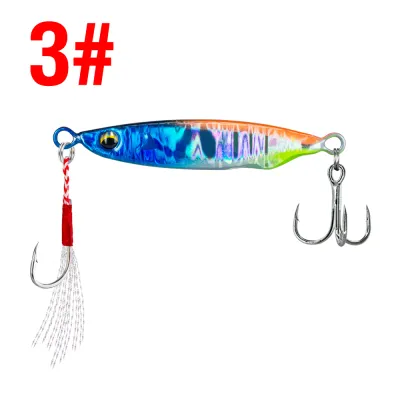
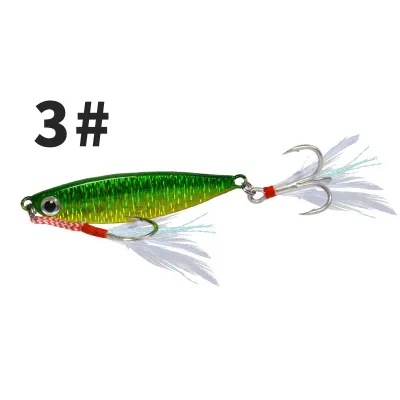
Prices are valid at publication and may change. Please refer to the product page for the latest price.
Selecting Your Rod and Reel Setup for Jigging
Choosing the right rod and reel combination is critical because vertical jigging places continuous physical demands on both the angler and the equipment. When selecting a jigging rod, you must evaluate its length, action, and power rating. Jigging rods are typically shorter than standard casting rods, often ranging from 5 to 6.5 feet, which provides better leverage when fighting large fish vertically. The rod’s action—how easily it bends—must match your chosen style. Slow-pitch rods feature a highly parabolic bend that flexes throughout the entire blank to work the jig, while fast-jigging rods have a stiffer backbone with a faster tip action. Always check the manufacturer’s specifications printed on the rod blank to verify the maximum jig weight and line rating it can safely handle, as overloading a rod can lead to structural failure under heavy loads.

Your choice of reel will depend on whether you prefer a spinning or a conventional (overhead) setup. Spinning reels are highly user-friendly, making them an excellent starting point for beginners who want to avoid line tangles. Conventional reels, which sit on top of the rod, offer excellent winch power, direct line control, and better depth management, making them a common choice for deep-water slow-pitch jigging. Regardless of the type, look for a reel with a smooth, reliable drag system capable of handling sustained runs from powerful fish. Pay close attention to the gear ratio, which dictates how much line is retrieved per handle turn; a high gear ratio is beneficial for fast jigging, while a moderate ratio offers more torque for lifting heavy fish from the depths. Ensure the reel has sufficient line capacity for the depth you intend to fish, leaving a generous safety margin for long runs.
Building Your Starter Kit: Jigs and Terminal Tackle
Assembling a functional starter kit requires selecting the right lures and rigging components to match your target environment. Jigs generally fall into three categories: metal jigs, soft plastics, and bucktails. Metal jigs are the standard for vertical jigging, designed to sink rapidly through the water column and flutter on the retrieve. Soft plastic jigs, consisting of a weighted lead head paired with a pliable plastic body, offer a highly realistic texture and swimming action that works well in shallower waters. Bucktail jigs feature a lead head dressed with natural hair or synthetic fibers, creating a subtle, pulsing action that is highly effective in coastal currents.
Determining the correct jig weight depends on the water depth and current speed. A general guideline is to use a jig heavy enough to reach the bottom while maintaining a near-vertical line angle; if your line is scoping out at a sharp angle due to strong currents, you need a heavier jig. Rather than relying on rigid formulas, consult manufacturer charts or seek advice from local tackle shops to match your gear to local conditions.
Terminal tackle is the critical link between your line and the jig. Instead of tying your line directly to the jig, vertical jigs are typically rigged using a solid ring and a split ring. The main line and the assist hooks are tied directly to the solid ring, while the jig itself is attached to the split ring. This configuration ensures that when a fish strikes, the force is applied directly to the hooks and the main line, preventing the heavy metal jig from acting as a lever to pry the hook loose. Always verify the weight ratings and material compatibility of your split rings, solid rings, and assist hooks to ensure they can withstand the expected drag pressure.
For your leader, you must choose between fluorocarbon and monofilament. Fluorocarbon is frequently chosen for jigging due to its near-invisible appearance underwater, high abrasion resistance against rocks and structures, and low stretch, which improves sensitivity. Monofilament, however, offers excellent shock absorption, which can prevent hooks from pulling out during aggressive strikes or sudden runs. Beginners often start with a fluorocarbon leader for its durability and stealth, matching the leader’s breaking strength to the main line and target species.
Executing the Jigging Technique: A Step-by-Step Guide
To fish a jig effectively, you must execute a coordinated sequence of movements that brings the lure to life. Begin by dropping the jig into the water. As the jig sinks, maintain light tension on the line by feathering the spool with your thumb or finger. This controlled descent prevents line tangles and allows you to feel for early strikes, as predatory fish frequently attack a jig on its initial fall. Watch your line closely; if it suddenly slackens or jerks before reaching the estimated bottom depth, a fish may have taken the lure.
Once the jig reaches your target depth or the seabed, immediately engage your reel and begin the basic jigging motion. For a standard vertical jig, lift the rod tip upward in a smooth, controlled sweep while simultaneously turning the reel handle one full rotation. As you lower the rod tip back down to its starting position, quickly retrieve the slack line. Repeat this rhythmic cycle of lifting and winding to create a continuous, darting action. The key is synchronization; your rod lift and reel turn should work as a single, fluid motion to keep the jig moving attractively without creating excessive slack line.
Recognizing a bite during this process requires constant focus. Strikes can manifest as a sudden, heavy weight on the rod, a sharp tap, or a momentary slackening of the line as a fish swims upward with the jig. The moment you detect any unusual resistance or line movement, execute a firm hook set by pulling the rod upward sharply while winding the reel to drive the hook home. Because assist hooks are designed to swing freely, a swift hook set is essential to secure the connection.
Once the fish is hooked, the fight begins. Maintain a steady rod angle, typically between 45 and 60 degrees, to allow the rod’s blank to absorb the fish’s runs and head shakes. Avoid high-sticking—pointing the rod straight up—as this places extreme stress on the rod tip and can cause it to snap. Rely on your reel’s drag system to tire the fish, maintaining constant tension on the line. Never attempt to horse a large fish to the surface too quickly; instead, let the drag do its work and wind only when the fish stops taking line.
Gear Maintenance, Safety Practices, and Stopping Conditions
Jig fishing involves heavy gear, sharp hooks, and dynamic marine environments, making safety and maintenance critical. Always handle assist hooks with extreme care, as they are incredibly sharp and can easily swing and catch your hands during a struggle. Utilize proper long-nosed pliers or dedicated dehooking tools to remove hooks from fish safely, keeping your fingers well away from the mouth and the hook points. If you plan to release your catch, use a wet cloth or landing net to minimize damage to the fish’s protective slime coat.
After every fishing trip, routine gear maintenance is essential to preserve the lifespan of your equipment. Thoroughly rinse your rod, reel, jigs, and terminal tackle with fresh, low-pressure water to remove salt, sand, and debris. Inspect your main line and leader for any signs of fraying, and check your hooks for rust or dullness. Examine split rings and solid rings for deformation or corrosion, replacing any compromised components immediately to prevent gear failure on your next outing.
Because jigging often takes place in open water or areas with strong currents, you must remain highly aware of environmental conditions. Monitor weather forecasts, wind speeds, and wave heights closely. If currents become too strong to maintain a safe vertical presentation, or if wave heights compromise the stability of your vessel, it is time to stop fishing. Never let the desire to catch fish override safety. If you are unfamiliar with a specific body of water, local hazards, or changing weather patterns, halt your activities and consult local guides, charter captains, or qualified professionals before proceeding.
Frequently Asked Questions (FAQ)
Using a Standard Spinning Rod for Jigging
While you can technically drop a jig with a general-purpose spinning rod, it is not recommended for dedicated vertical jigging. Standard spinning rods typically feature a fast action with a stiff mid-section designed for casting lures horizontally, which lacks the deep, parabolic bend required to bounce and flutter heavy jigs effectively. Attempting to work heavy vertical jigs with a standard rod can place excessive stress on the rod tip, leading to structural failure. Furthermore, standard rods lack the specialized backbone needed to lift large fish vertically from deep water, reducing your control and increasing angler fatigue.
Choosing the Right Braided Line for Jigging
Low-stretch braided line is a standard choice for vertical jigging because its minimal stretch provides direct contact with your lure, allowing you to feel subtle bites at great depths and execute precise hook sets. When selecting braid, choose a multi-colored or metered line, which changes color every ten meters. This color-coding allows you to track your depth accurately and target specific zones in the water column. Always ensure that the breaking strength of your braided line matches the specifications of your rod and the maximum drag output of your reel to prevent line breakage under heavy loads.

Community discussion
Share your experience or ask a question. Comments are reviewed before publication.