
When cycling along Singapore’s Park Connector Network (PCN) after sunset, a reliable rear light is a fundamental safety requirement. The shared nature of these paths means you must balance your own visibility with the comfort and safety of pedestrians, runners, and fellow cyclists.
To ride safely on the PCN at night, your bicycle taillight must offer a wide beam angle to ensure you are visible from the side at junctions and crossings. It should also feature adjustable brightness settings so you can lower the output on crowded paths to avoid blinding others. Finally, robust weather resistance is essential to withstand sudden tropical downpours.
By focusing on these core features, you can select a light that keeps you visible while maintaining path courtesy.
Products mentioned in this guide
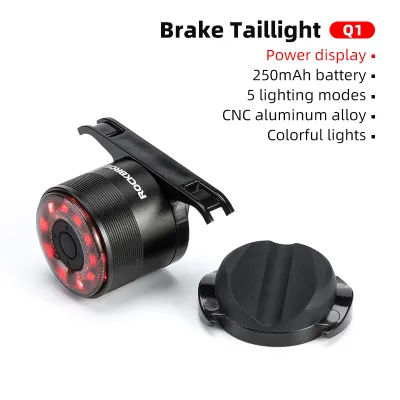
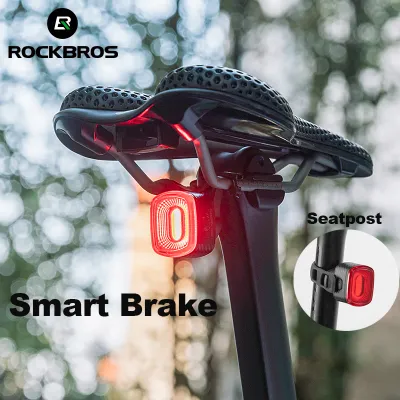
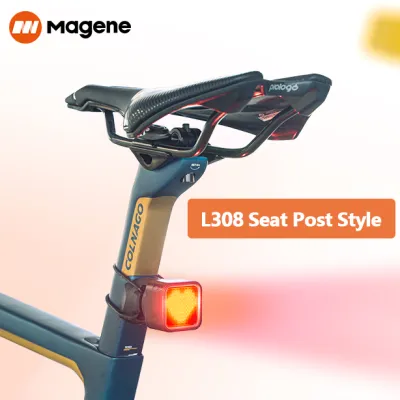
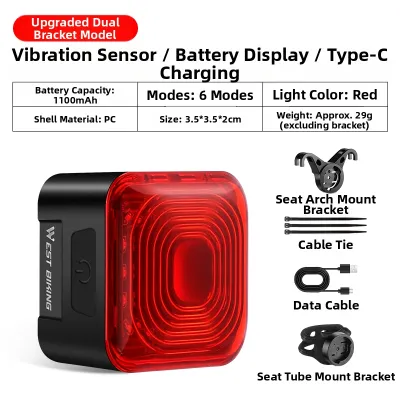
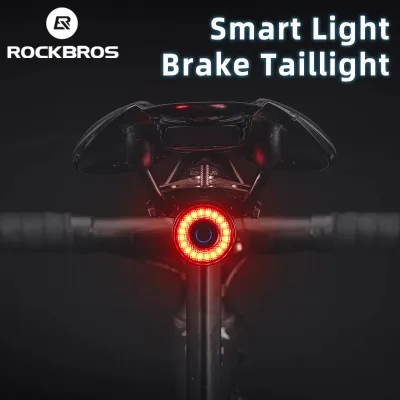
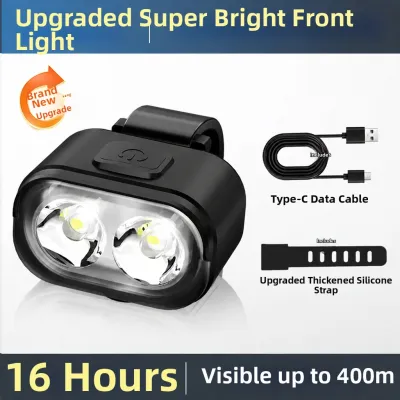
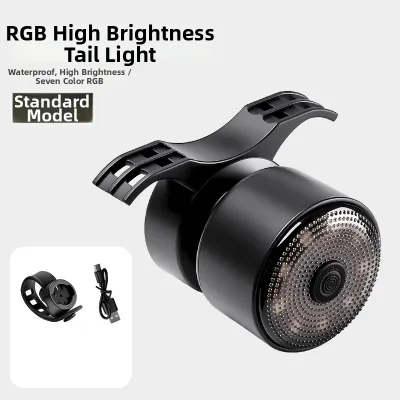
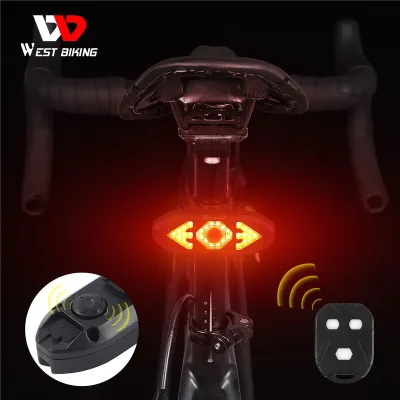
Prices are valid at publication and may change. Please refer to the product page for the latest price.
Visibility and Beam Angle: Balancing Brightness and Path Courtesy
The physical layout of the PCN includes numerous intersections, driveway crossings, and sharp bends where side visibility is critical. A standard rear light that only projects a narrow beam directly backward may leave you invisible to path users approaching from the side. To address this, look for a bicycle taillight that offers a wide beam angle, ideally providing at least 180 degrees of light dispersion. Some models feature curved lenses or side-facing light-emitting diodes (LEDs) specifically designed to project light laterally, making you visible at junctions.
While high brightness is useful on unlit roads, excessive lumen output can be problematic on shared paths. A blindingly bright light can cause temporary glare for cyclists riding directly behind you, making it difficult for them to judge distances or spot obstacles. To maintain path courtesy, choose a light with multiple adjustable brightness modes. This allows you to select a lower, steady output when riding in a group or on well-lit sections of the network, and reserve higher outputs for darker, isolated stretches.
When evaluating product specifications, check for anti-glare designs or diffused lenses. A diffused lens spreads the light evenly rather than focusing it into a sharp, piercing beam. This design choice helps protect the vision of oncoming or trailing path users while still ensuring your presence is clearly marked from a distance.
Mounting Systems: Securing Your Light for a Smooth Ride
A secure mounting system is essential to keep your light functioning correctly throughout your ride. The PCN features a variety of surfaces, including smooth asphalt, brick pavers, and wooden boardwalks. Vibrations from these surfaces can easily loosen a poorly designed mount, causing the light to slip, rotate, or point downward at the ground.

When selecting a light, consider how the mounting system matches your bicycle’s geometry:
- Seatpost Mounts: These are the most common option and are highly compatible with standard round seatposts. If your bicycle has an aerodynamic seatpost, verify that the mount includes a compatible V-shaped rubber adapter to prevent twisting.
- Saddle Rail and Rack Mounts: If your seatpost is obscured by a saddlebag or mudguard, a mount that attaches directly to your saddle rails or rear luggage rack offers a stable, elevated alternative.
- Clip-On Mounts: These allow you to attach the light to a backpack, pannier, or helmet. While convenient, ensure the clip is tight and secure to prevent the light from sagging or pointing downward.
Pay close attention to the materials used in the mounting straps and brackets. High-quality silicone straps offer excellent grip and flexibility, while screw-on plastic brackets provide a more permanent, rigid attachment. Additionally, check the physical profile and weight of the light to ensure it does not interfere with your pedaling motion or rub against your legs.
Power and Durability: Managing Battery Life and Tropical Weather
Reliable power management ensures your light remains active for the duration of your ride. To estimate your battery requirements, calculate the length of your typical evening ride and choose a light that offers a run time of at least double that duration on your preferred setting. This safety margin ensures you are covered in the event of unexpected delays or route extensions.
Modern bicycle lights generally fall into two categories regarding power sources:
- USB Rechargeable Units: These models are highly convenient for regular riders, utilizing built-in lithium-ion batteries that can be recharged via a standard USB port. They eliminate the ongoing cost of disposable batteries and often feature built-in power indicators to warn you when the charge is low.
- Replaceable Battery Models: These units use standard AAA or button-cell batteries. While they are convenient for occasional riders who do not want to worry about recharging, they generally offer lower light output and generate more waste over time.
Singapore’s tropical climate presents unique challenges, including high humidity and sudden, heavy downpours. To protect the internal electronics, verify the IPX water resistance rating on the product label. An IPX4 rating indicates protection against splashing water from any angle, which is suitable for light drizzle. For complete reliability during heavy tropical storms, look for a rating of IPX6 or higher, which indicates the unit can withstand high-pressure water streams without failing.
Your Pre-Ride Taillight Evaluation Checklist
To ensure your equipment is fully prepared for an evening ride, perform this quick physical and functional evaluation before setting off.
Verify Beam Alignment Turn on the light and stand several meters behind your bicycle. Ensure the beam is projected horizontally and is not pointing too far down toward the ground or too far up into the eyes of other path users.
Test Mount Stability Give the light a gentle tug to ensure the mounting strap or bracket is secure. The light should not rotate or slide along the seatpost when subjected to minor vibrations.
Check Battery Status Observe the battery indicator light. If the light does not have an indicator, ensure it has been fully charged recently, especially if you are planning a longer ride.
Inspect Rubber Seals Examine the charging port cover and any joint seals on the light body. Ensure the rubber flap is pressed firmly into place to prevent water and dust from entering the electronics.
Clean the Lens Wipe the lens with a damp cloth to remove any accumulated road grime, mud, or dust that could reduce the light’s overall brightness and visibility.
If you notice that the mounting strap is cracking, the battery no longer holds a charge for your typical ride duration, or the rubber seals are torn, it is time to replace the unit to ensure your safety on the path.
Frequently Asked Questions (FAQ)
Are flashing taillights allowed on shared paths in Singapore?
Flashing modes are highly effective at drawing attention, but they must be used with consideration for other path users. On well-lit sections of the PCN, a highly intense flashing light can be disorienting to cyclists riding closely behind you or pedestrians walking in the opposite direction. It is generally considered good etiquette to switch your taillight to a steady mode or a low-intensity pulsing mode when riding on crowded shared paths. Save high-frequency flashing modes for daytime riding or highly congested road crossings where maximum contrast is required.
Do I need a taillight if my bicycle has built-in reflectors?
Yes, an active bicycle taillight is essential for safe night riding. Reflectors are passive safety devices that only function when an external light source, such as a car’s headlights, shines directly on them. Many sections of the PCN are surrounded by natural foliage and are not illuminated by streetlights or vehicle headlights. In these dark zones, a passive reflector remains completely invisible. An active, self-powered taillight ensures that you are visible to everyone on the path, regardless of external lighting conditions.

Community discussion
Share your experience or ask a question. Comments are reviewed before publication.