
To keep protein shakes cold in Singapore’s intense heat and high humidity, the brand name on a small shaker bottle matters far less than its underlying insulation technology. Double-wall vacuum-insulated stainless steel is the most effective construction for preventing rapid heat transfer, while insulated plastic or gel-lined options offer lighter but less durable alternatives. Because independent, standardized thermal testing across every brand is rarely published, choosing the right small shaker bottle requires evaluating physical specifications like material grade, lid sealing mechanisms, and volume-to-surface-area ratios. This guide breaks down how these design elements perform under local tropical conditions, helping you select a bottle that maintains your shake’s temperature from your home kitchen to the gym floor.
Core Insulation Specs That Actually Keep Shakes Cold
Evaluating a shaker’s cooling capability requires looking past marketing claims and focusing on physical specifications. The most critical factor is the presence of double-wall vacuum insulation. In this construction, the air between two layers of stainless steel is completely evacuated during manufacturing. Because heat requires a physical medium to transfer via conduction or convection, this vacuum barrier virtually stops external heat from warming the liquid inside. In contrast, single-wall bottles or those with basic foam linings allow the ambient tropical air to rapidly transfer heat directly to your cold shake.
The material used in the bottle’s construction also plays a vital role in thermal retention. High-quality insulated shakers typically utilize 18/8 food-grade stainless steel. This material is highly durable, resists corrosion from sweat and acidic sports drinks, and provides the structural rigidity needed to maintain the vacuum seal over years of use. Standard plastics lack these thermal properties and allow heat to penetrate the bottle much faster.
Products mentioned in this guide
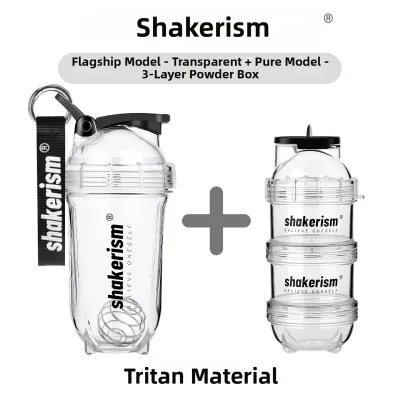
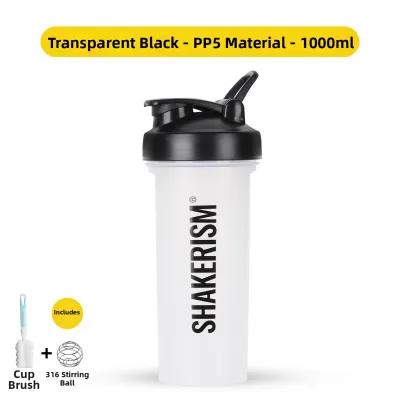
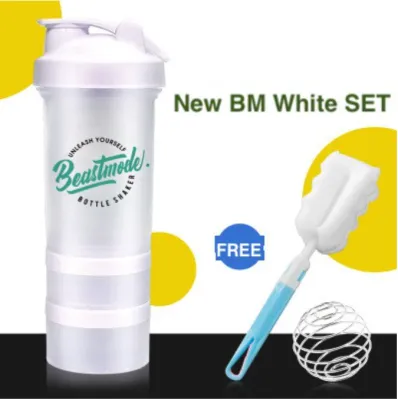
![[Shopwithme99] 3 in 1 Shaker BPA Free Steel Mixing Ball Gym Protein Shaker Bottle With Pills and Powder Container](https://img.lazcdn.com/g/p/ddd41d5e1f5a6e5e91d2dfe4dedcafc7.png_400x400q80.png_.webp)
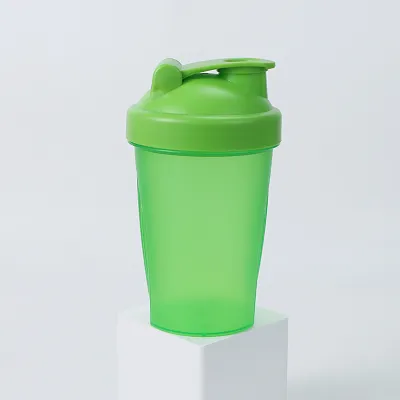
Prices are valid at publication and may change. Please refer to the product page for the latest price.
Finally, the lid sealing mechanism is often the weakest link in temperature control. Because lids are almost always made of plastic rather than insulated metal, they represent a primary point of heat entry. Any air gap or a poorly seated silicone gasket allows warm air to enter the bottle and cold air to escape. A secure, threaded lid with a thick, high-quality silicone gasket is essential to prevent both leaks and thermal transfer during your commute.
Evaluating Common Small Shaker Bottle Designs
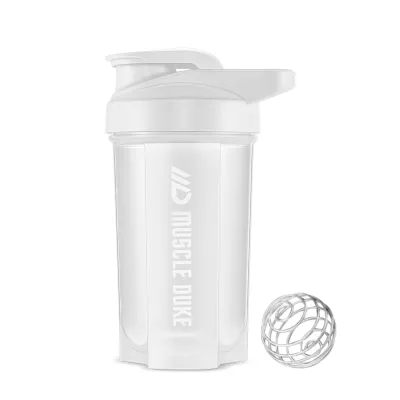
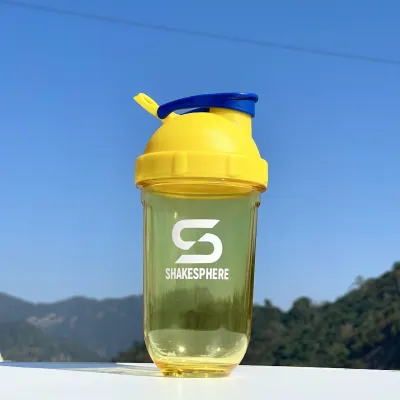
When shopping for a small shaker bottle, you will generally encounter three distinct structural designs. Identifying these designs requires looking beyond brand names and checking the physical specifications listed on the packaging or online product descriptions.

By understanding how each design is built, you can easily determine its thermal capabilities before making a purchase. While a premium stainless steel shaker might cost around S$30 to S$50, the investment is often justified if you require long-lasting cold retention.
Double-Wall Vacuum Stainless Steel Shakers
Double-wall vacuum stainless steel shakers represent the highest-performing design for extreme heat and outdoor conditions. Because the vacuum layer prevents heat transfer, these bottles can keep liquids cold for several hours, even when exposed to direct sunlight or left in a warm vehicle. Another major benefit of this design is condensation prevention; the outer wall remains dry and room-temperature, meaning your gym bag and hands stay completely dry.
However, these benefits come with specific trade-offs. Stainless steel is inherently heavier than plastic, which might be a consideration if you prefer to travel light. Additionally, because the double-wall construction adds physical bulk, a small-capacity steel shaker (such as a 500ml model) will have a larger external footprint than a plastic bottle of the same capacity.
Insulated and Gel-Lined Plastic Shakers
Insulated and gel-lined plastic shakers offer a lighter, often budget-friendly alternative for climate-controlled environments. These bottles typically feature a double-walled plastic shell filled with a thermal foam or a freezable gel layer. When pre-frozen or pre-chilled, gel-lined walls can keep a shake cold for a moderate period, making them highly suitable for indoor, air-conditioned gym environments.
Despite their lighter weight, these designs have clear limitations in high humidity. The outer plastic wall can still experience mild condensation, and the thermal barrier is significantly less effective than a vacuum. Over time, the plastic walls are also more prone to scratching and cracking, which can compromise the integrity of the internal insulation layer.
Standard Single-Wall Shakers
Standard single-wall shakers, usually made of polypropylene plastic, offer virtually no thermal protection. In typical daily temperatures, a cold shake placed in a single-wall bottle will reach room temperature within minutes. The rapid heat transfer also causes heavy exterior condensation, leading to a wet bottle that slips out of your hand and dampens everything in your gym bag.
These bottles are only acceptable if you plan to consume your protein shake immediately after mixing it with cold water at the gym’s water cooler. If your routine involves mixing your shake at home and commuting to a workout session hours later, a single-wall shaker is highly impractical.
How Size and Volume Affect Cold Retention
Understanding the physics of thermal mass is crucial when choosing a small shaker bottle. A smaller volume of liquid contains less thermal energy (or “cold mass”) than a larger volume, meaning it is inherently more susceptible to temperature changes. When you carry a small 400ml or 500ml shake, it will warm up much faster than a 1-litre bottle under the exact same environmental conditions.
This vulnerability is amplified by the surface-area-to-volume ratio. Small bottles have a relatively large surface area relative to the small amount of liquid they hold. This means there is more surface area through which heat can penetrate, accelerating the warming process.
Furthermore, leaving empty space (headspace) inside a small shaker bottle introduces warm air into the chamber. Every time you open the lid, warm, humid air enters, and if the bottle is only half-full, that air will rapidly transfer its heat to your cold shake. To maximize cold retention, it is best to fill the shaker as close to its capacity as safely possible.
Practical At-Home Tests to Verify Insulation Performance
Since you cannot always rely on manufacturer claims, you can perform simple, non-destructive tests at home to verify your shaker bottle’s insulation quality. The first is the ice-melt test: fill your shaker with a specific number of ice cubes and leave it on your kitchen counter alongside a standard open glass with the same amount of ice. Check the bottle periodically; a high-quality vacuum-insulated shaker should keep the ice solid for many hours, whereas a poorly insulated bottle will show rapid melting.
The second test is the condensation check. Fill the shaker with ice-cold water, seal the lid tightly, and let it sit in a warm, humid room for thirty minutes. If you feel coldness on the outer stainless steel wall or observe water droplets forming on the exterior, the vacuum seal is either compromised or non-existent.
Finally, run a workout simulation. Fill the bottle with your typical cold shake or water, place it in your gym bag, and take it with you on your commute or outdoor workout. Measure the temperature or note the coldness before and after your session to see how well it holds up to real-world tropical conditions.
Maintenance Rules to Preserve Thermal Integrity
Proper maintenance is essential to keep your shaker bottle’s insulation working effectively over time. Many users make the mistake of placing vacuum-insulated stainless steel bottles in the dishwasher. The extreme heat and pressure of a dishwasher cycle can deform the outer shell, damage the powder coating, and ultimately rupture the vacuum seal, rendering the insulation useless. Always hand-wash the insulated body of your shaker with warm, soapy water and a soft bottle brush.
Similarly, pay close attention to the silicone gaskets inside the lid. Over time, protein residue can build up under the gasket, causing minor air leaks that compromise both the leak-proof seal and the thermal barrier. Remove the gasket gently during cleaning, wash it thoroughly, and ensure it is completely dry before reinserting it flat into the lid groove.
When pre-chilling your bottle, avoid placing the entire shaker in the freezer, as the expansion of freezing liquids can warp the metal walls and destroy the vacuum. Instead, pre-chill the bottle by filling it with ice water for a few minutes before discarding the water and adding your cold shake.
Decision Framework: Choosing the Right Shaker for Your Routine
To select the ideal small shaker bottle, align the bottle’s construction with your daily workout environment. If you frequently train outdoors, in non-air-conditioned fitness corners, or commute long distances in the heat, a double-wall vacuum-insulated stainless steel shaker is the only reliable choice to keep your protein shake cold and refreshing.
If your routine is confined to climate-controlled, air-conditioned gyms and you prioritize a lightweight gear bag, an insulated plastic or gel-lined shaker may provide sufficient cooling while being easier to carry.
Before purchasing, always verify that the bottle’s small capacity aligns with your specific protein powder and liquid ratio needs. A bottle that is too small may not leave enough room for the mixing ball or spring to properly dissolve thick protein powders, leading to clumpy shakes regardless of how cold they remain.
Frequently Asked Questions (FAQ)
Can I put a stainless steel shaker bottle in the freezer to pre-chill it?
No, you should never place a stainless steel shaker bottle in the freezer. If there is any liquid inside, the water will expand as it freezes, which can easily warp the inner metal wall, rupture the vacuum seal, or crack the plastic lid. Even an empty vacuum-insulated bottle will not benefit from being placed in the freezer, as the vacuum layer prevents the cold air from cooling the interior chamber effectively. A much safer and more efficient alternative is to pre-chill the bottle by filling it with ice water for five minutes before pouring it out and adding your cold shake, or simply adding a few ice cubes directly to your mix.
Does a small shaker bottle keep shakes cold as long as a large one?
Generally, no. A small shaker bottle holds a smaller volume of liquid, which means it has less thermal mass and will absorb ambient heat faster than a larger, fully filled bottle. To maximize cold retention in a small shaker, minimize the empty headspace inside the bottle by filling it as close to the top as possible. You can also use highly chilled liquids, add solid ice cubes alongside your shaker ball, and keep the bottle stored inside an insulated compartment of your gym bag when traveling through hot outdoor areas.

Community discussion
Share your experience or ask a question. Comments are reviewed before publication.