
Theraband resistance bands use a color-coded progression system where lighter colors represent lower tension and darker colors indicate higher resistance. Choosing the right band requires matching the tension to your current physical strength, movement control, and specific training goals rather than simply selecting the heaviest option. By understanding how these colors translate to physical force and learning how to assess your movement, you can build an effective, progressive workout routine while minimizing the risk of strain.
Decoding the Theraband Color Progression System
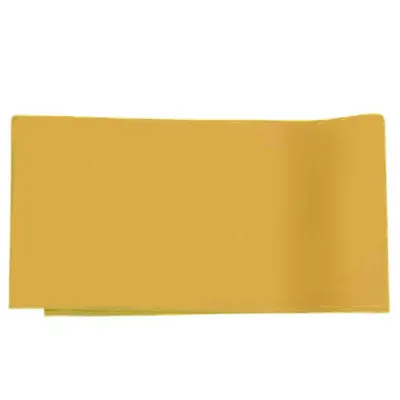
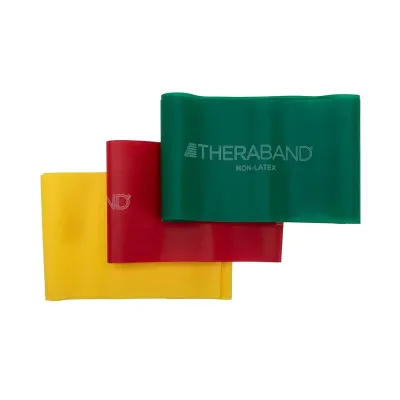
The Theraband system is designed as a visual ladder to guide your strength progression. Generally, the sequence starts with lighter shades like tan and yellow, which offer the least resistance, and moves through red, green, blue, black, silver, and gold, which provide the highest levels of tension. This systematic progression allows you to transition smoothly from early-stage rehabilitation to high-performance athletic training.
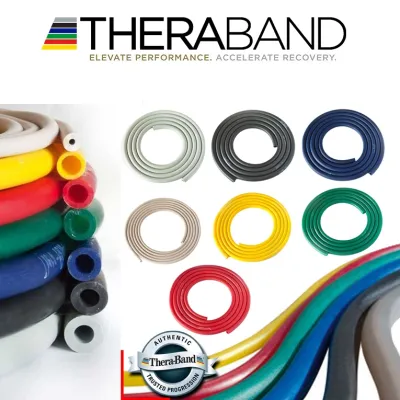
However, it is important to understand that the exact tension values are not fixed numbers. The resistance you experience changes dynamically based on how far the band is stretched relative to its resting length, known as the stretch percentage. Furthermore, different product lines—such as flat latex bands, latex-free bands, loops, or tubing—exhibit distinct tension profiles even if they share the same color.
Products mentioned in this guide

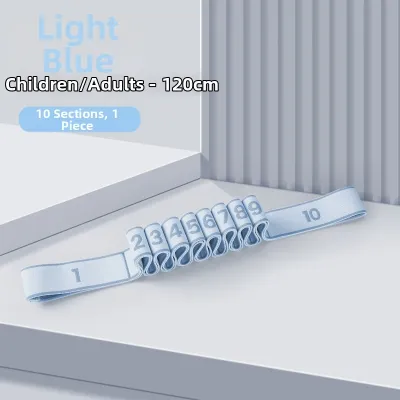
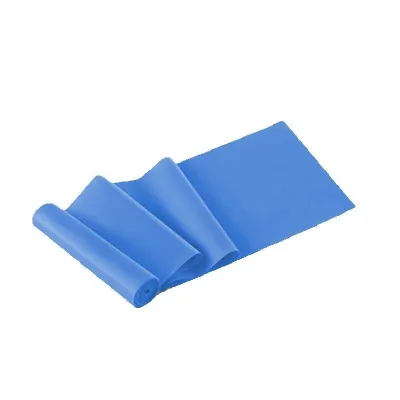
Prices are valid at publication and may change. Please refer to the product page for the latest price.
Because of these variations, you should always verify the exact specifications and tension charts provided on the product packaging or the official manufacturer labels. Relying on generalized online charts can lead to mismatches in your training intensity, especially when switching between different product formats like flat bands and tubing. Checking the manufacturer’s specific documentation ensures you are working with the precise force profile intended for your exercises.
Matching Resistance to Your Fitness Level and Goals
Selecting the appropriate starting band depends heavily on your primary training objective. For physical rehabilitation or post-injury recovery, the focus is on restoring joint mobility and activating dormant muscles, which typically requires the lowest resistance levels like tan, yellow, or red. If your goal is muscular endurance or general conditioning, mid-range bands like green or blue allow you to perform higher repetition ranges with controlled movement.

For building strength or hypertrophy, the heavier black, silver, or gold bands provide the necessary mechanical tension to challenge larger muscle groups. To find your ideal starting point, perform a simple self-assessment using a standard exercise like a bicep curl or a lateral raise. Select a band and attempt to complete a set of 10 to 15 repetitions.
You should be able to maintain perfect form throughout the entire range of motion, keeping your joints stable and avoiding any compensatory movements, such as shrugging your shoulders or arching your lower back. If you cannot complete the target repetitions without breaking form, or if you experience joint pain or a loss of movement control, you must immediately reduce the resistance to a lighter color.
Prioritizing movement quality over high tension protects your joints and ensures that the target muscles are doing the actual work. Conversely, if the final repetitions feel effortless and do not challenge your muscles, you can safely try a higher color tier.
Signs It Is Time to Move Up to the Next Tier
As your muscles adapt to the resistance, the band that once challenged you will begin to feel light. A clear trigger for progression is when you can easily complete all your prescribed sets and repetitions with perfect form, feeling minimal fatigue on the very last repetitions. When the exercise no longer stimulates a physical challenge, your body stops adapting, signaling that it is time to increase the load.
To transition safely without shocking your joints, you can employ a few practical strategies before purchasing a completely new band. Try adjusting your grip to shorten the active portion of the band, which increases the stretch ratio and adds tension. Alternatively, you can alternate between your current band and the next color level during your workout, using the heavier band for the first few repetitions and finishing the set with the lighter one.
Whenever you upgrade to a higher resistance tier, perform an immediate safety and comfort check. Pay close attention to your joint stability, movement control, and overall comfort during the first few repetitions. If the increased tension causes your form to break down or introduces joint discomfort, return to the previous level and focus on increasing your repetition count or slowing down the movement tempo to build further strength.
Safety Checks and Handling for Long-Lasting Use
Before every workout, perform a quick visual and tactile inspection of your resistance band to prevent sudden snaps and potential injuries. Run your fingers along the entire length of the band, looking for micro-tears, small punctures, or areas of discoloration known as stress whitening. If you detect any structural wear, discard the band immediately, as stretching a compromised band can cause it to snap under high tension.
When performing exercises, always use secure anchoring and gripping techniques to maintain control. If you are anchoring the band to an object, ensure the anchor point is smooth, stationary, and free of sharp edges that could cut the material. Avoid wrapping the band too tightly around your hands or feet in a way that cuts off circulation, and ensure your grip is firm so the band does not slip out of your hands mid-movement.
Proper storage and care will significantly extend the lifespan of your elastic bands. Store them in a cool, dry place away from direct sunlight, as UV exposure and extreme heat degrade the latex or synthetic rubber, making it brittle and prone to tearing. If the bands become dirty or sweaty, rinse them with clean water, wipe them down, and let them air dry completely before storing them, occasionally applying a light dusting of talcum powder to prevent the material from sticking together.
Frequently Asked Questions (FAQ)
Can I combine two Therabands to increase resistance?
Yes, combining two bands is an effective way to increase tension when you do not have the next color level available or if the jump to the next single band is too large. By holding or anchoring two bands together, their resistance values combine to create a heavier load. When doing this, ensure your anchor point is exceptionally stable to handle the compounded force, and inspect both bands thoroughly to ensure neither has any structural wear.
Does the length of the Theraband affect the resistance level?
Yes, the length of the band directly influences the resistance because tension increases proportionally with the stretch ratio. A shorter active segment of the band requires more force to stretch over the same distance than a longer segment. You can use this physical principle to fine-tune your workouts by shortening your grip to increase resistance, or widening your stance to reduce the tension without needing to switch to a different color band.

Community discussion
Share your experience or ask a question. Comments are reviewed before publication.