
When you are heading out for a workout, keeping your protein shake or pre-workout drink ice-cold is essential for palatability, especially in a warm and humid climate like Singapore. While many brands claim to offer the ultimate thermal performance, finding the mini shaker bottle that keeps drinks coldest requires looking past marketing slogans and evaluating physical construction. Because a mini shaker bottle typically holds between 12 and 16 ounces (approximately 350 to 500 ml), its smaller liquid volume naturally heats up faster than larger bottles, making high-quality insulation features critical.
Rather than relying on brand names alone, the key to maximum cold retention lies in verifying specific manufacturing standards, lid designs, and mixing mechanisms. By understanding how these elements interact with your beverage, you can make an informed decision that matches your training environment and duration. This guide breaks down the physical science of shaker insulation and provides a practical framework for comparing models on the market.
Understanding Insulation Technology in Mini Shaker Bottles
To understand why some mini shaker bottles outperform others, you must look at how they combat heat transfer. The most effective bottles utilize double-wall vacuum insulation. This construction features an inner and outer wall of stainless steel with the air completely evacuated from the space between them. Because a vacuum contains no air molecules, it prevents heat from entering the bottle via conduction or convection, keeping your cold liquids insulated from the external environment.
Products mentioned in this guide
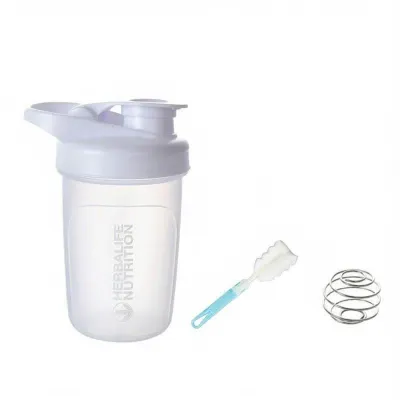
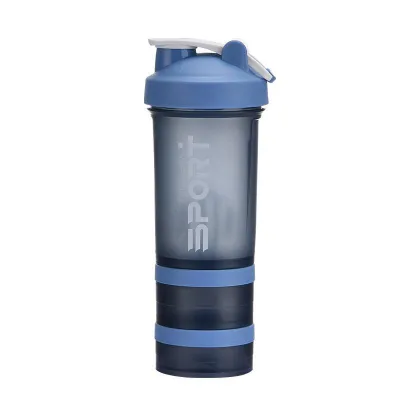
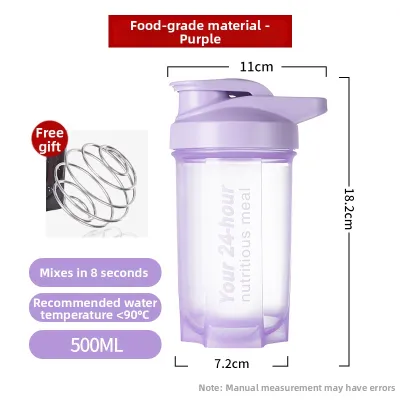
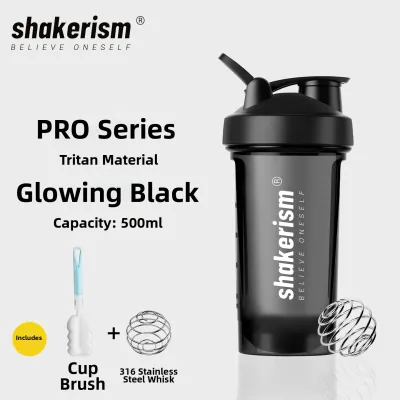

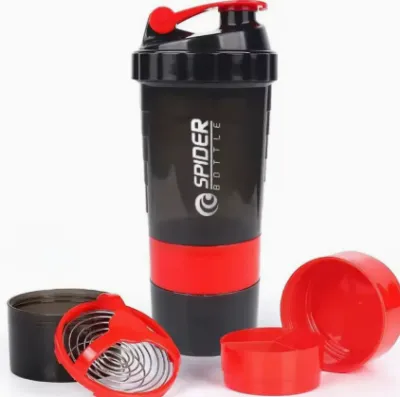
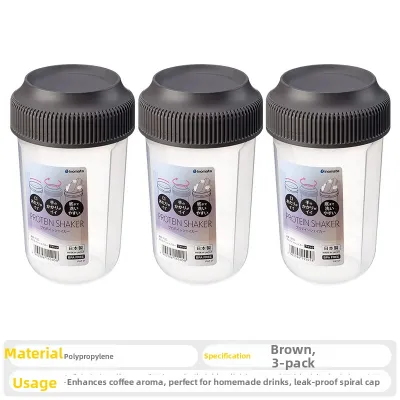
Prices are valid at publication and may change. Please refer to the product page for the latest price.
In contrast, single-wall stainless steel or plastic shaker bottles offer virtually no thermal resistance. While they are lightweight and budget-friendly, they allow heat to transfer almost instantly, causing ice to melt within minutes in warm gym environments. Foam-lined alternatives provide slightly better thermal retention than single-wall options, but they are significantly less efficient than vacuum-sealed models and tend to degrade or lose their structure over time.
Some premium insulated shaker bottles take thermal protection a step further by incorporating a copper or silver lining on the outer surface of the inner wall. This thin metallic layer acts as a radiation barrier, reflecting radiant heat away from your cold drink and back toward the exterior. When comparing brands, checking the specifications for a copper-plated vacuum chamber can help you identify models engineered for prolonged thermal performance.
Finally, the physical capacity of a mini shaker bottle plays a major role in how long your drink stays cold. Because a smaller volume of liquid has less thermal mass, it is highly sensitive to ambient temperatures. Furthermore, the limited interior space of a mini bottle means you must carefully balance the ratio of ice cubes to protein powder and liquid. A bottle with superior insulation technology is necessary to compensate for this lower thermal mass and keep your drink cold without requiring you to fill half the container with ice.
Key Specifications to Compare Across Brands
When shopping for a mini shaker bottle on an online marketplace or at a local sports retailer, you should carefully evaluate the manufacturer’s stated cold retention hours. Keep in mind that these ratings are established under highly controlled laboratory conditions, often starting with water near freezing point in a temperature-controlled room without opening the lid. For real-world use in Singapore’s tropical climate, you should expect the actual cold retention time to be shorter, particularly if you open the bottle frequently during a workout.

Another critical area of comparison is the lid design, which is often the primary source of thermal leakage. Standard flip-top shaker lids are typically made of thin, uninsulated plastic, allowing cold air to escape from the top of the bottle. If cold retention is your absolute priority, look for brands that offer insulated caps or double-walled lid structures. These specialized lids create a more robust thermal barrier at the opening, preventing warm air from entering the main chamber.
Additionally, you must assess how the mixing mechanism affects the internal volume and ice capacity of the bottle. Traditional wire whisk balls are highly effective at blending protein powders, but they require physical space to bounce around inside the container. If the whisk ball is too large, it may limit the size or quantity of ice cubes you can add. Alternatively, some brands utilize built-in plastic grids or lid-mounted agitators, which can save space but may restrict liquid flow or make it harder to drop in standard-sized ice cubes.
Before making a purchase, check the physical dimensions and weight of the bottle. A high-quality double-wall insulated mini shaker will feel noticeably heavier than a single-wall plastic bottle, even when empty. This weight is a direct result of the dual steel walls and the robust sealing mechanisms required to maintain the vacuum. If you plan to carry your shaker in a standard bicycle bottle cage or a small gym bag pocket, verify that the exterior diameter is compatible with your gear.
Choosing the Right Insulated Mini Shaker for Your Workout
Selecting the ideal insulated mini shaker requires matching the bottle’s design to your specific training habits and environment. If your workouts regularly extend beyond an hour, or if you train outdoors in high-heat settings like parks or outdoor fitness corners, prioritize a bottle with a fully sealed, insulated screw-on cap. This configuration provides the tightest possible seal against thermal transfer, ensuring your post-workout shake remains cold and refreshing even after a grueling session in the sun.
Conversely, if you primarily train in air-conditioned indoor gyms and prefer to consume your protein shake immediately after a short workout, a standard flip-top shaker lid may be the more practical choice. While a flip-top lid does not offer the same level of thermal insulation as a solid screw-on cap, it provides quick, one-handed access between sets. In this scenario, the convenience of rapid drinking outweighs the minor loss in temperature control over a short duration.
Before finalizing your choice, always verify if the internal mixing mechanism leaves adequate physical space for ice cubes. Some mini shakers feature narrow necks or bulky built-in strainers that make it difficult to insert ice from standard freezer trays. Opt for models with a wide-mouth opening, which not only simplifies the process of adding ice and powder but also makes the bottle significantly easier to clean and inspect after use.
Your budget is another practical factor to consider when comparing options. While basic plastic shakers can be purchased for under S$10, a high-quality, vacuum-insulated stainless steel mini shaker typically ranges from S$25 to S$50. Investing in a durable, insulated model is highly beneficial if you use your shaker daily, as the robust steel construction resists odor retention and physical damage far better than plastic alternatives, saving you money on replacements in the long run.
Maintaining Insulation Performance and Hygiene
To ensure your insulated mini shaker bottle continues to perform at its best, you must follow proper cleaning and maintenance routines. Always check the manufacturer’s guidelines regarding dishwasher safety. While some stainless steel bottles are labeled as dishwasher-safe, the intense heat, high water pressure, and harsh detergents of a dishwasher can degrade the exterior powder coating or damage the delicate vacuum seal over time. Hand-washing with warm, soapy water and a soft bottle brush is generally the safest way to preserve the bottle’s thermal integrity.
Hygiene is particularly critical for shaker bottles, as protein residues can quickly lead to mold growth and stubborn odors if not thoroughly cleaned. After every workout, disassemble all components of the bottle, including the lid, silicone gaskets, and mixing grids. Wash each part individually, paying close attention to the threads of the lid where powder can accumulate. Allow all pieces to air-dry completely in a well-ventilated area before reassembling the bottle for storage, as trapping moisture inside a closed container promotes bacterial growth.
Finally, you should regularly inspect your bottle for signs of physical damage that could compromise its insulation. If you drop your stainless steel shaker on a hard gym floor, it may dent the exterior. While minor cosmetic dents are harmless, a severe impact can cause the inner and outer walls to touch, bridging the vacuum gap and allowing heat to transfer directly. If you notice exterior condensation, or “sweating,” forming on the outside of the bottle when filled with ice water, the vacuum seal has been broken, and the bottle will no longer keep your drinks cold effectively.
Frequently Asked Questions (FAQ)
Can you put boiling water in an insulated mini shaker bottle?
You should never put boiling or extremely hot liquids inside a sealed shaker bottle, especially if you plan to shake it. Shaking hot liquids causes a rapid buildup of steam and pressure inside the airtight chamber. When you attempt to open the flip-top or unscrew the lid, this pressure can release violently, spraying hot liquid and causing severe burns. Always check the manufacturer’s temperature limits, and stick to lukewarm or cold liquids when using a shaker bottle.
Does the shaker ball damage the interior insulation coating?
Most high-quality mini shaker bottles use surgical-grade stainless steel whisk balls that are designed to bounce off the interior walls without causing structural damage. However, over months of heavy use, the metal-on-metal contact can cause minor cosmetic scratching on the inner lining. If you want to avoid scratches entirely, or if your bottle features a specialized interior coating, consider using alternative mixing mechanisms such as plastic agitators, built-in lid grids, or silicone-coated whisk balls, and regularly inspect the interior for deep gouges.

Community discussion
Share your experience or ask a question. Comments are reviewed before publication.